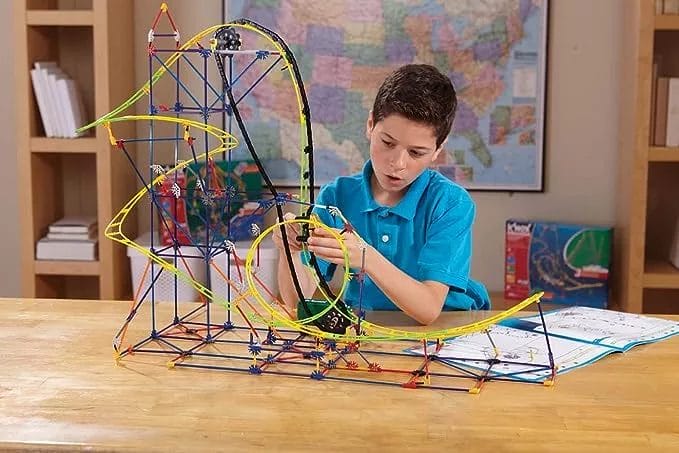
How to Build your own K’NEX Roller Coaster
What makes a roller coaster thrilling? Going at fast speeds, experiencing sudden changes in acceleration and direction that knock off your floating insides, feeling of weightlessness, and putting in the action like no other, does it ring a bell? Among thrill seekers, roller coasters make it a top attraction in any amusement park.
But, building your very own roller coaster is a whole different story!
Bring your thrilling amusement experience to life by building a K’NEX roller coaster right out of your hands! Building a K’NEX roller coaster can be a creative and rewarding experience for both kids and adults alike. This endeavor is an exciting journey of learning and fun.
K’NEX roller coasters are currently available online at Amazon, Walmart and in physical stores straight out of the box. However, you can create your own roller coaster as an alternative to retail models. Additionally, you can build famous replicas using K’NEX parts and pieces, which is a great way to expand your imagination and be budget-friendly at the same time.
Read on, as we’ll walk you through building your own first K’NEX roller coaster at home. Let’s get into it.
Discover the Twists and Turns of K’NEX Roller Coasters
K’NEX has everything you need to navigate the twists and turns of construction and amusement parks. K’NEX roller coaster building sets come with rides, features, and innovative designs. They are one of the most popular types of the brand’s building sets.
A wide range of captivating coasters are ready to engage you with hours of fun and entertainment. The sets cater to different ages and skill levels and come with varying designs and layouts. As you put yourself up to the challenge, you can work on strengthening your skills or embark on a journey of adventure. As roller coasters differ in complexity levels and features, there are different models available.
With these sets, builders can create their own miniature roller coasters with loops, twists, and turns. K’NEX roller coasters include specialized parts, including coaster cars, tracks, supports, and other accessories, enabling builders to create customized coasters with different layouts and designs.
Not only are these sets entertaining to build, but they can also teach students about physics and engineering principles.
When building a K’NEX roller coaster, keep safety in mind:
- Wear eye protection when working with K’NEX pieces, as small parts can sometimes fly off and hit your eyes.
- Be careful with battery-powered motors: To propel your coaster with a motor powered by the battery, be sure to keep your fingers away from the moving parts. Adjust the coaster after turning off the motor.
- Build your coaster on a stable surface, like a table or desk.
- Last but not least, test the coaster. Avoid standing too close to the track when testing your coaster. Test the coaster to ensure it won’t fall off.
Let your adrenaline take you on a roller coaster adventure with K’NEX. Discover a world where imagination knows no bounds by diving into construction.
Why should I build a roller coaster?
Embarking on a roller coaster building adventure allows you to apply your engineering and design skills, as well as work with a variety of K’NEX components. Roller coasters made of K’NEX are suitable for both children and adults and offer hours of entertainment and education. They are designed to develop a range of skills, particularly strengthening hand-eye coordination, fine motor skills, problem-solving skills, and spatial awareness, as well as exercising their imaginations! These coasters help children gain a fundamental understanding of STEM subjects (science, technology, engineering, and mathematics) while developing a wide range of skills and knowledge. Little builders discover how the building system works by clicking the different parts together and learning about time, distance, and speed.
9 steps to build your dream K’NEX roller coaster
Building a K’NEX roller coaster can be a fun and challenging project. If you are new to building K’NEX roller coasters, start with a smaller design to get a feel for how the pieces fit together. This will also help you gauge how big you can build with your current K’NEX collection. See the general yet in-depth and easy-to-follow K’NEX instructions below to get started. However, keep in mind that there are many different K’NEX roller coaster sets available, each with its instructions and components.
- Acquire the necessary K’NEX components: Before you start building, ensure that you have rods, connectors, track pieces, intersections, ground tracks, supports, and decorative K’NEX components. Additionally, gather necessary tools, such as hammers, screwdrivers, drills, and pry bars, to help assemble the roller coaster.
- Design the roller coaster layout: Start by creating a basic plan for your roller coaster, taking into account factors such as the number of loops, corkscrews, and inclines. Plan out your roller coaster’s layout, taking into account the desired level of excitement and challenge for riders. As well as the space in which you plan to build the roller coaster. Choose a location that provides ample space for the roller coaster’s construction and has a solid foundation for the tracks.
- Assemble the ground track: Begin by placing the ground track along the length of the roller coaster. This track will serve as the foundation for the entire structure.
- Build the supports: The supports hold up the track and keep the coaster on course. Depending on the complexity of your roller coaster design, you may need to construct support structures using K’NEX track pieces and/or other K’NEX components. These structures will help maintain the stability and integrity of the roller coaster track.
- Connect the track pieces: Utilize K’NEX track pieces such as straight, bend, and turn track pieces to connect the ground track and support structures. Make sure the track is secure and the connections are tight. Ensure that the connections are secure and that the track runs smoothly.
- Add interactivity and suspense: Incorporate K’NEX track pieces with holes, such as the K’NEX Bridge, to create gaps and opportunities for interaction. Additionally, incorporate K’NEX track pieces with height variations to create a sense of suspense and thrill.
- Assemble the K’Nex Roller Coaster Car: Once the track is complete, build and assemble a K’Nex car to serve as the rolling mechanism for the roller coaster. Utilize the K’Nex car parts to create a secure and stable vehicle. To ensure a smooth and controlled ride, connect the K’Nex roller coaster car to the track. You can achieve this by using string, Velcro, or any other suitable adhesive method to securely fasten the car to the track.
- Test your creation: Once the construction of your roller coaster is complete, give it a test run to ensure that everything is functioning properly. If necessary, make any necessary adjustments or repairs.
- Time to decorate: K’NEX roller coasters are a great way to express your creativity. To enhance the roller coaster’s overall design and experience, incorporate special features. Personalize it with a thematic focus, such as K’NEX Trains or K’NEX Castle. Experiment with different designs and decorations to make your coaster unique. Once the coaster is working properly, you can add decorations like flags, signs, and lights to make it look more realistic
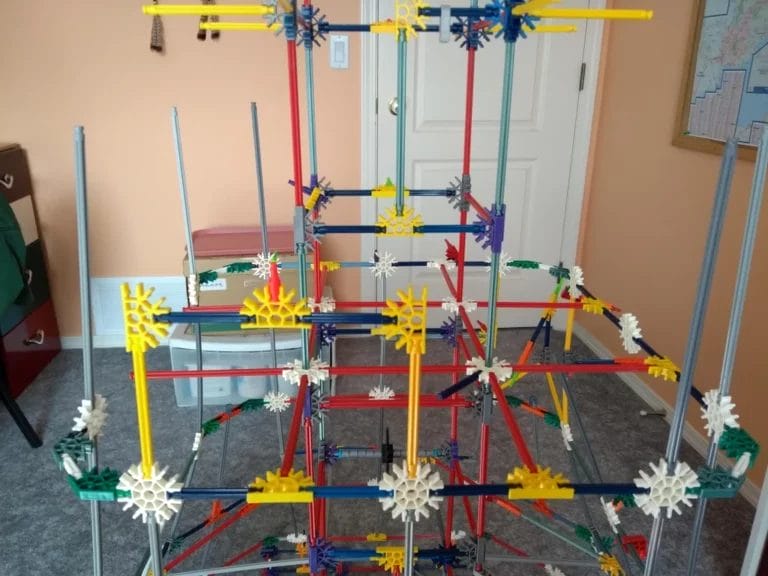
Are you ready to take a creative, imaginative, engineering, and design journey? It’s time to assemble the K’NEX Roller Coasters that feature dynamic features and captivating elements. The immersive experience provides hours of fun and learning at the same time. Follow the instructions to build the towering model one piece at a time, for hours of building fun.
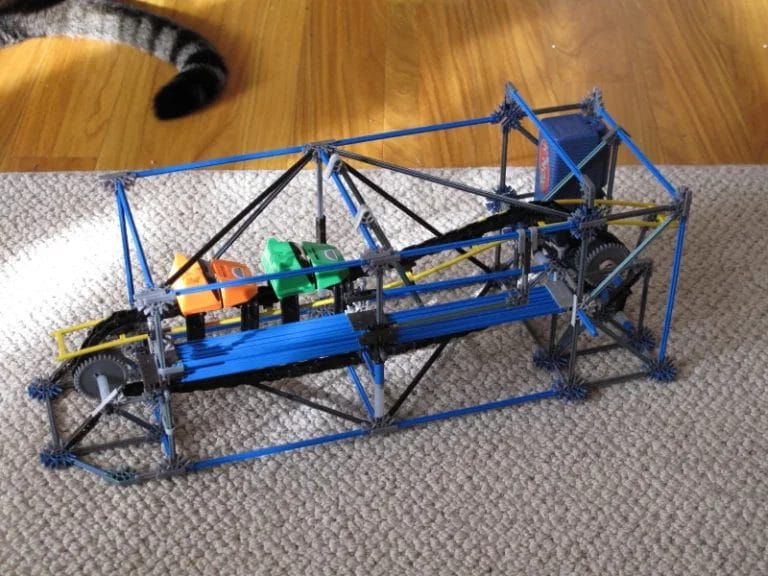
Start building K’NEX Roller Coaster Station (with instructions)
Before getting down to business and creating your very first roller coaster station, place the roller coaster track in a large, flat area to have more space and avoid falling off parts around. Here are step-by-step instructions to make your coaster work. Let’s begin:
We’ve found this one on Instructables.
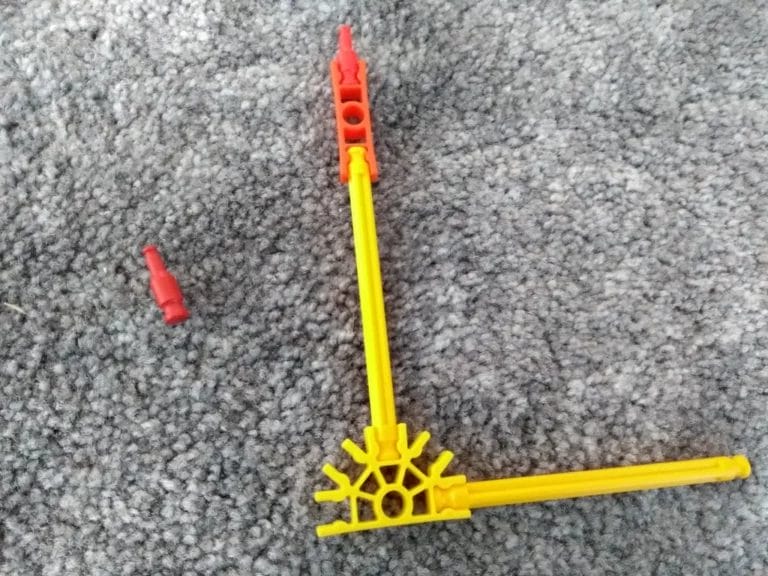
Step 1. Gather all pieces
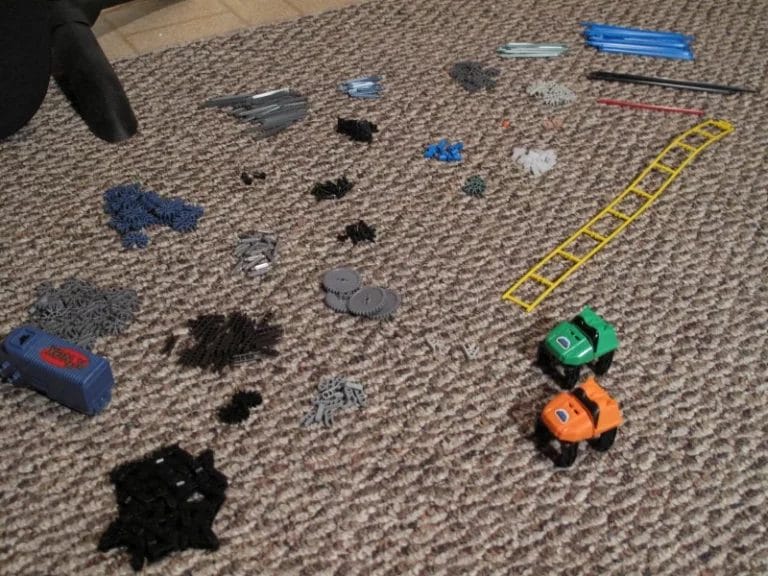
Start with gathering all the materials you need for building. Here, the rods are named by their real colors, but the connectors are named after the original classic-colored connectors. The total pieces count 385 and all of them are micro parts:
Rods – 138
- Short black-17
- Silver-21
- Metallic blue-12
- Grey-36
- Metallic green-9
- Blue-36
- Long black-6
- Red-1
Connectors-130
- Dark gray-15
- Light gray-2
- Red-15
- Green-2
- Yellow-8
- White-2
- Blue-20
- Purple-34
- Orange-32
Other-117
- Track piece-1
- Chain link-56
- Gray gear-4
- White spacer-17
- Blue spacer-12
- Black Y clip-11
- Black snap cap-5
- Chain guide-7
- Motor-1
- Orange end piece-1
- Tan lock-2
- Cars-at least 1
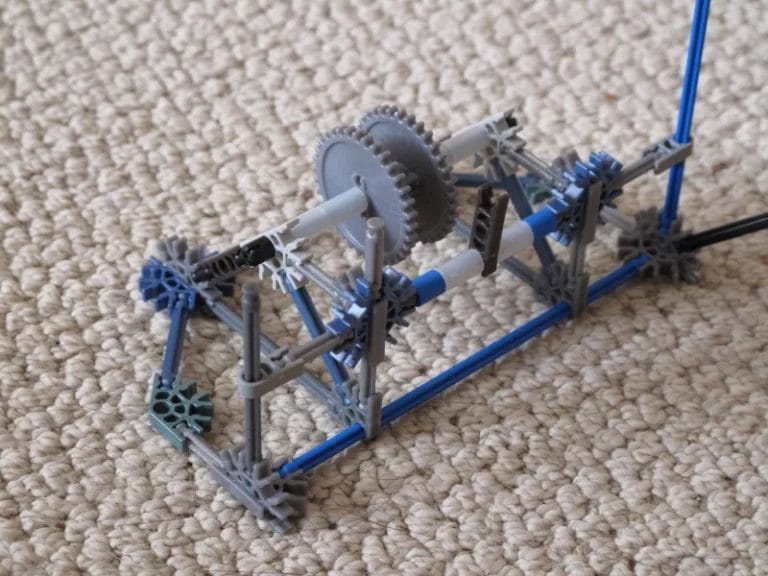
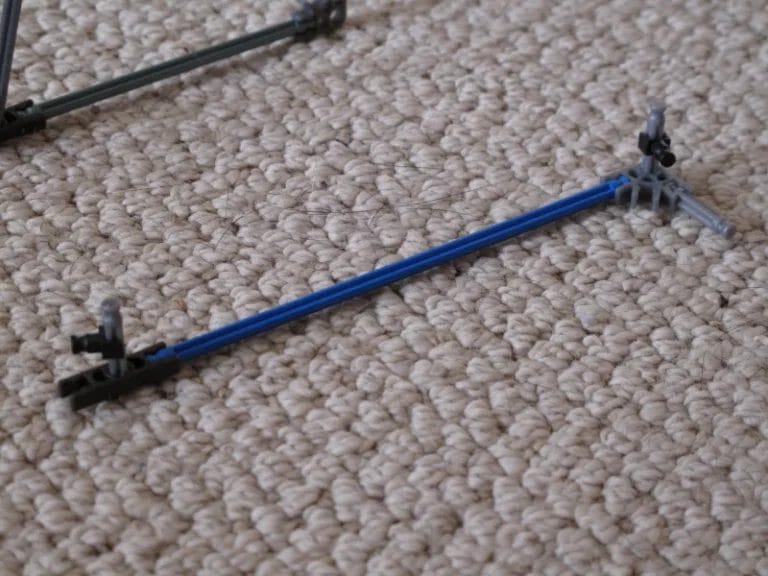
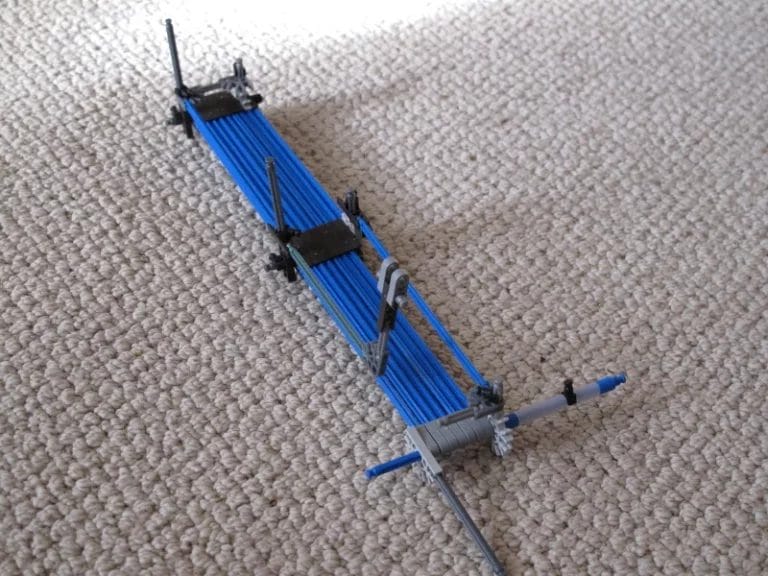
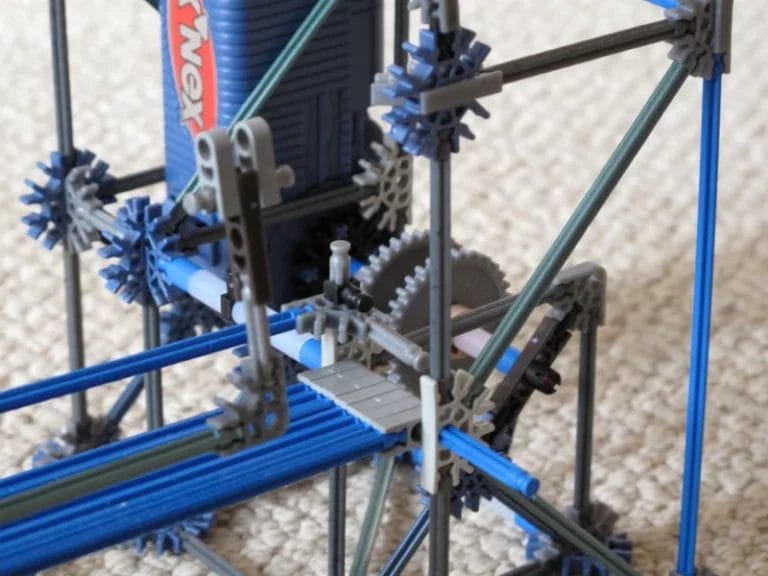
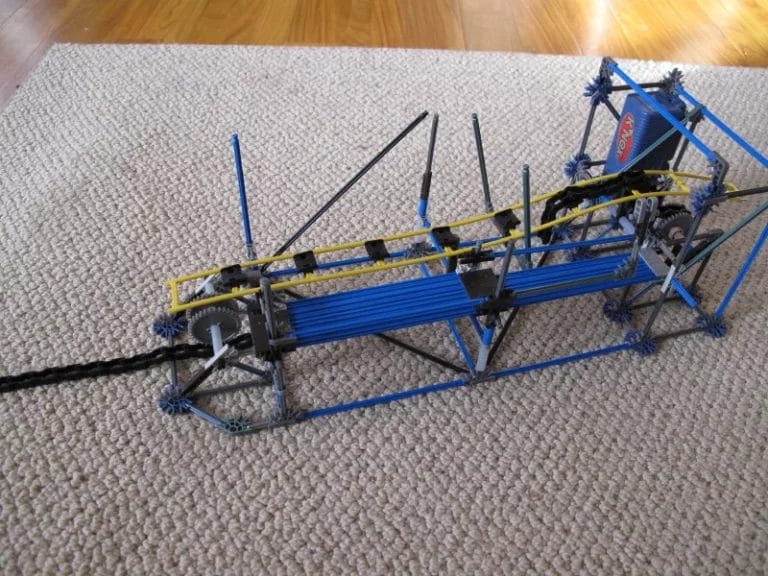
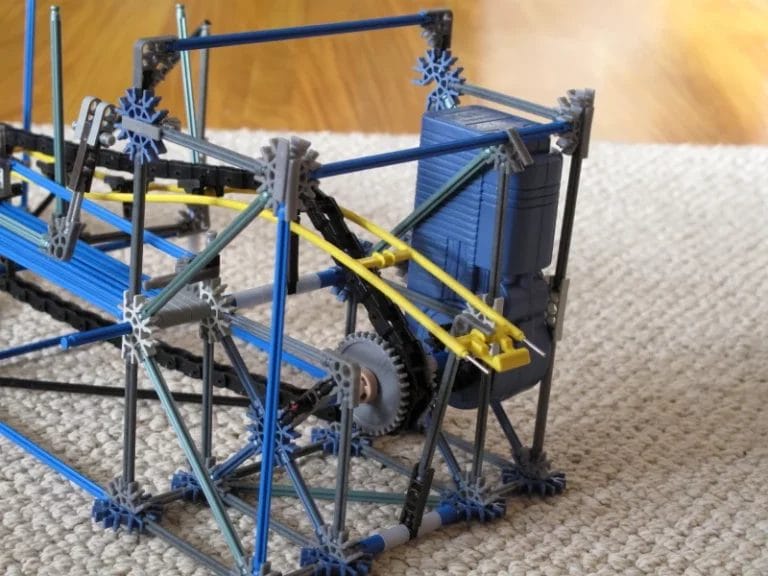
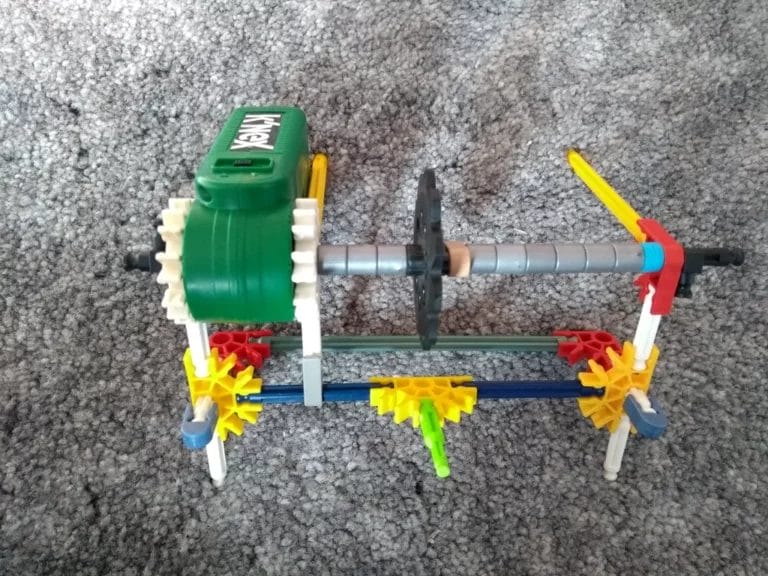
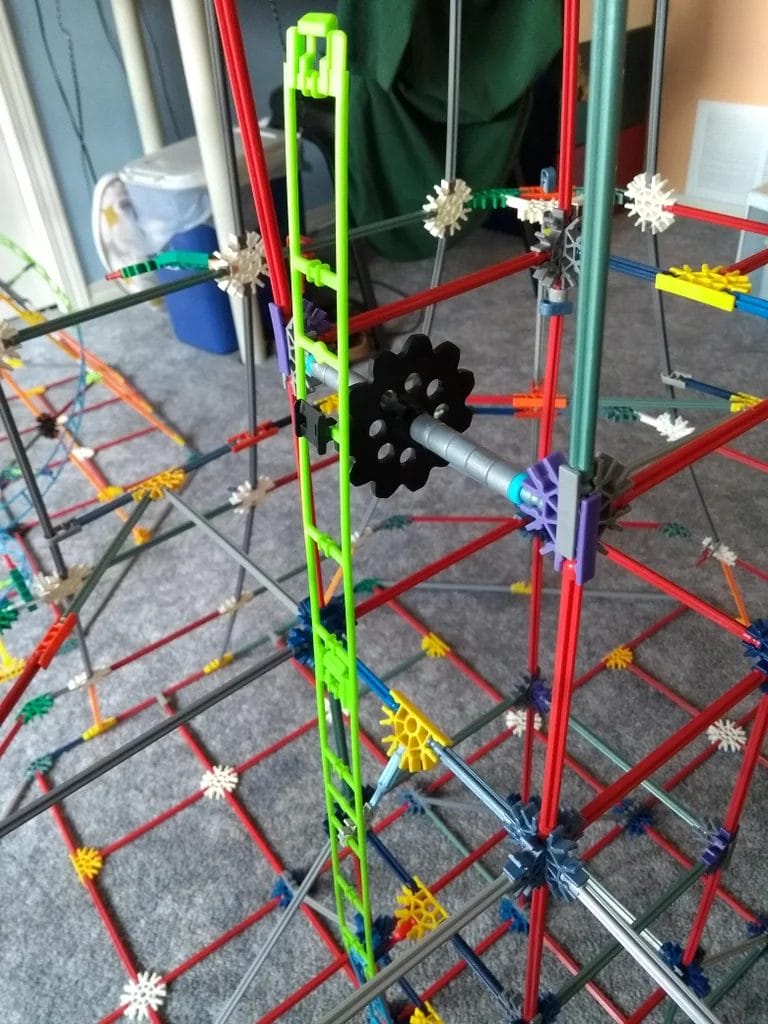
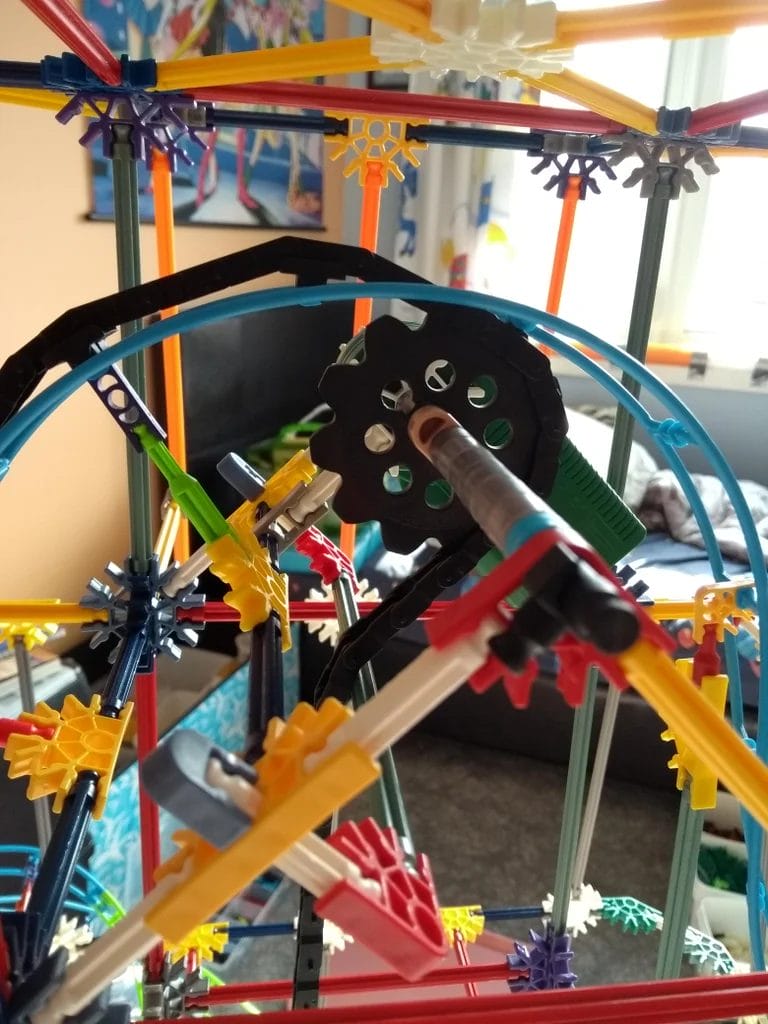
Step 2. The Motor Section
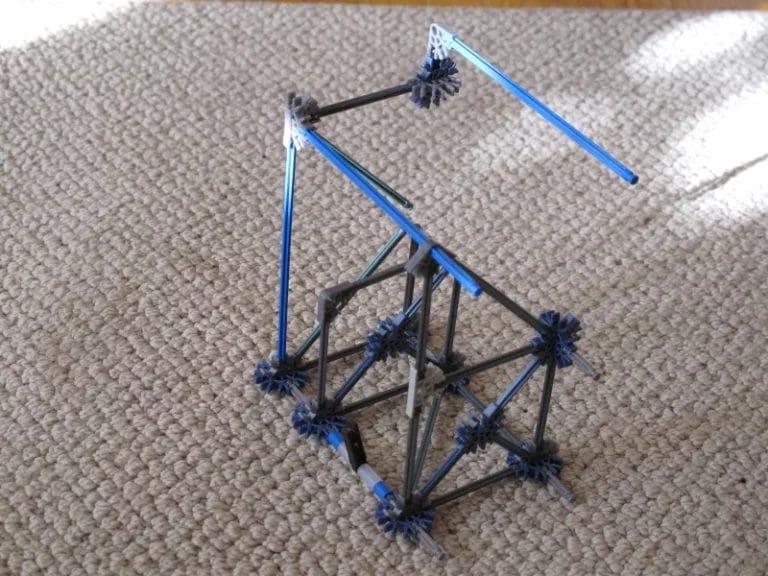


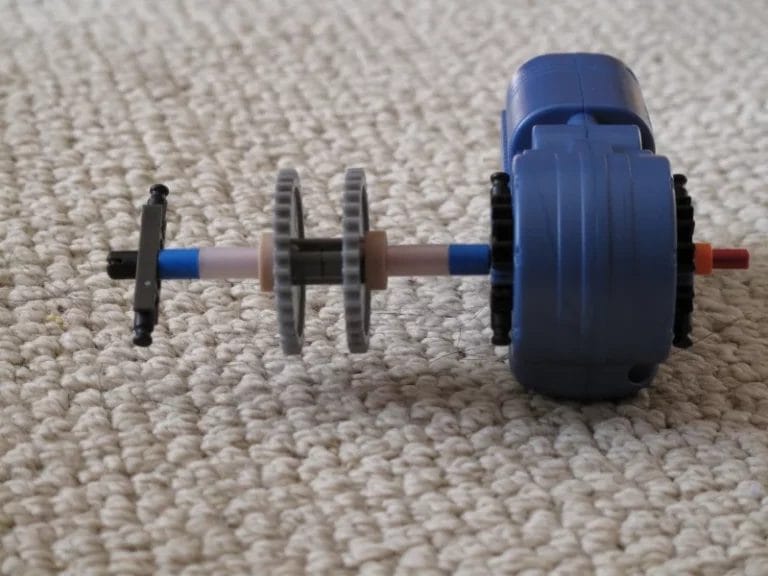


In this step, your job won’t be small, but a bit complex. To will need to build a front that holds the motor and gears. It consists of three parts: A,B, and C. After you build those you’ll connect all parts together and finish the front section.
Please, pay attention to the image notes in the carousel.
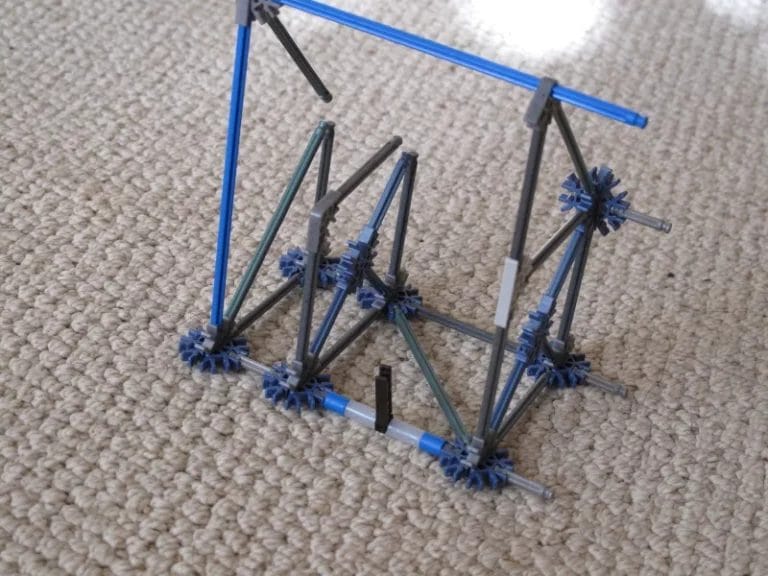
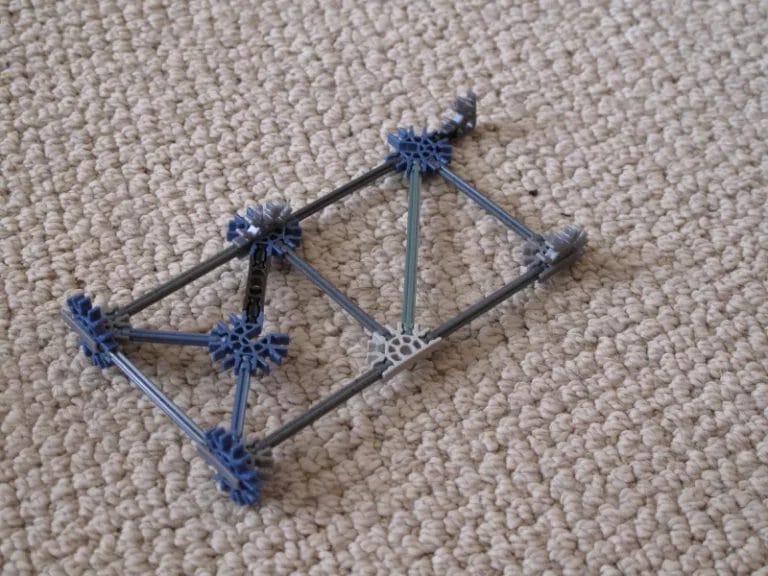
Step 3: The Bottom

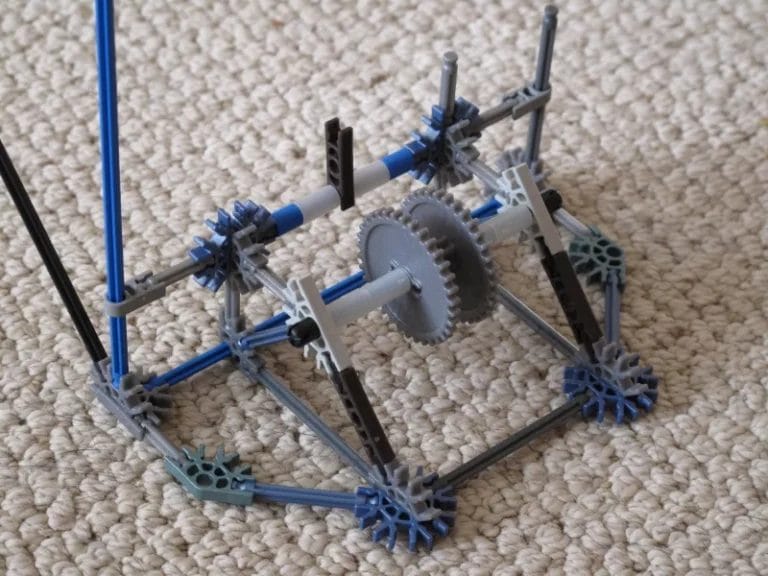

This section includes the back gears. You’ll build parts A and B, and then you’ll combine the two parts.
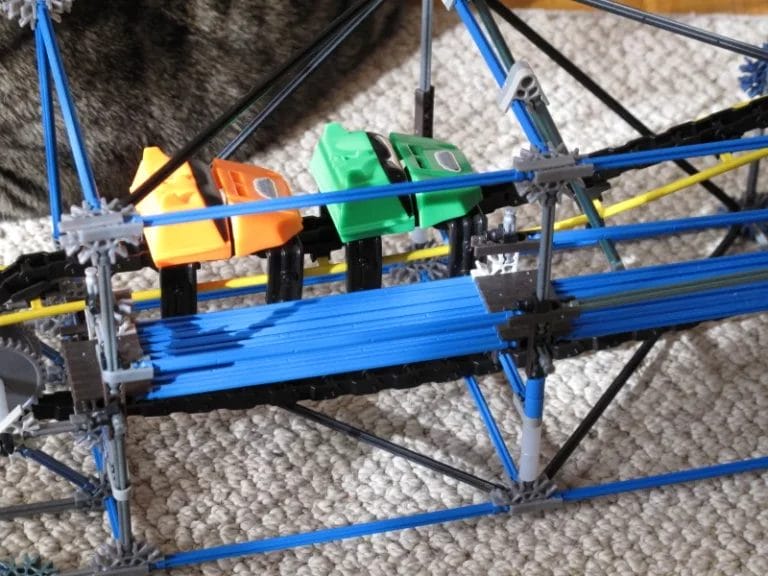
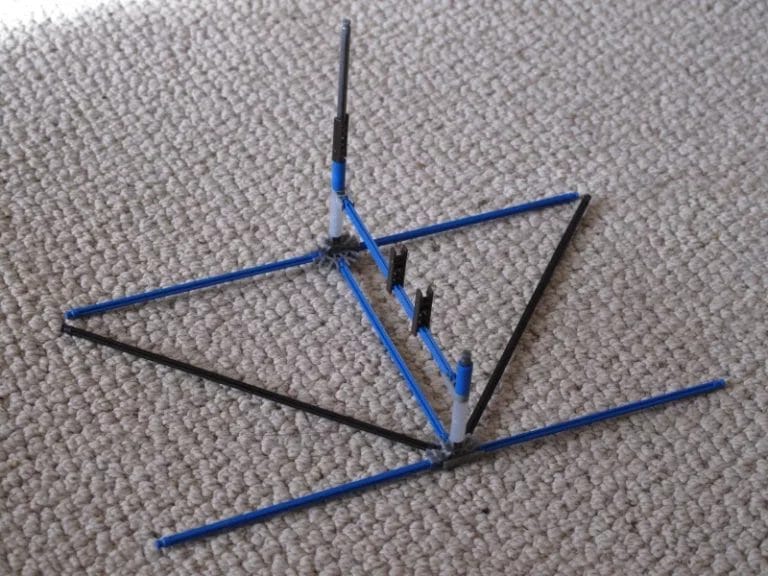
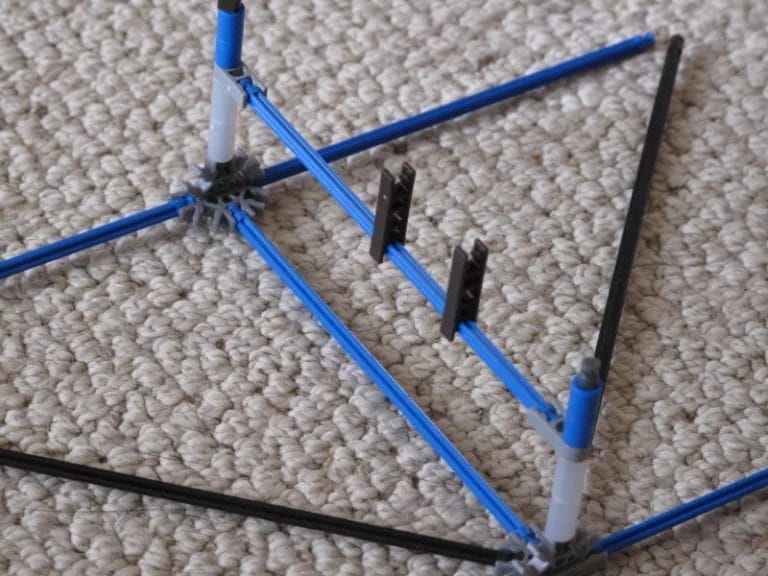
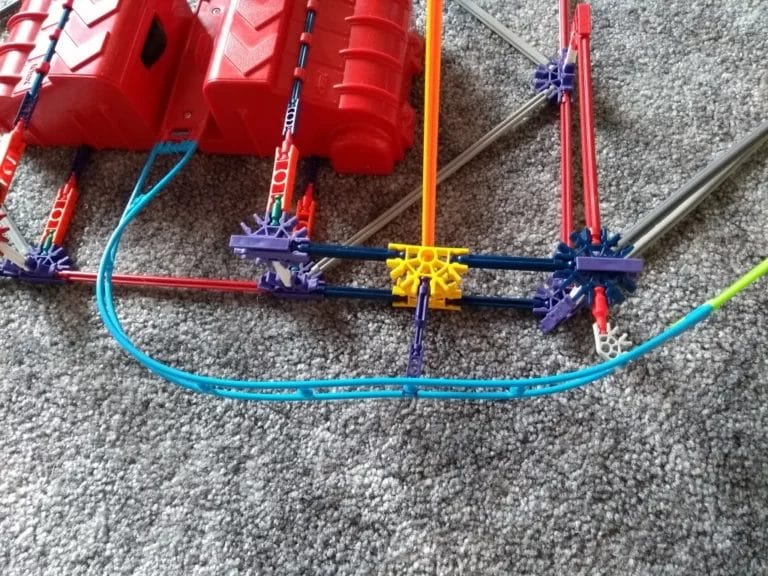
Step 4: The Boarding Platform


This platform will be beside the roller coaster’s track. It also has two parts. You’ll combine them to complete boarding platforms.
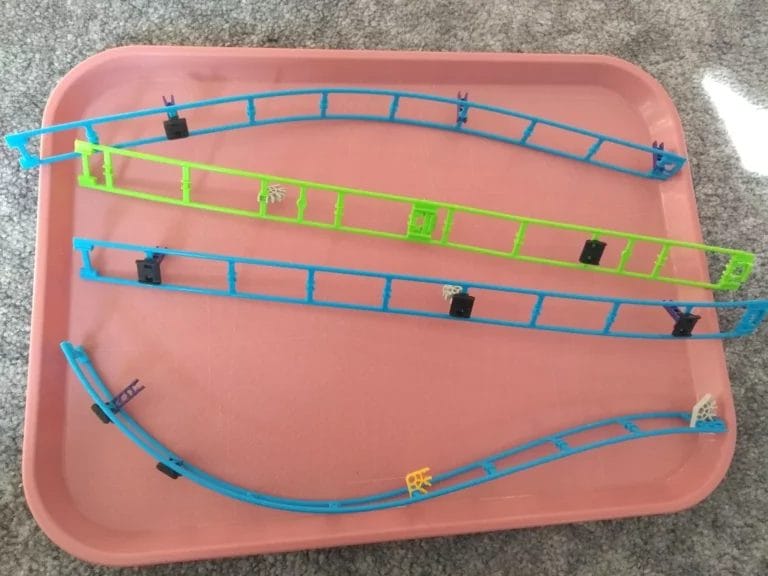
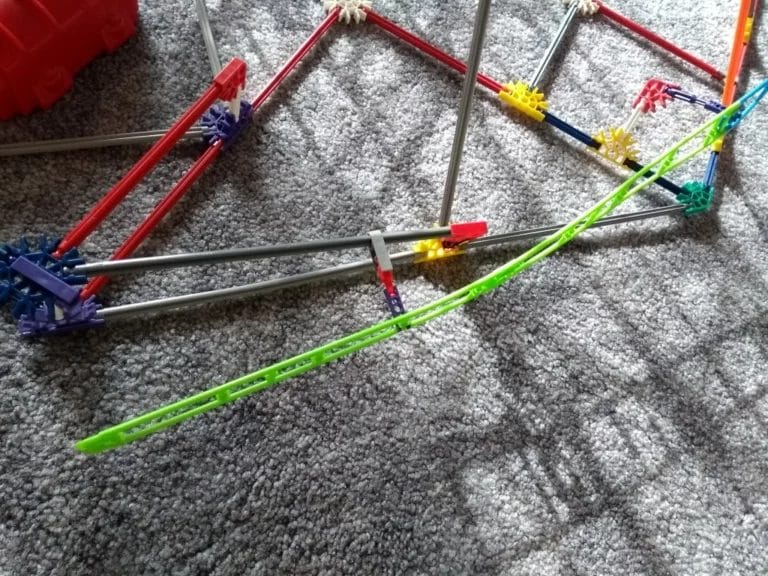
Step 5: The Track
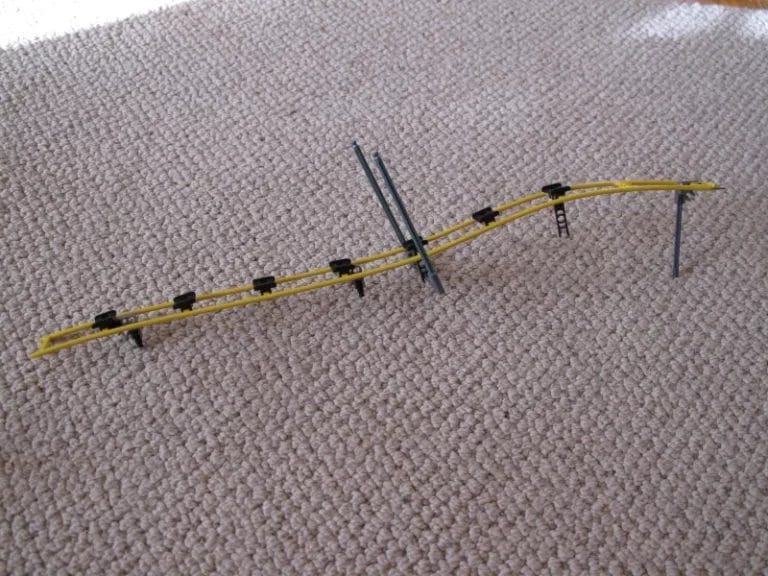

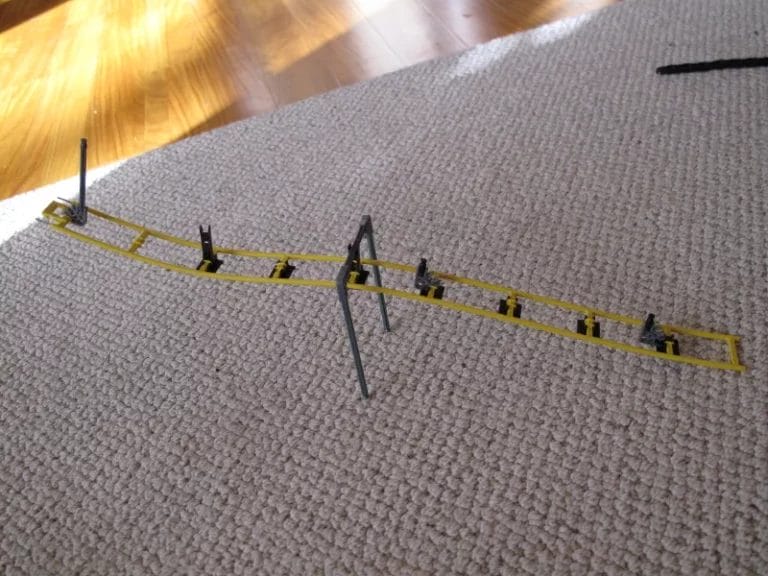
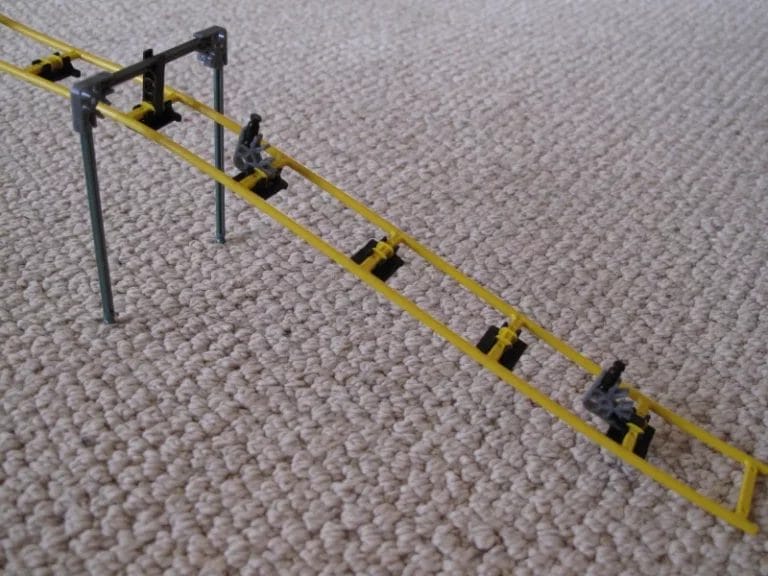

This track goes through the middle of the station. The cars will move from the back end to the front. Make sure it is facing the right way!
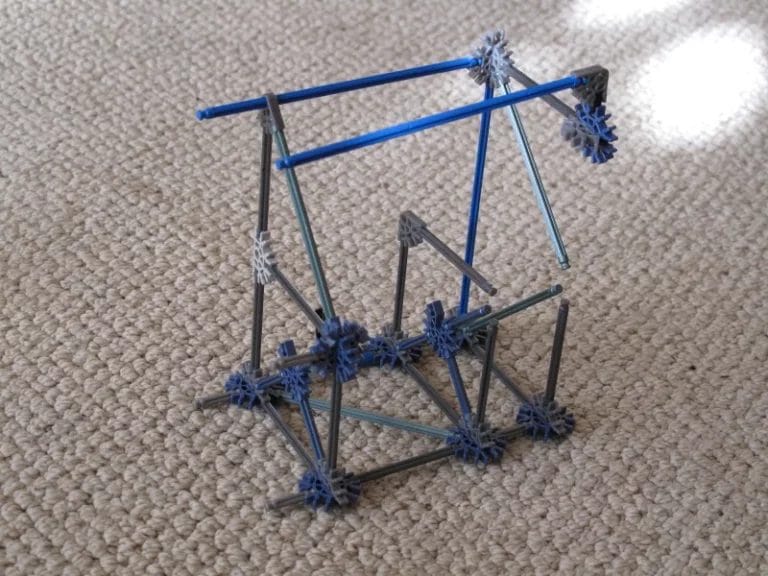
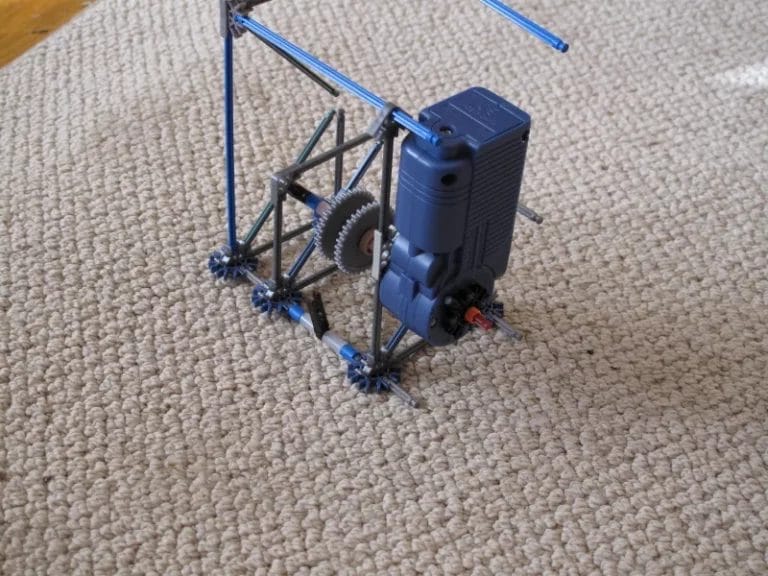
Step 6: Combining Steps 2-5


In this step you’re combining all the stuff you’ve built so far, meaning assembling the front section, the bottom part, the boarding platform, and the track!
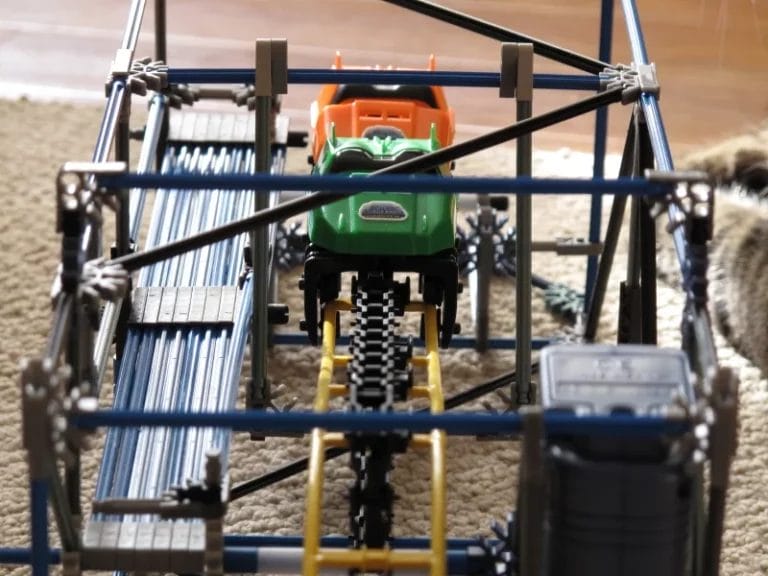
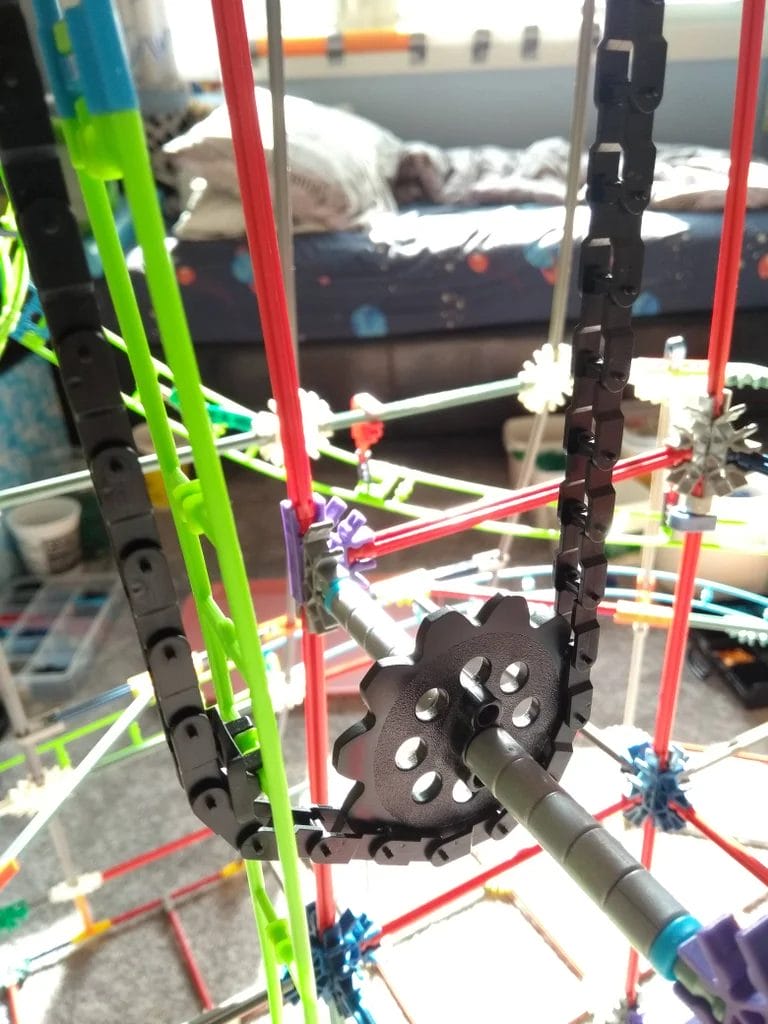
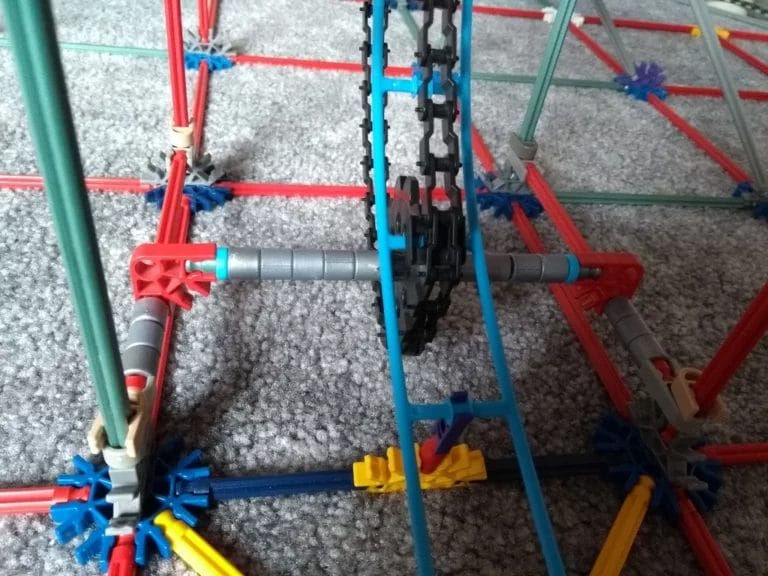
Step 7: The Chain
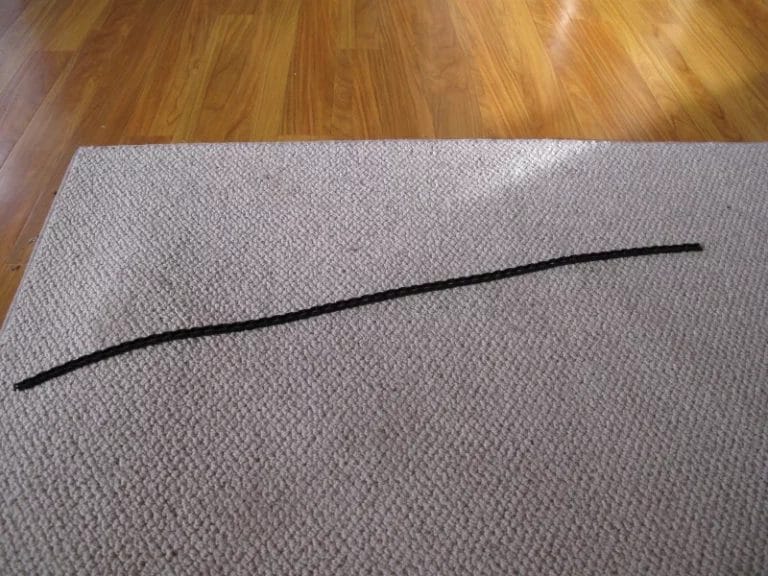
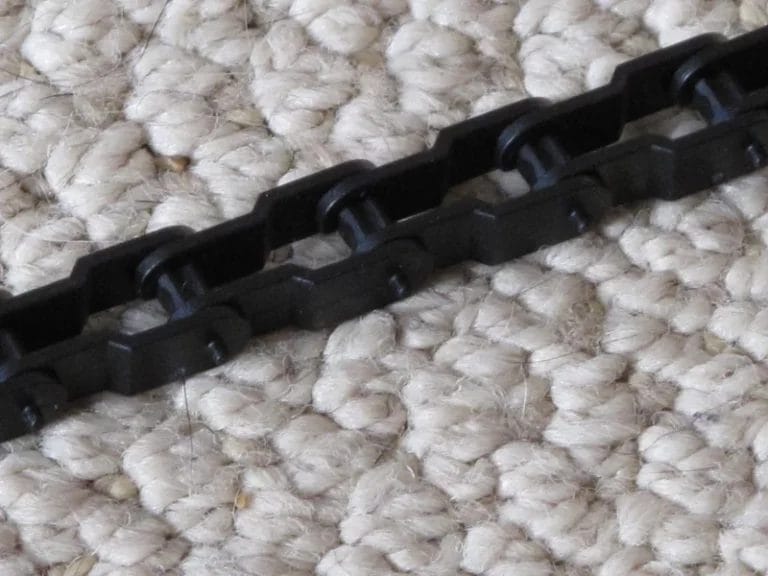


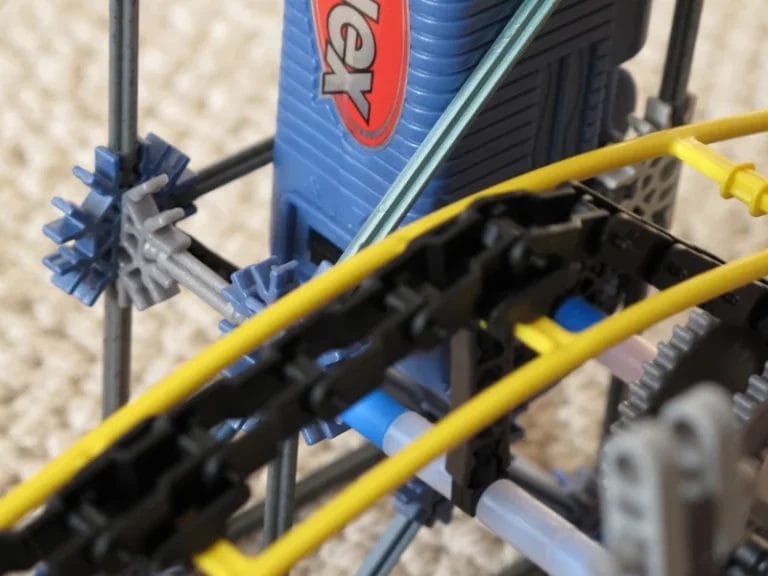

Your station will be nothing without a chain, so put it on! It does matter which way you attach it. Make sure all the chain links are facing in the same direction, so pay close attention to the pictures.
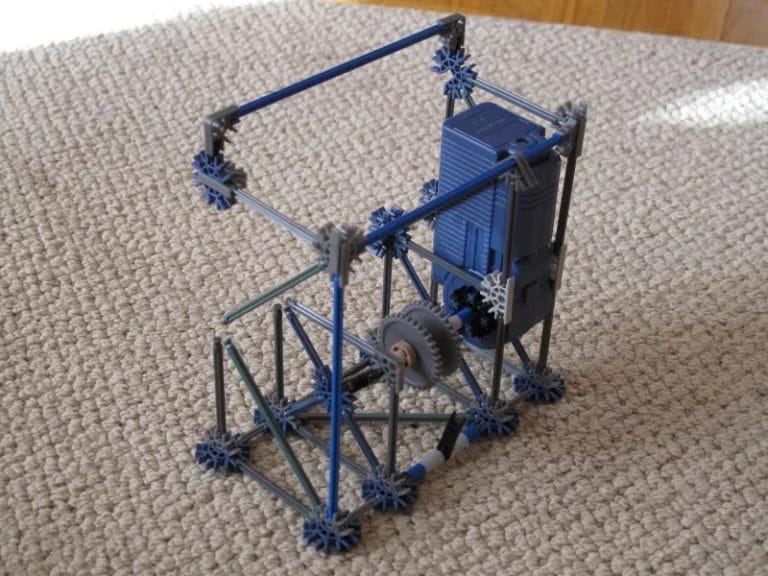
Step 8: The Top


You’re almost there! Simply build the top and add it to the station.
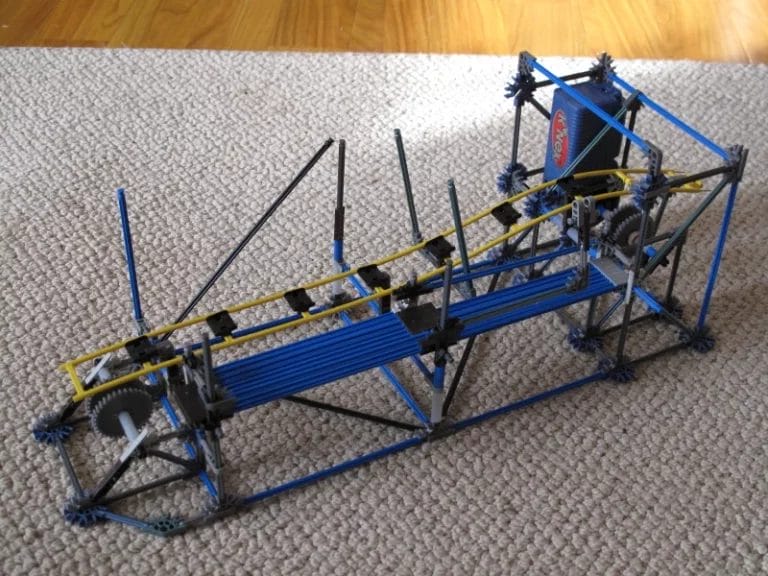
Step 9: Final result

Congratulations, you’ve completed your creation! You can add the station to a roller coaster by just adding cars.
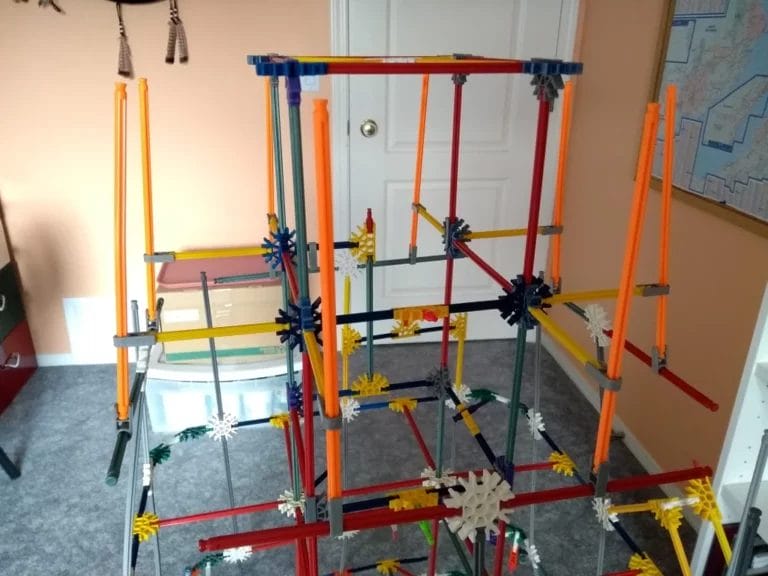
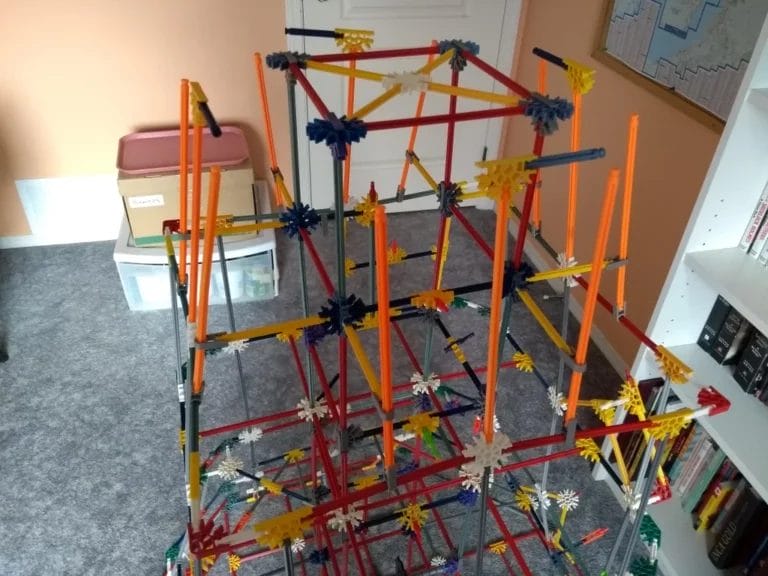
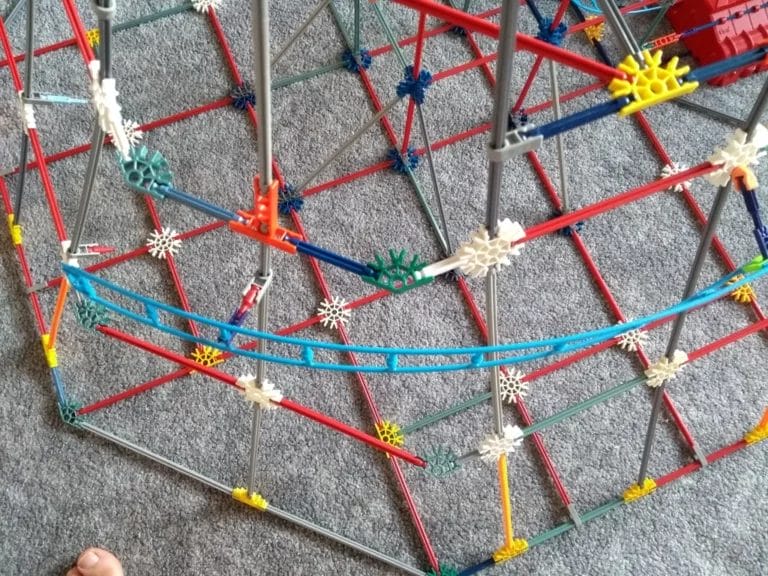
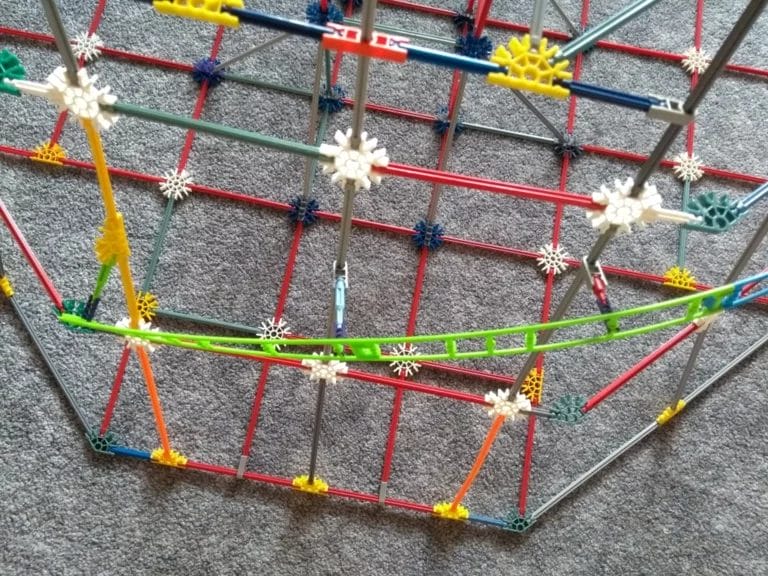
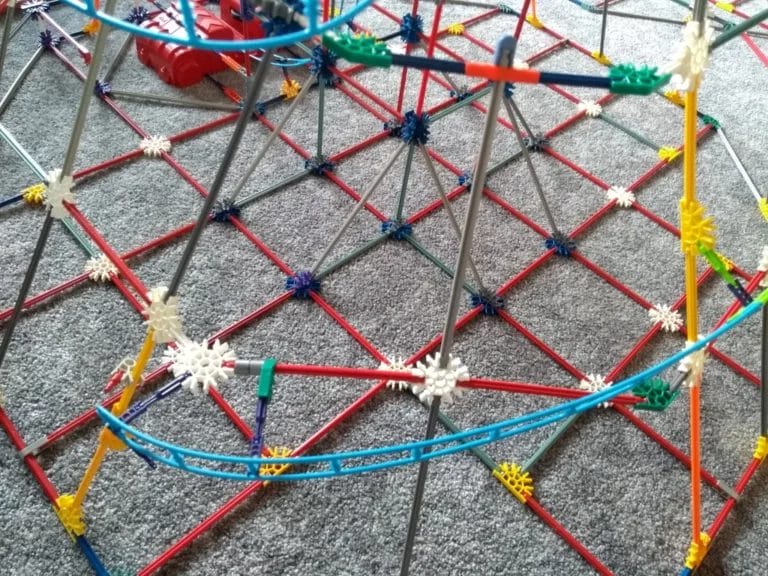
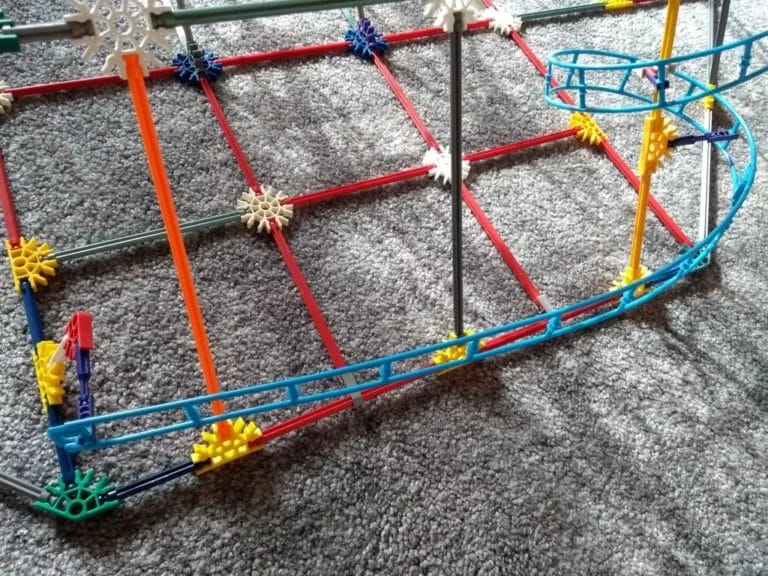
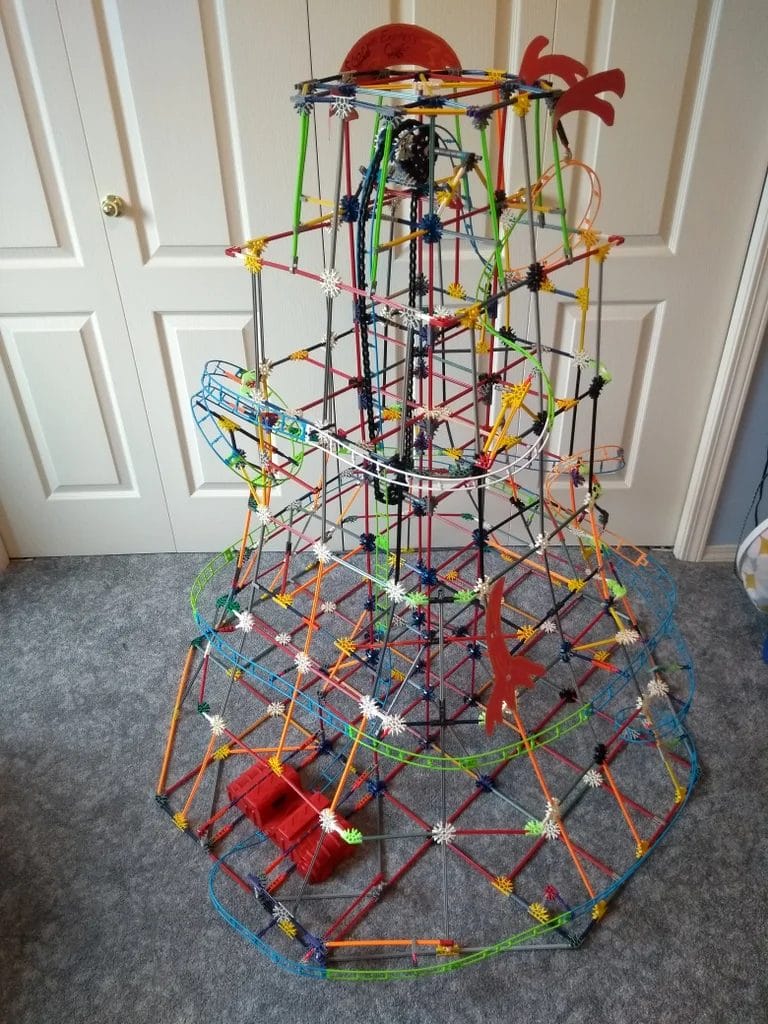
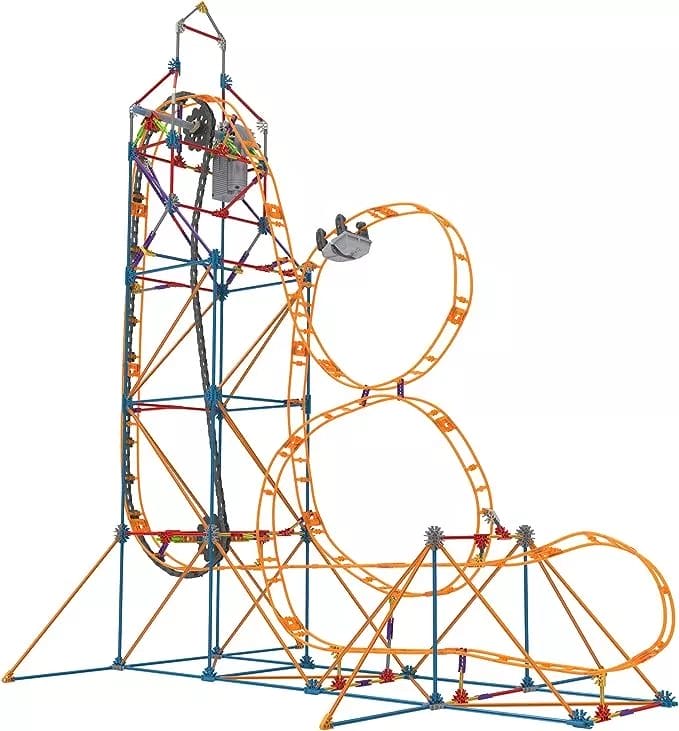
K’NEX Scorpion Express Coaster
Now, let’s make a roller coaster in the shape of a volcano from Instructables. Steps in the following sections lead to building it with a launch motor. At the end is an additional step for building it with a chain lift only, in case you don’t have a launch motor. While building, it helps to also click on the images to enlarge them and see their notes.

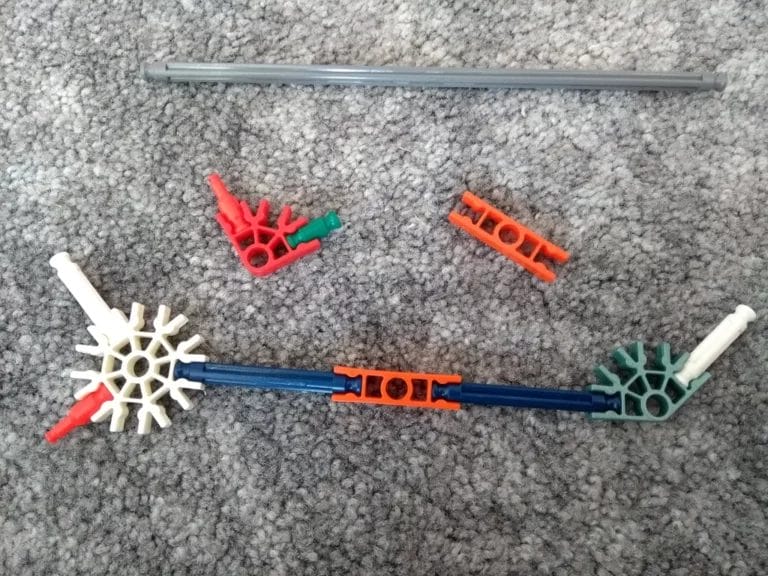
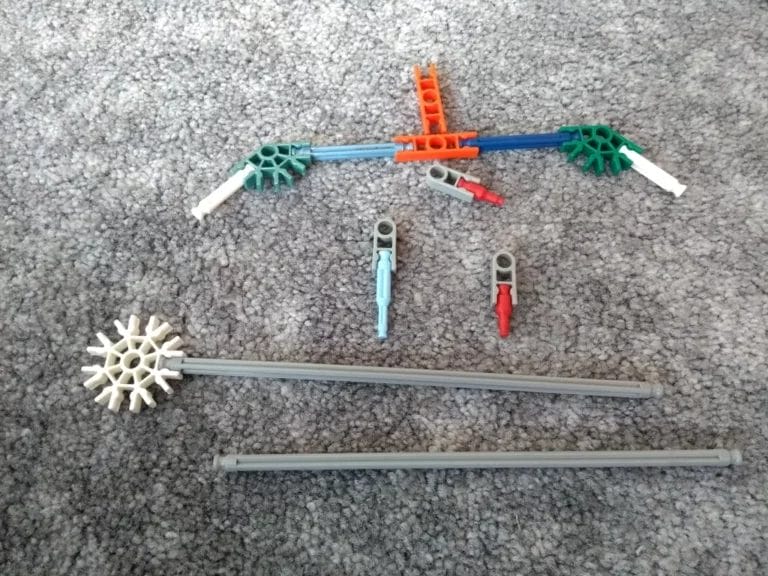
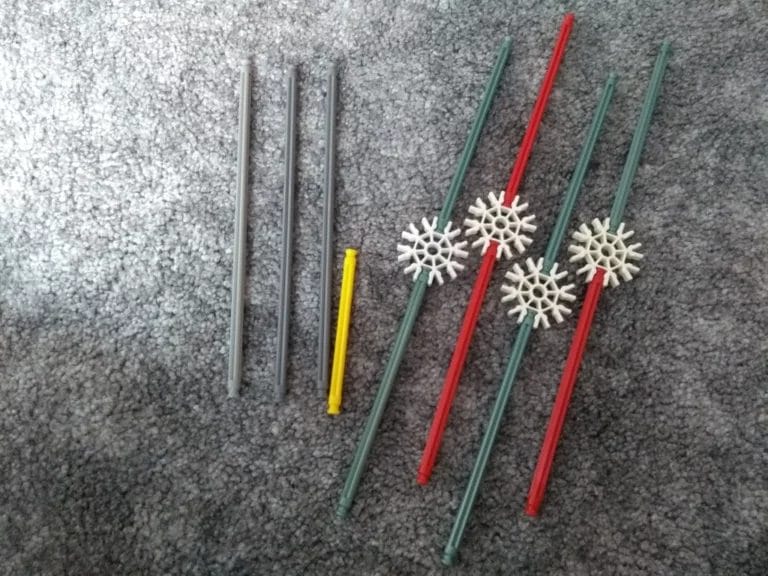
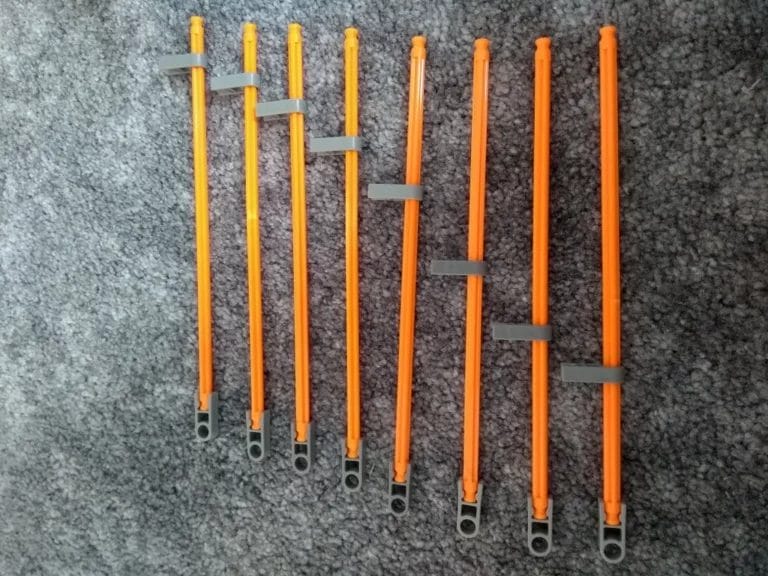
Step 1: Set Up for Pieces
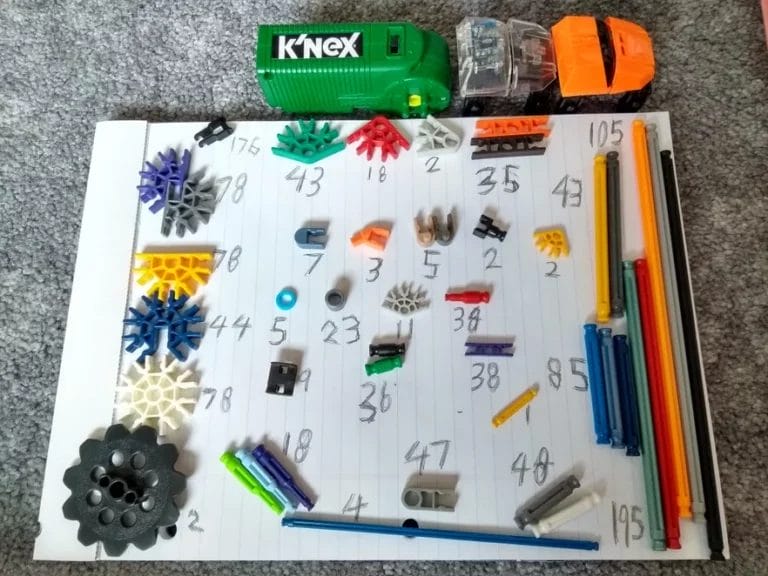
The pictures show the variety of pieces, motors, and tracks needed. The colors shown in the first picture display the variety that I used, meanwhile, it doesn’t matter what colors you use.
Pieces required for building the Scorpion Express Coaster include
Rods (Sticks) – (Shortest to Longest)
- Green/Black: 36
- White/Silver: 48
- Blue: 85
- Yellow: 43
- Red/Silver: 195
- Gray/Orange: 105
Connectors – (ID Color)(Most to Least Sides)
- White: 78
- Blue: 44
- Yellow: 78
- Purple/Grey: 78
- Green: 43, Red: 18
- Orange/Brown: 35
- Bright Grey/Orange: 2
- Grey: 47
- Sandy: 5
- Shiny Blue: 7
- Orange: 3
- Black: 2
Other Types
- Silver Spacers: 23
- Blue Spacers: 5
- Black Gear Wheels: 2
- Black Chain Holders(Look on Pic.): 9
- Coaster Car: 2
- Coaster Tracks: 26
- 1 Regular Motor
Micros
Rods: Short Red Transfers: 38; Long Transfers(Green/Purple/Bright Blue): 18; Blue: 4; Yellow: 1
Connectors:
- Gray: 11;
- Purple: 38,
- Yellow: 2
- If with a Launch Motor, then Micro-Chain: 93.
- If without Launch Motor, then Micro-Chain: 176.
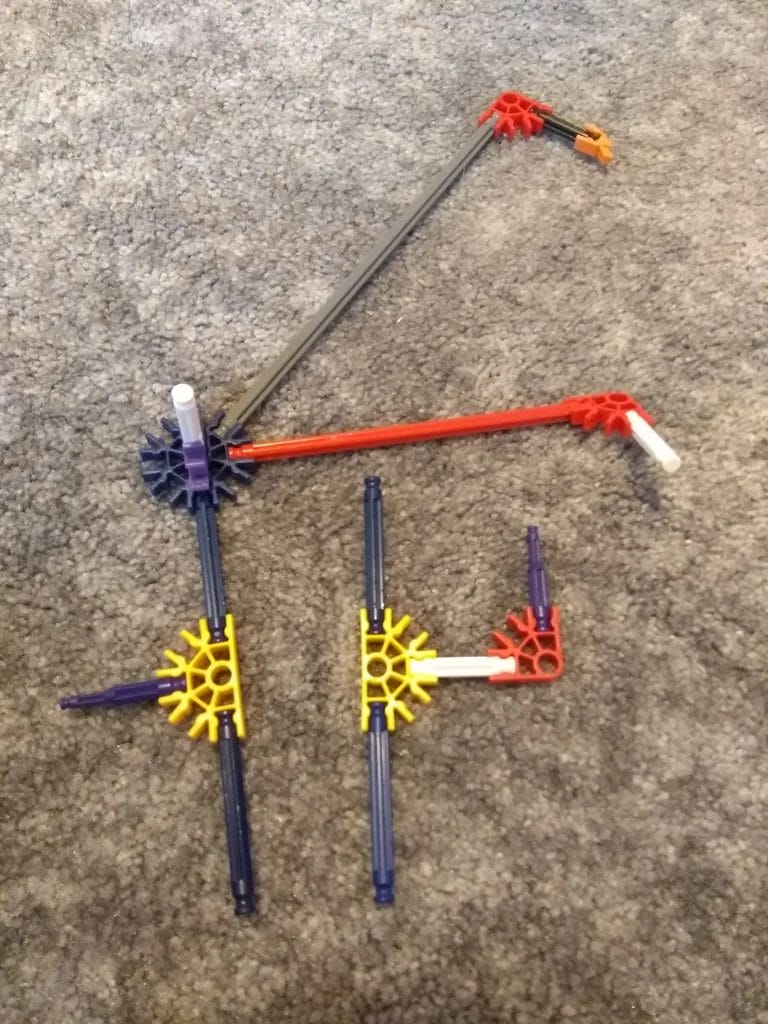
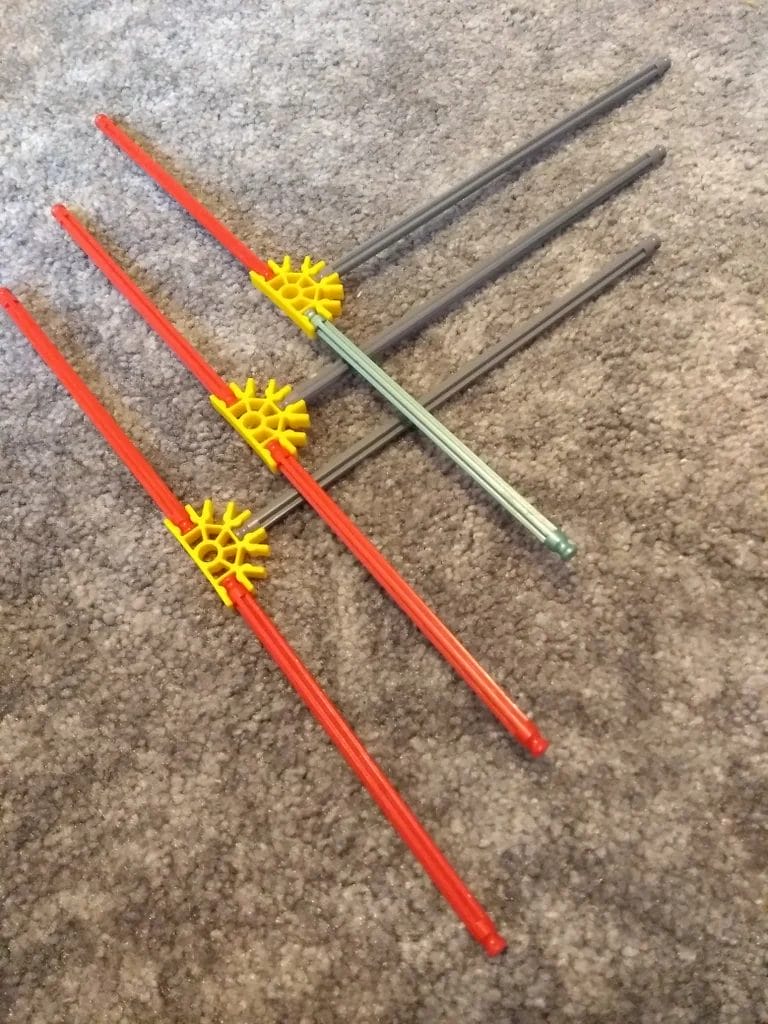
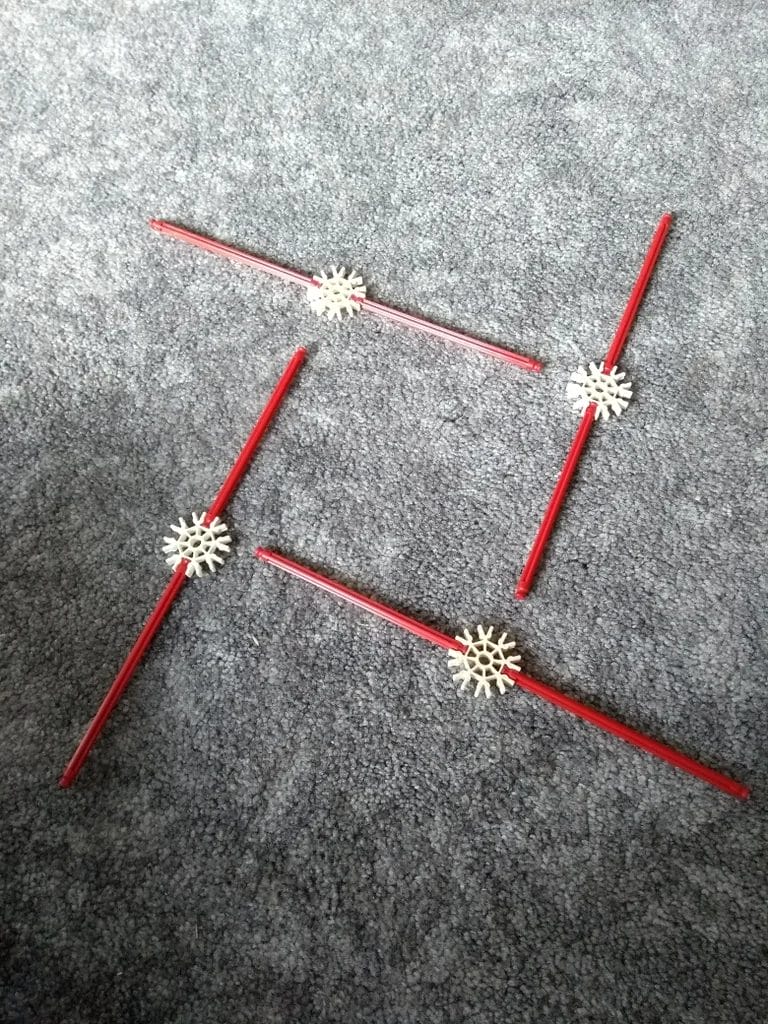
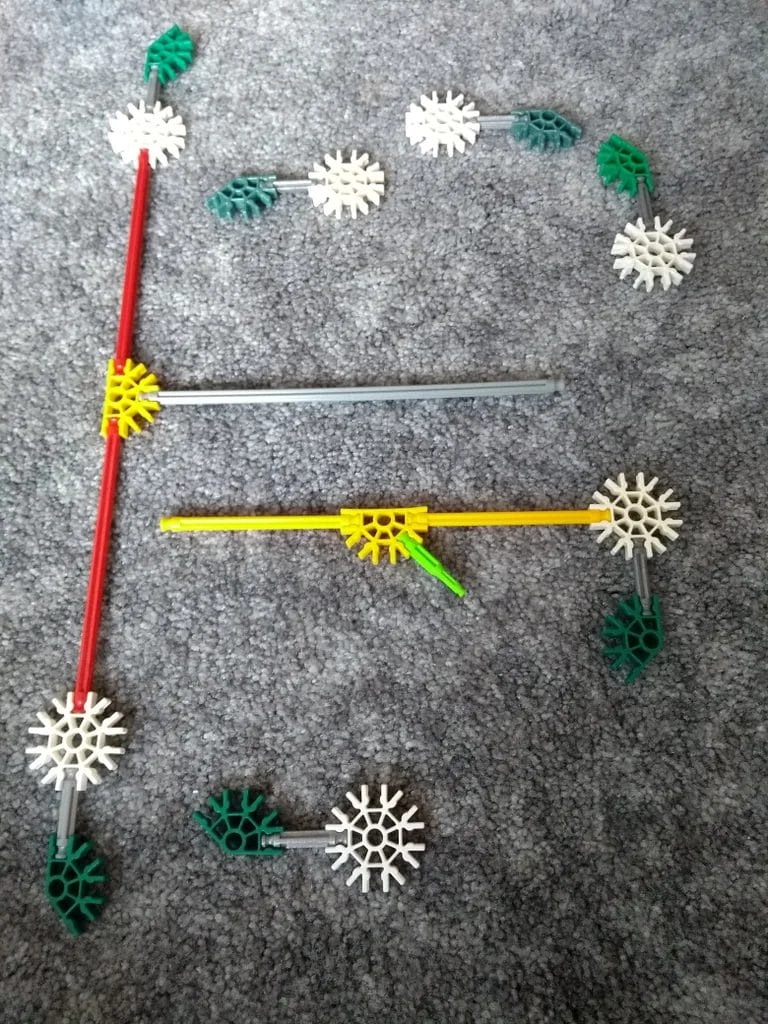
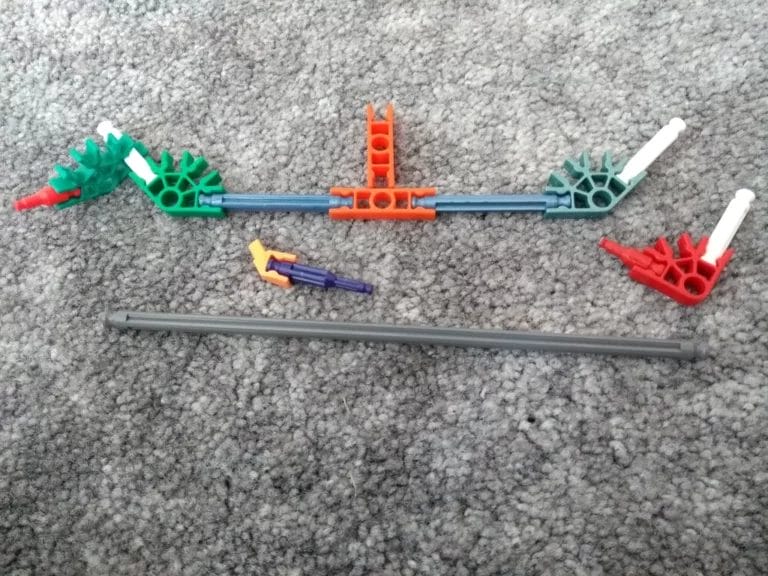
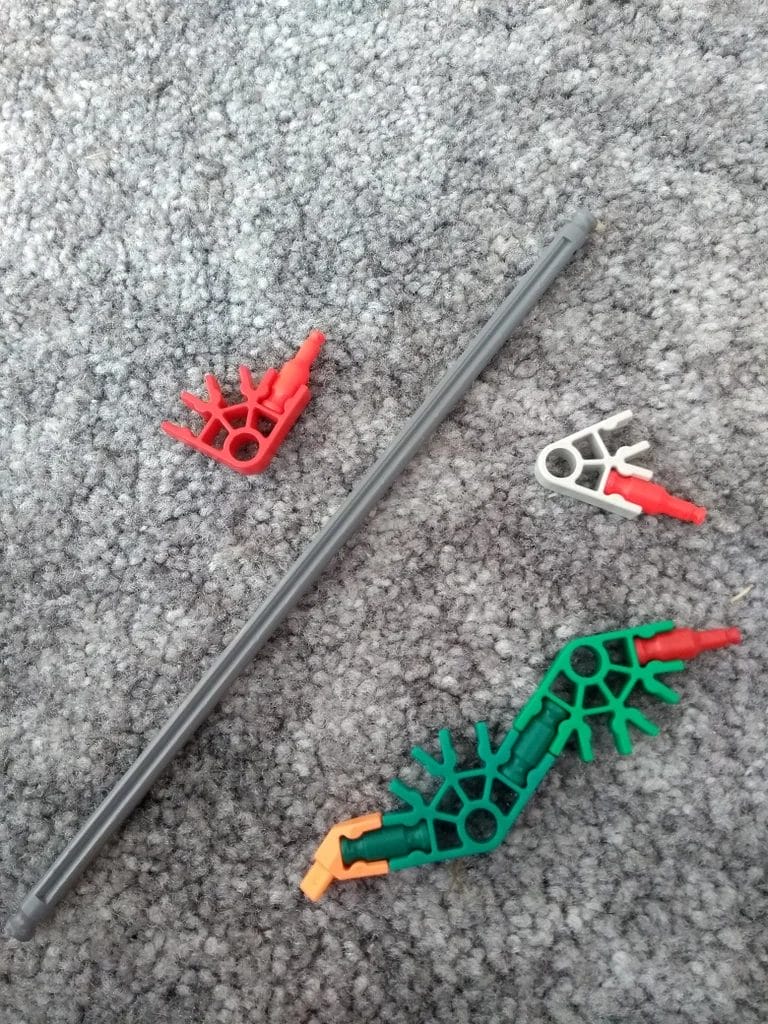
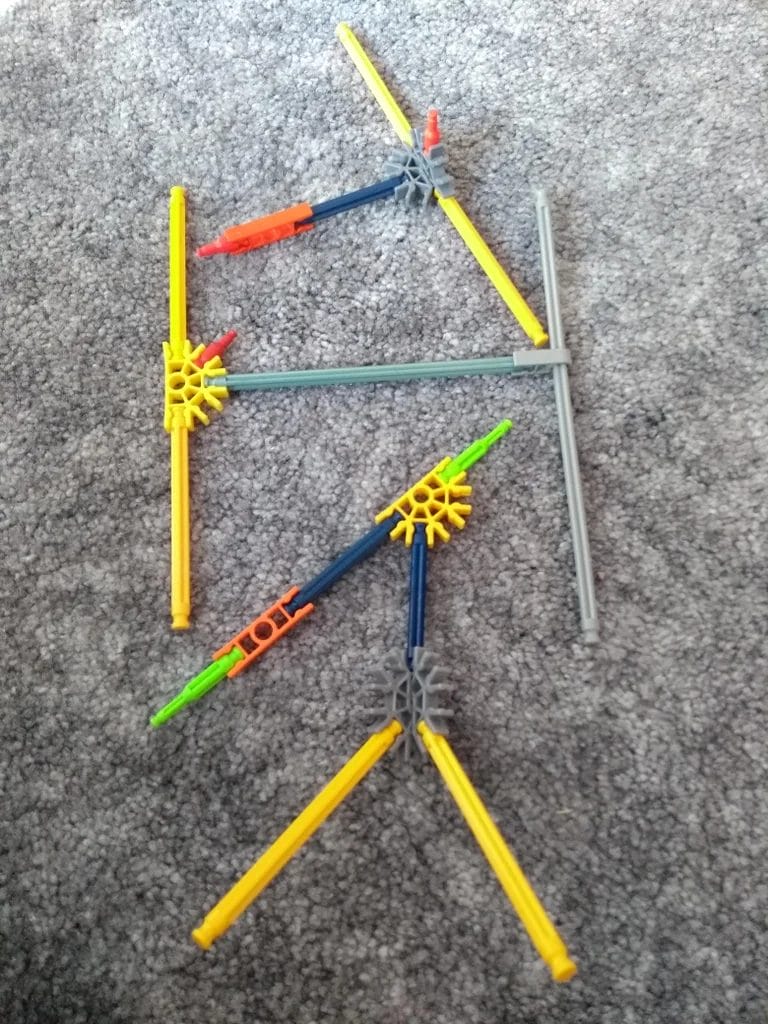
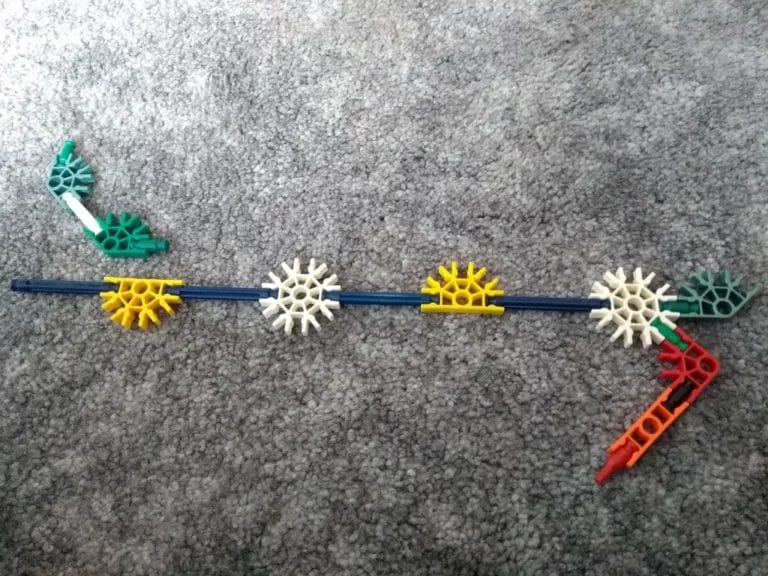
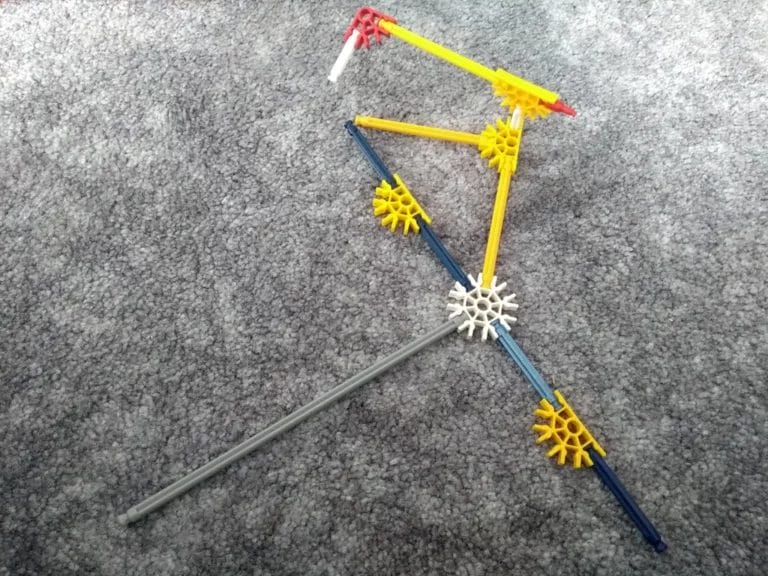
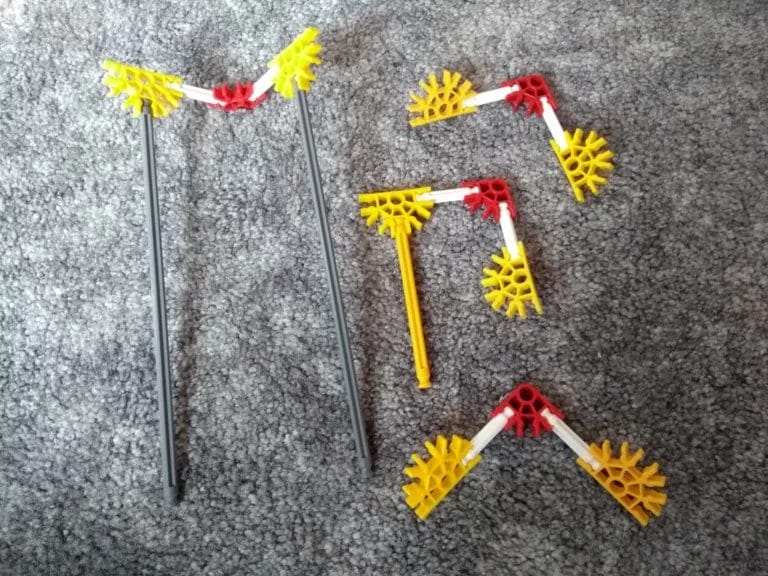
Step 2. Name parts
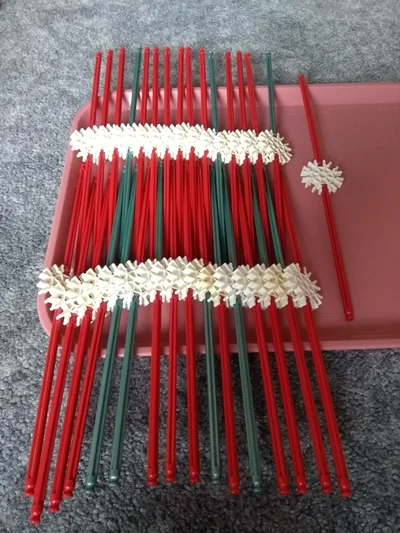

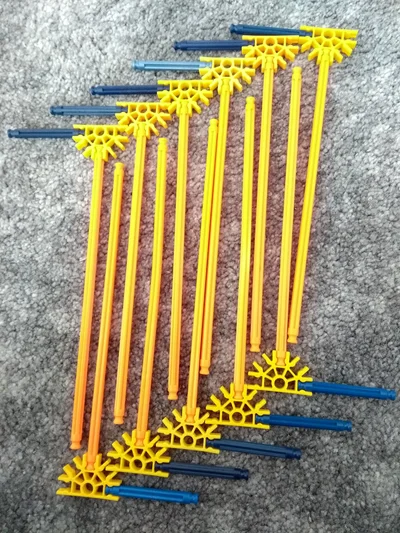
In the following images, as shown, parts are named to sorting out pieces easier:
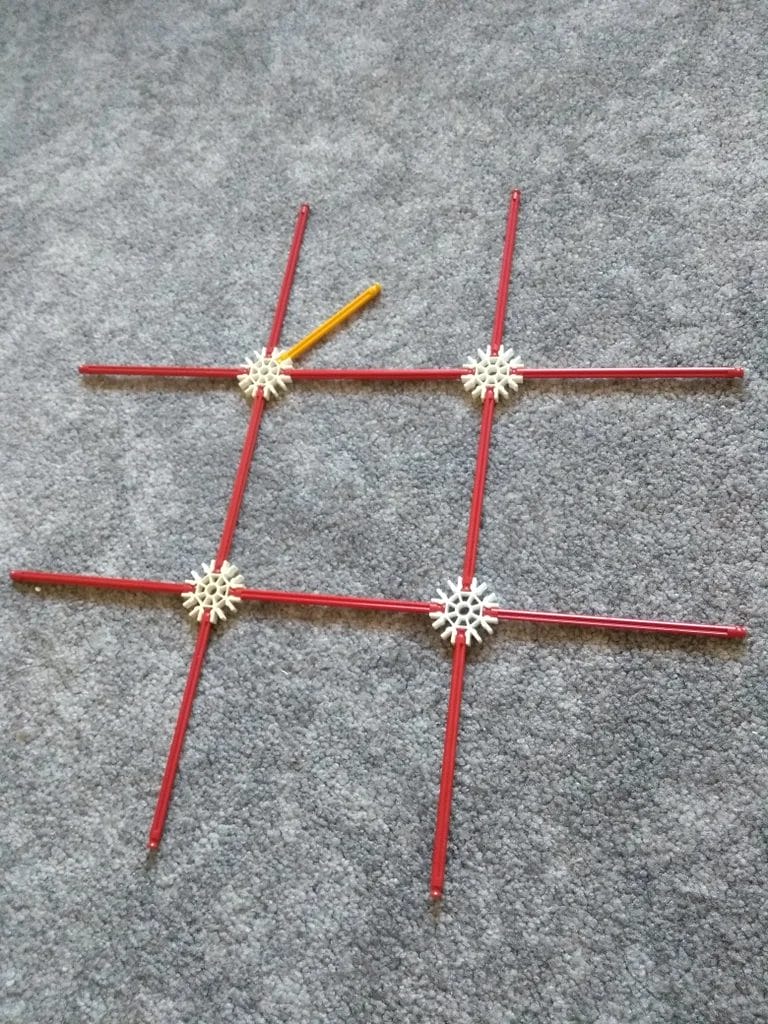
Build the first 32 (2 red rods & 1 white connector) and call them “Part #32”.
Build second 12 (2 grey rods & 1 white connector) and call them “Part #12”.
Build the third 11 (1 blue rod & 1 yellow connector & 1 orange/grey rod) and call them “Part #11”.
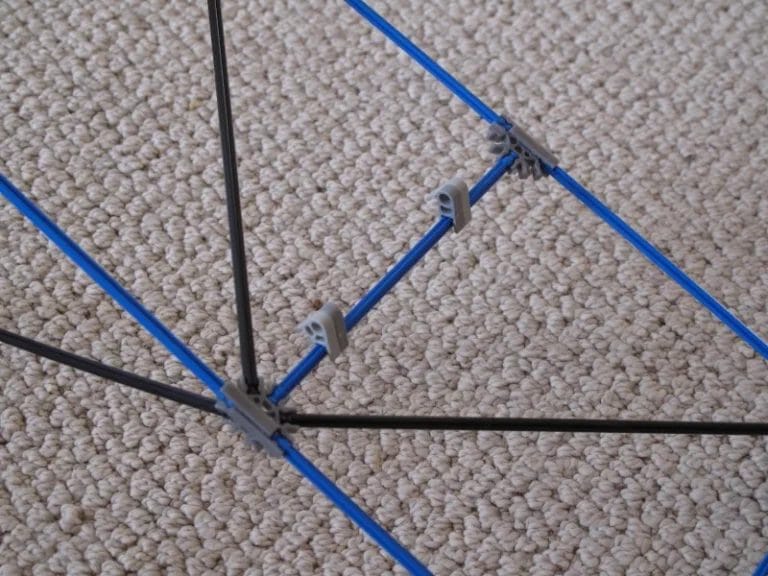
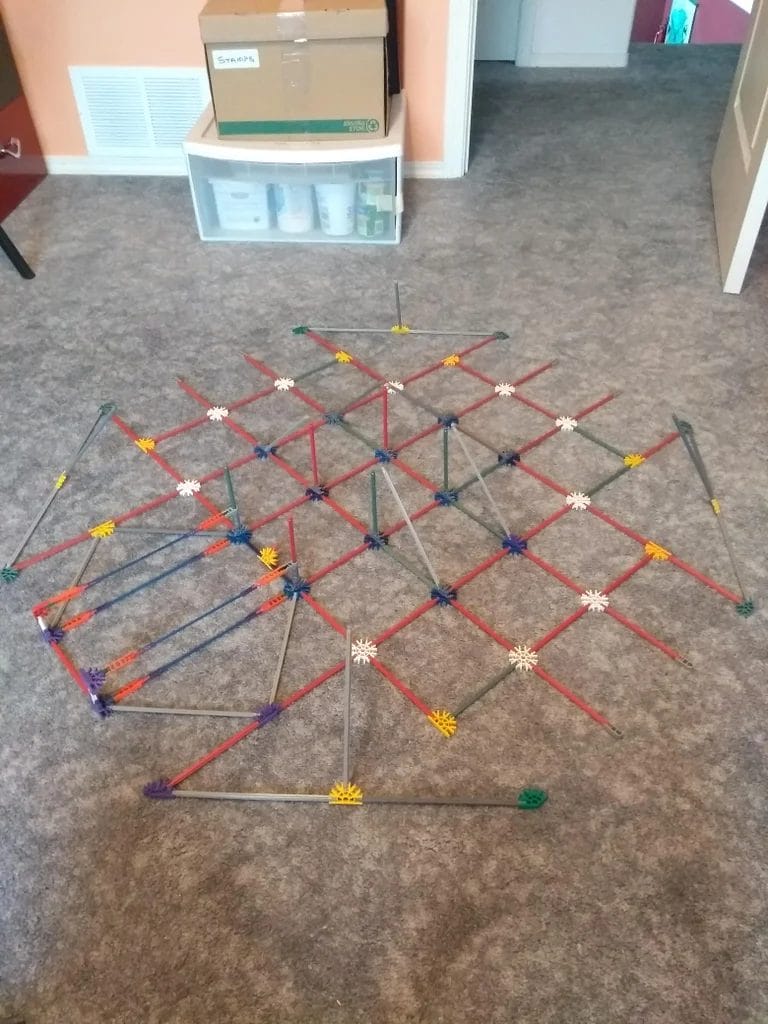
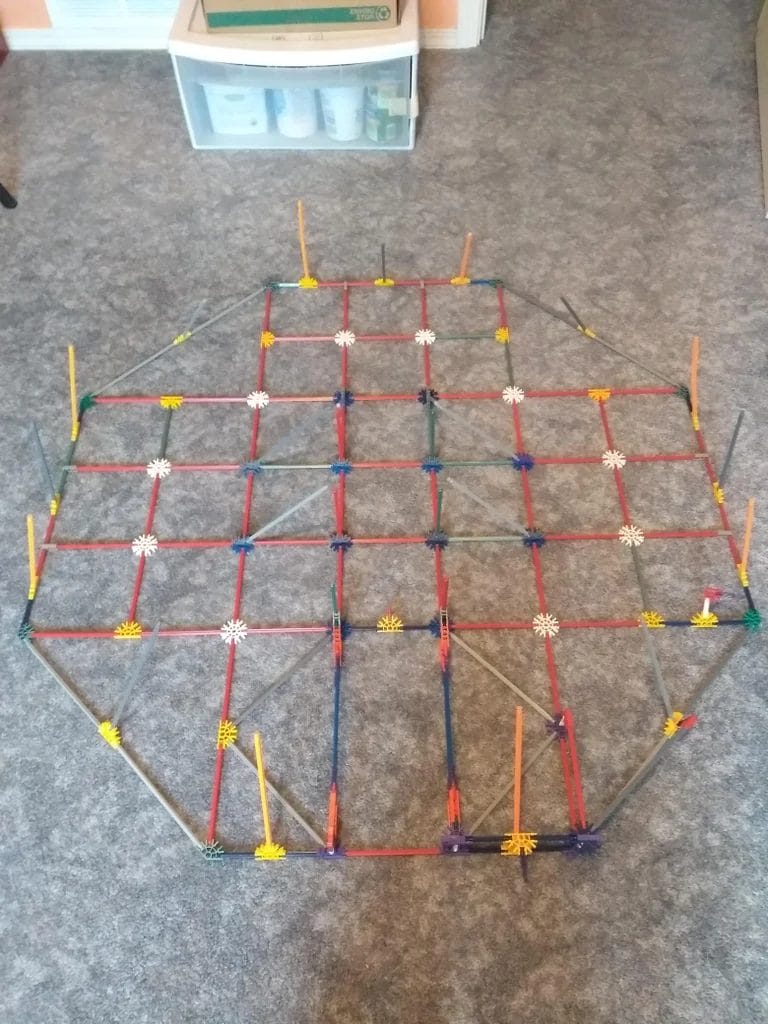
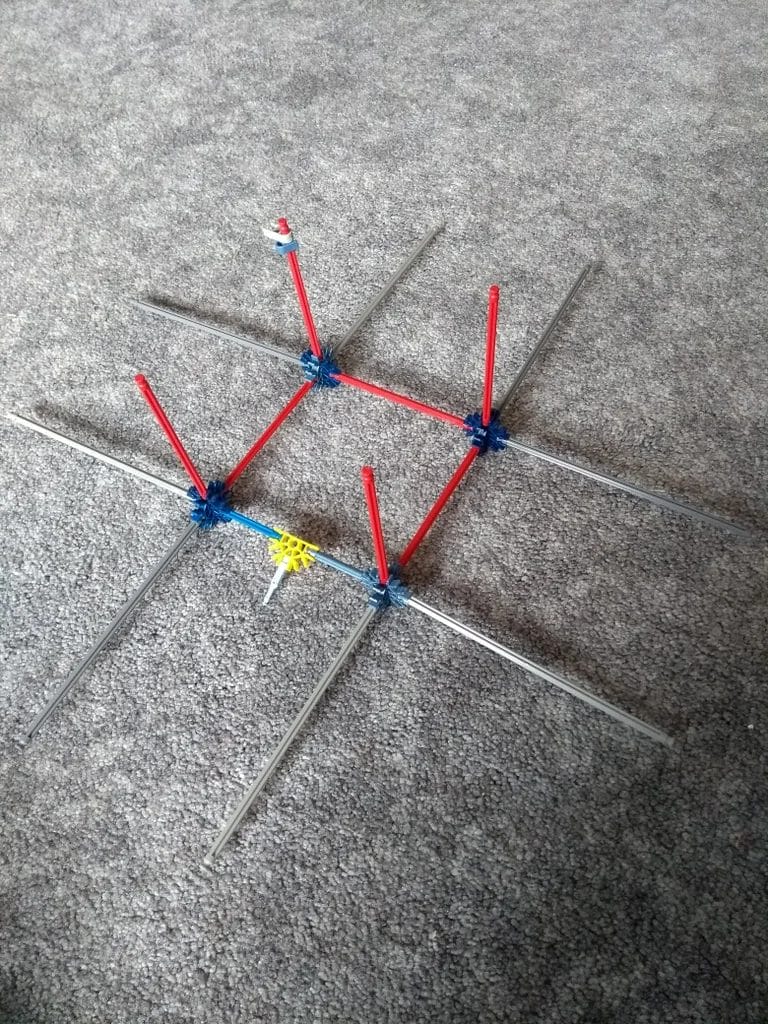
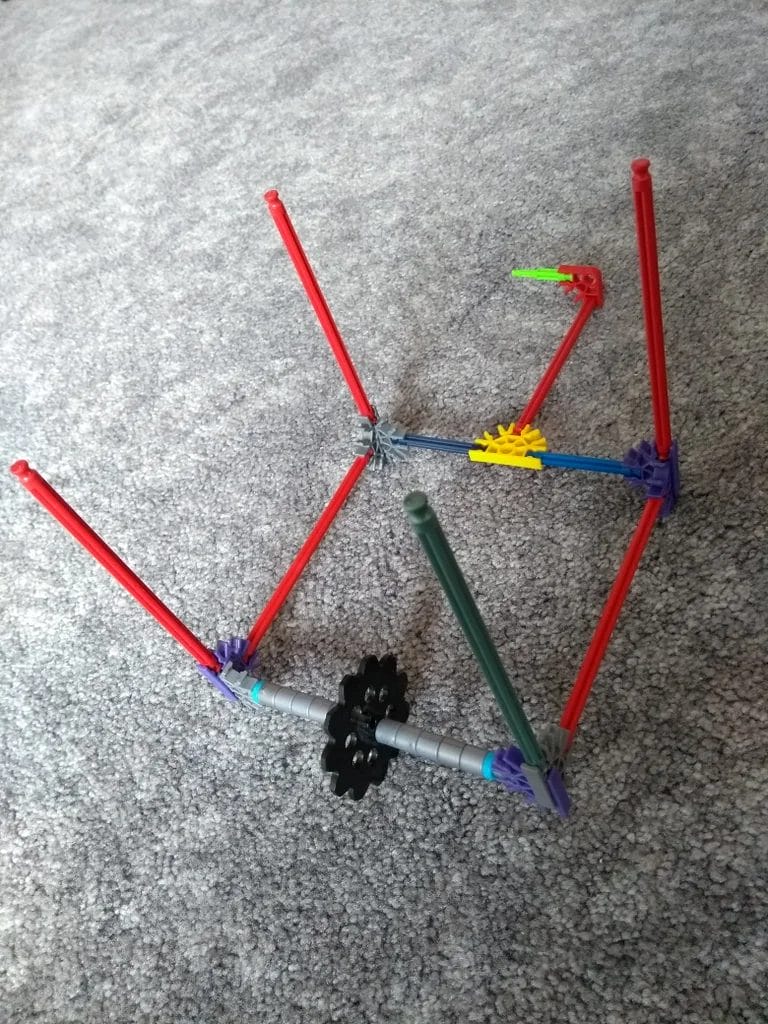
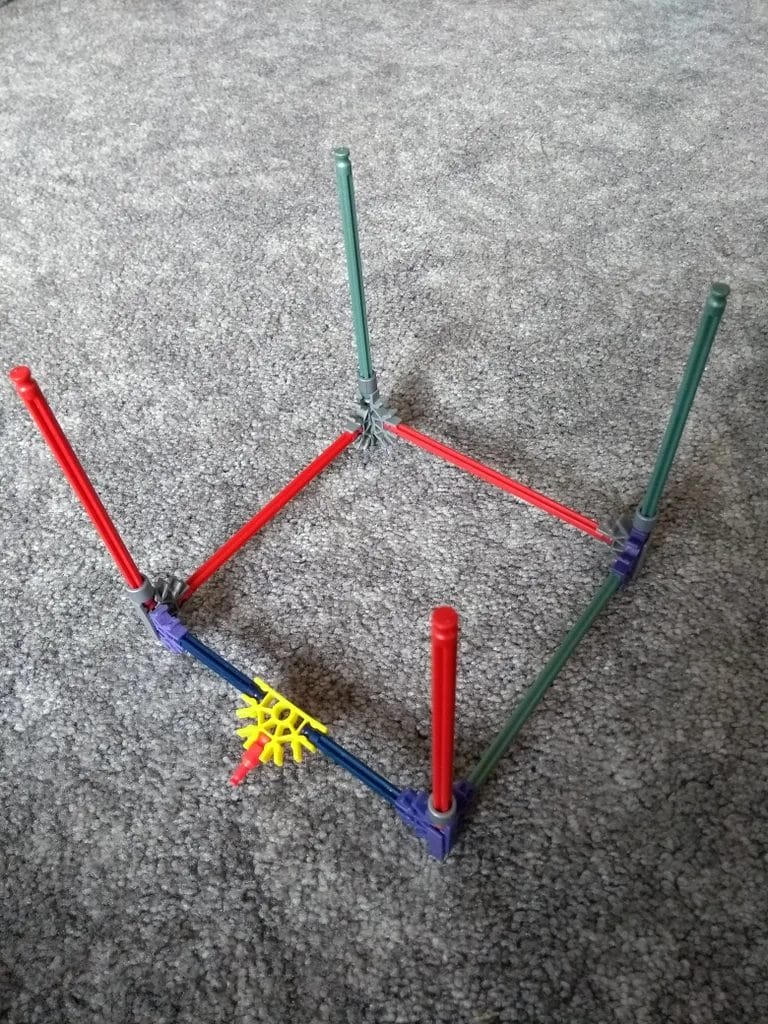
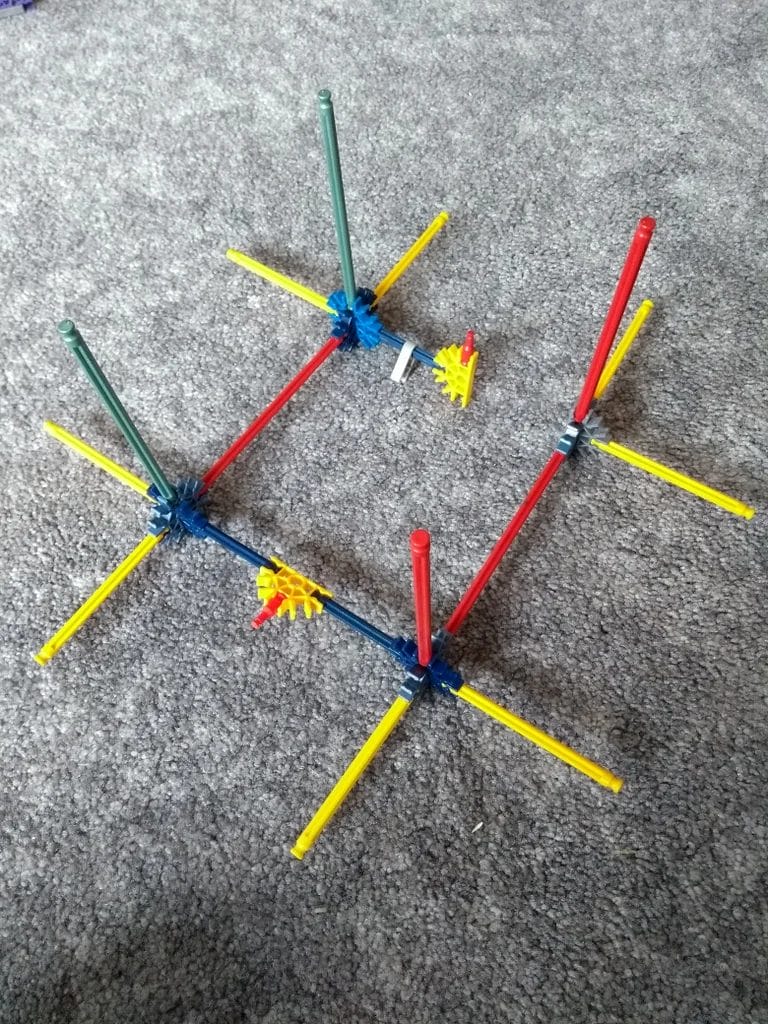
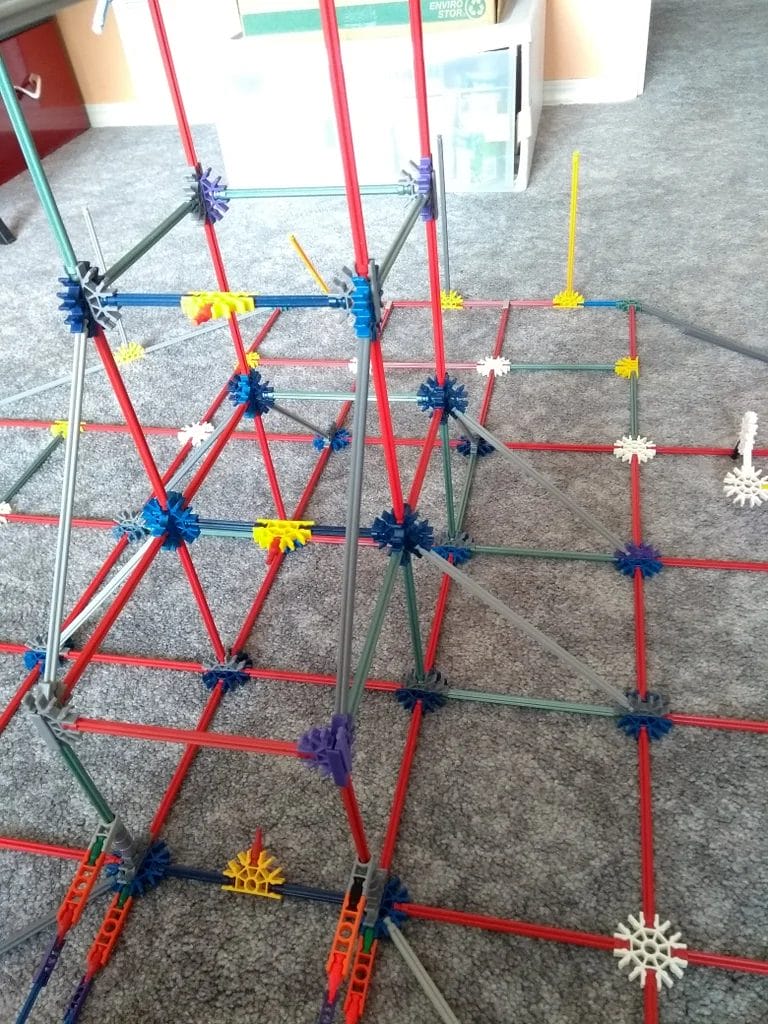
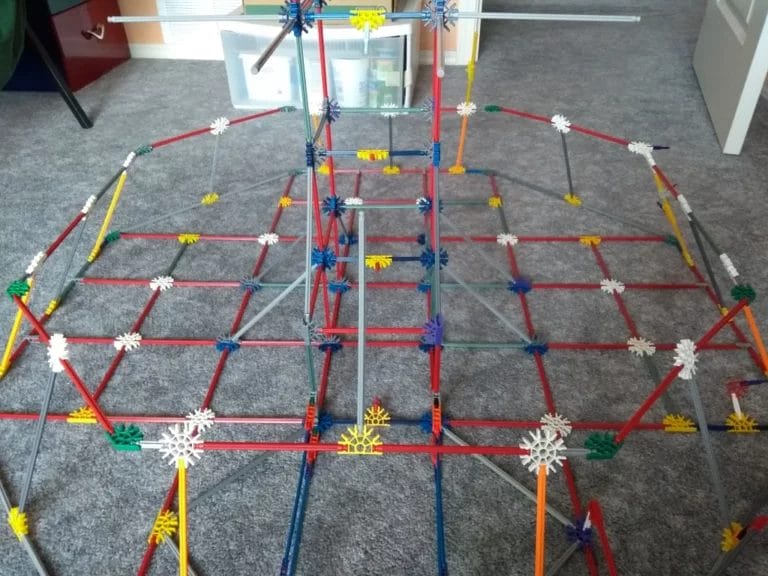
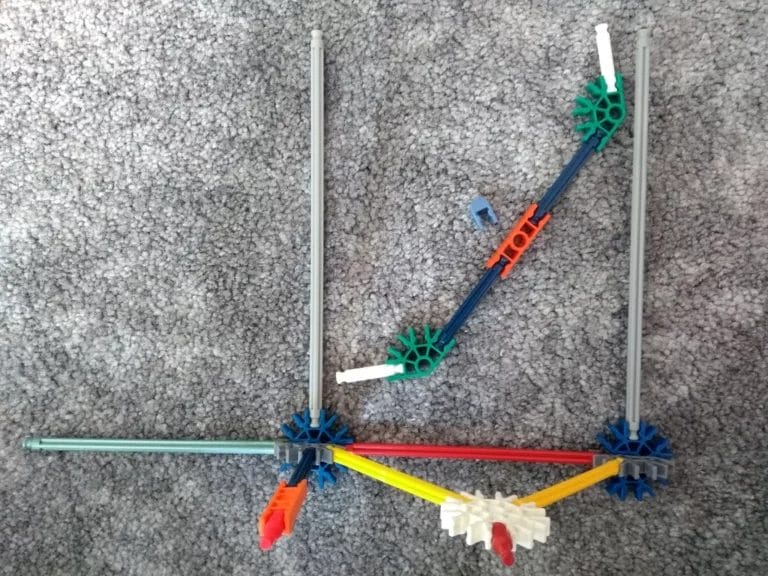
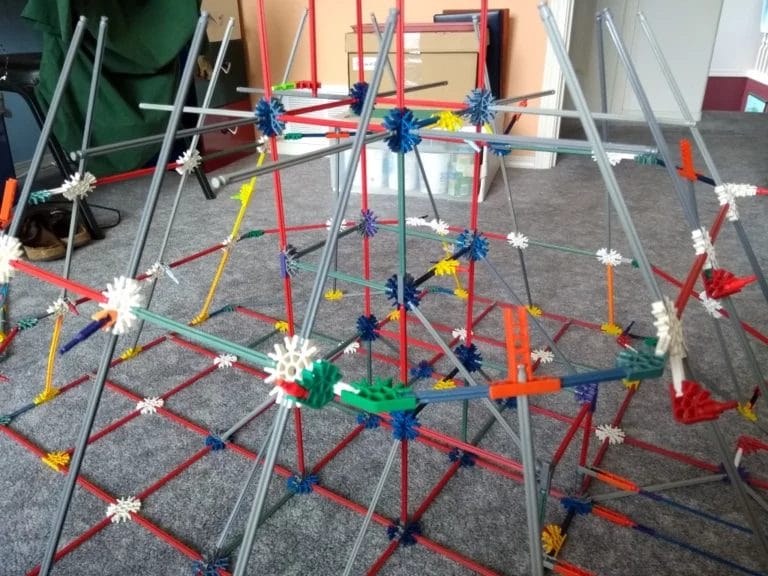
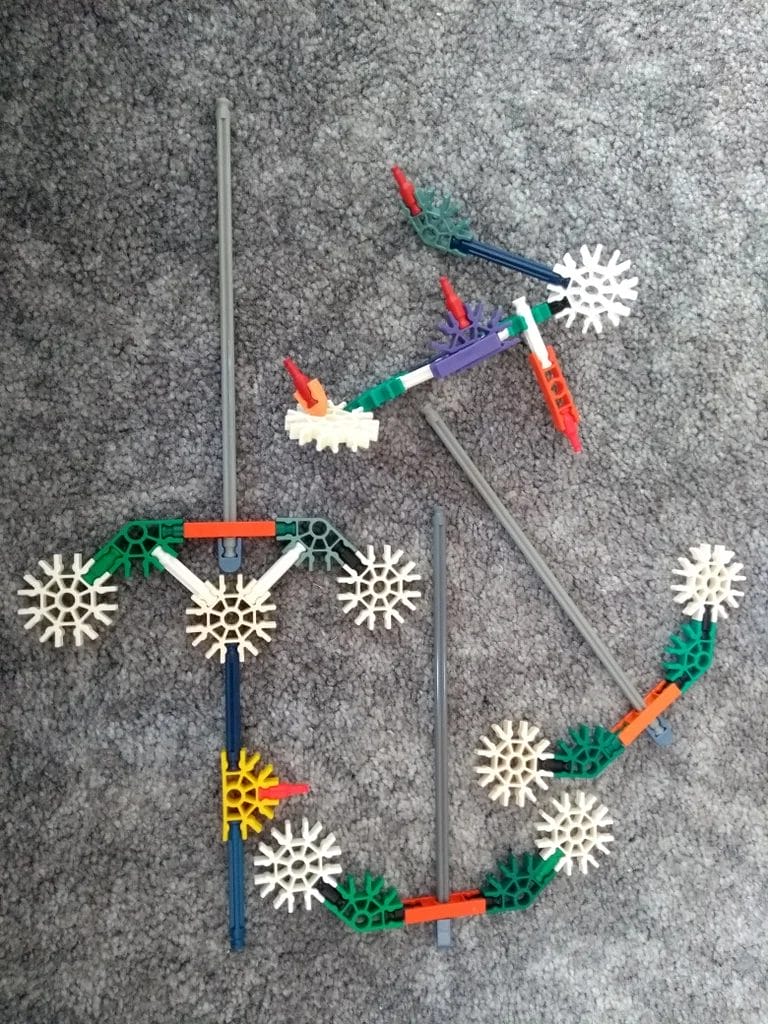
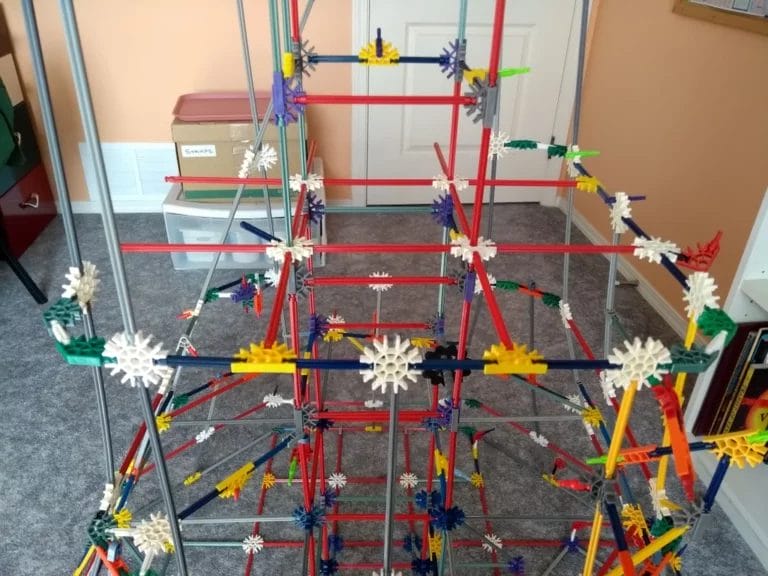
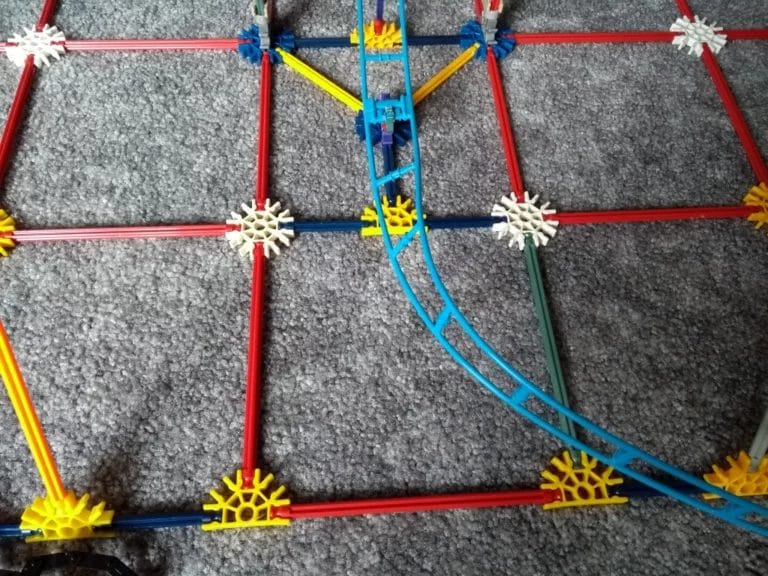
Step 3: The Base


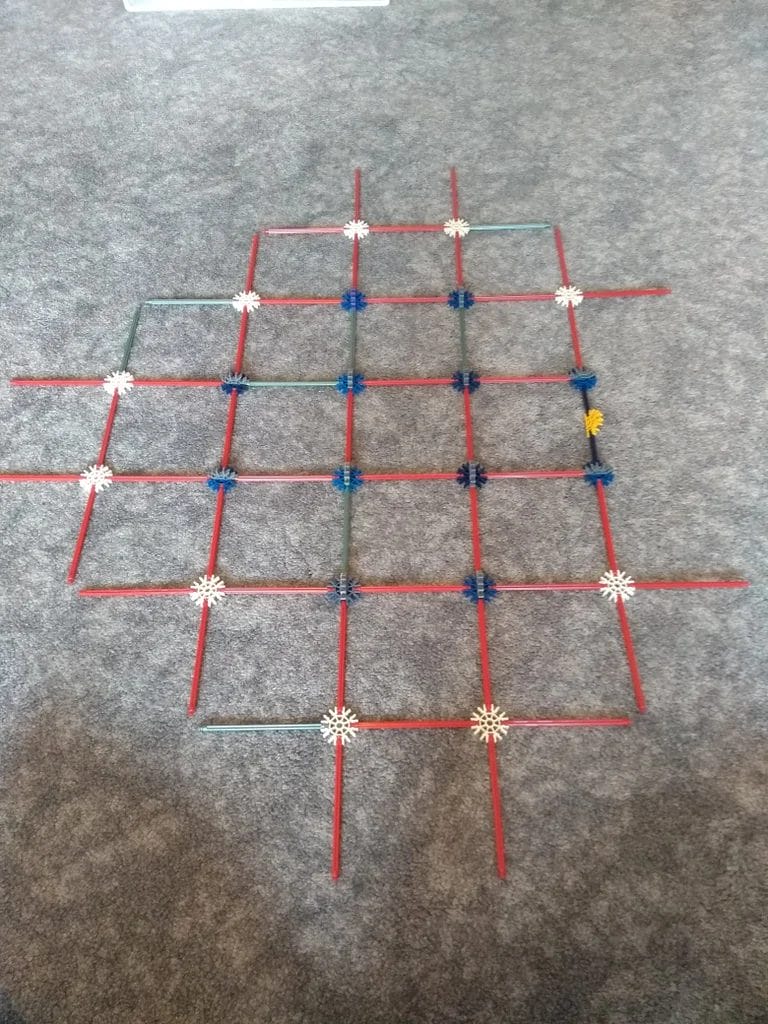
As the following images suggest, build the plus-shaped base, and consider the side with the yellow connector as the front.
Add on 10 “Part #32″s.
Add on 17 red rods.
Add on 7 yellow connectors, 6 grey connectors, and 2 purple connectors.
Add on 7 red rods and 4 grey rods.
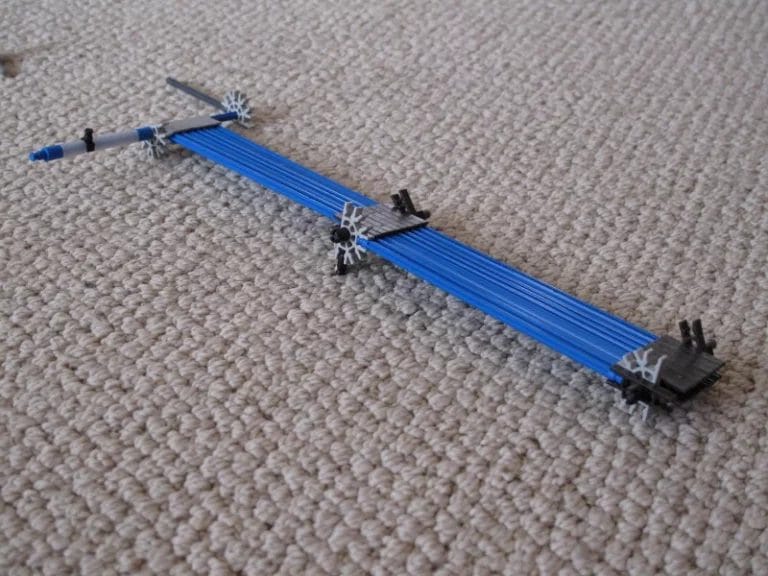
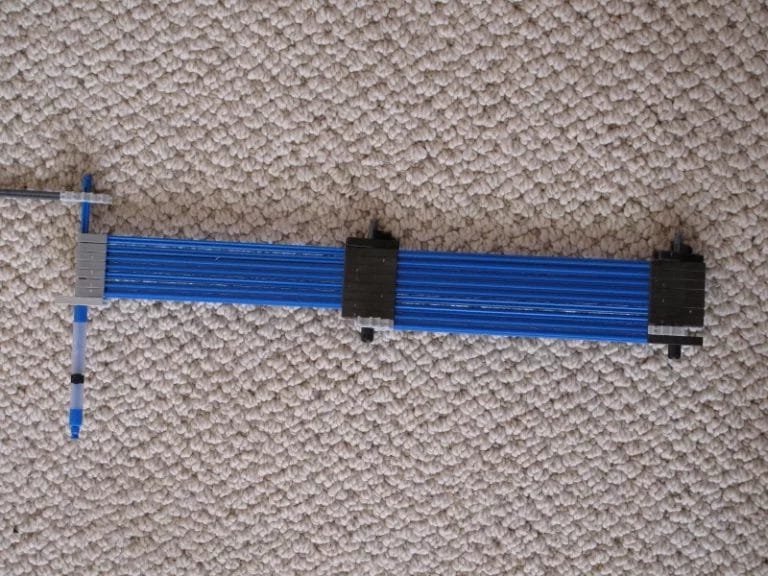
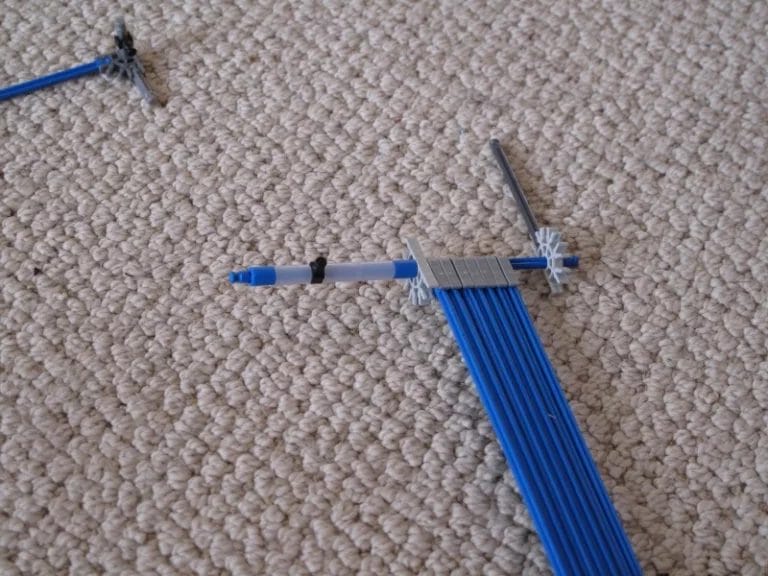
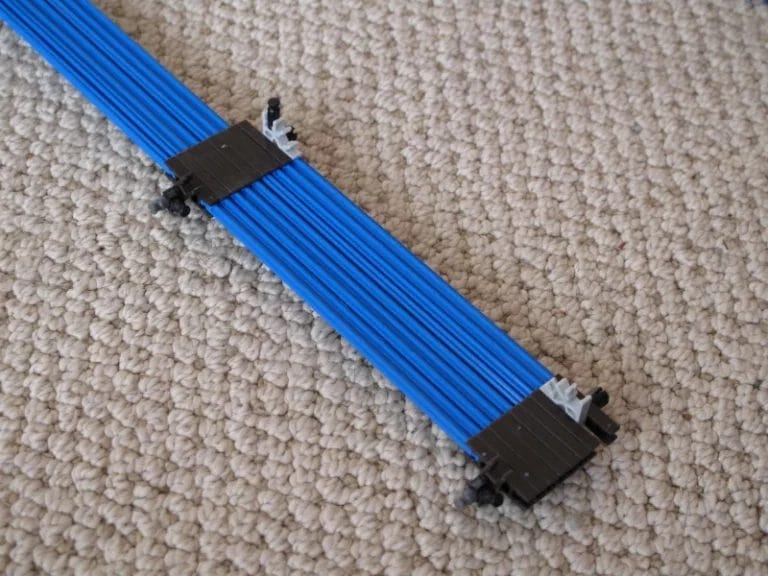
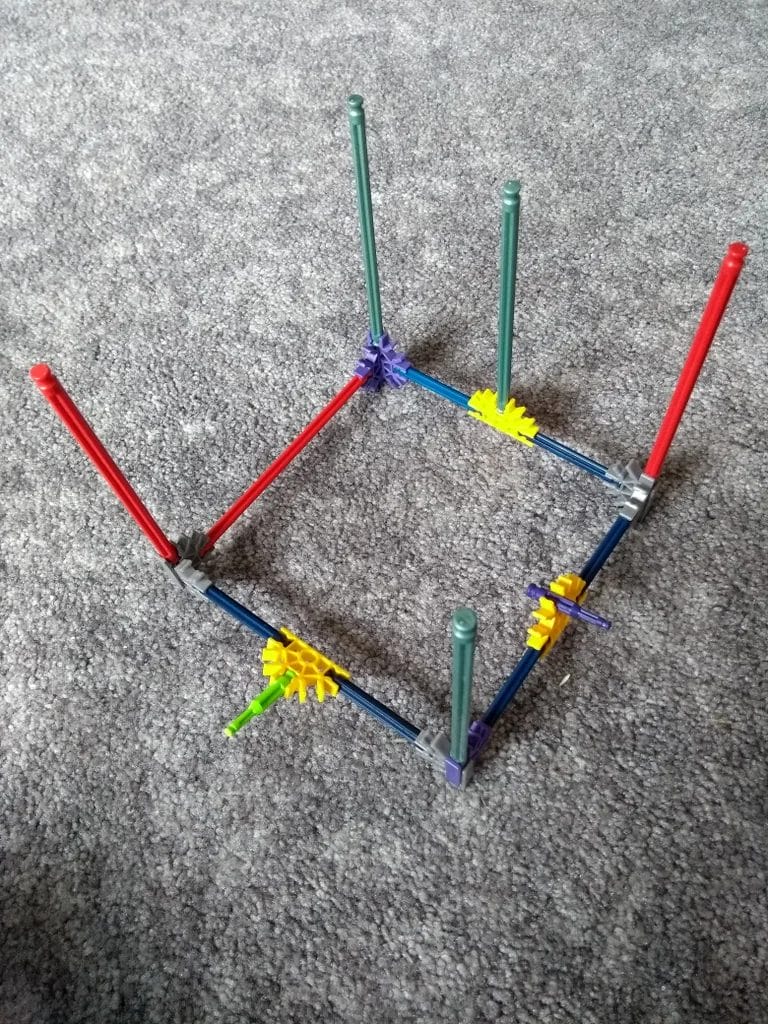
Step 4: Base Front


In this step, try to build a base front side with a few micro parts. Add to the base 6 red rods and 6 grey rods. Then, slip onto the two center front red rods each with 3 silver spacers and 1 blue spacer. Afterwards, connect the few micro parts, and can optionally put on the launch motor.
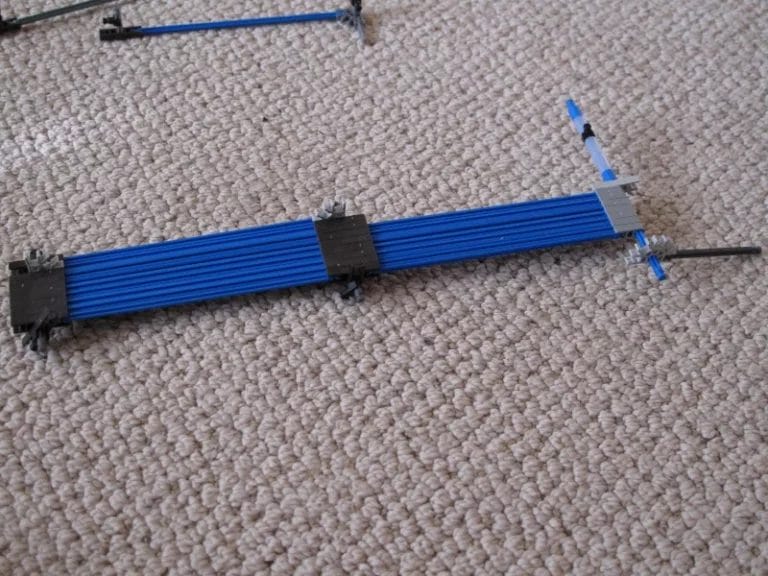
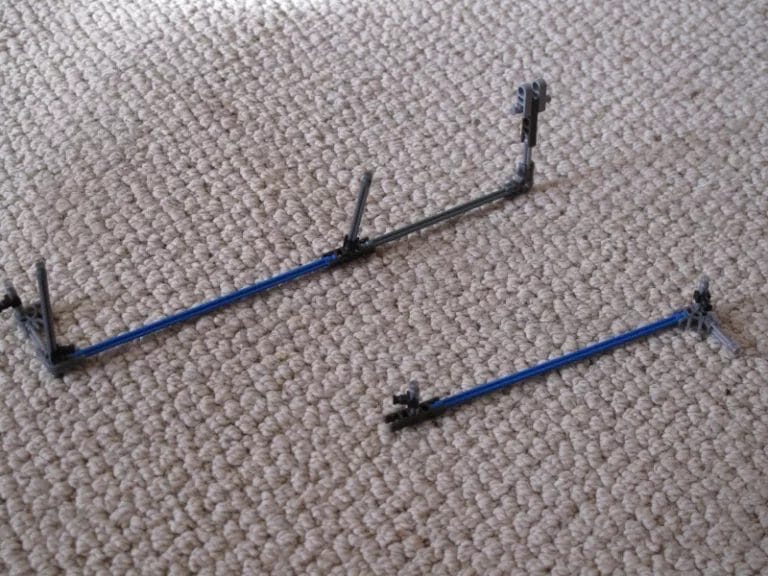
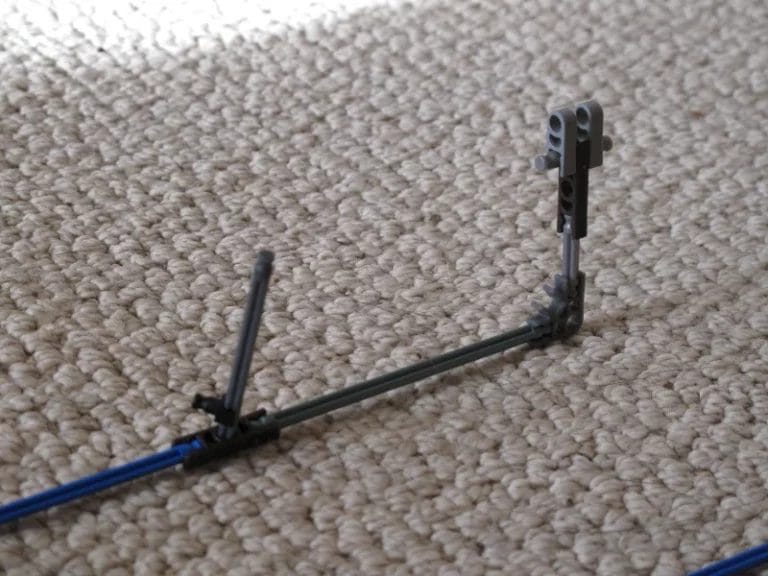
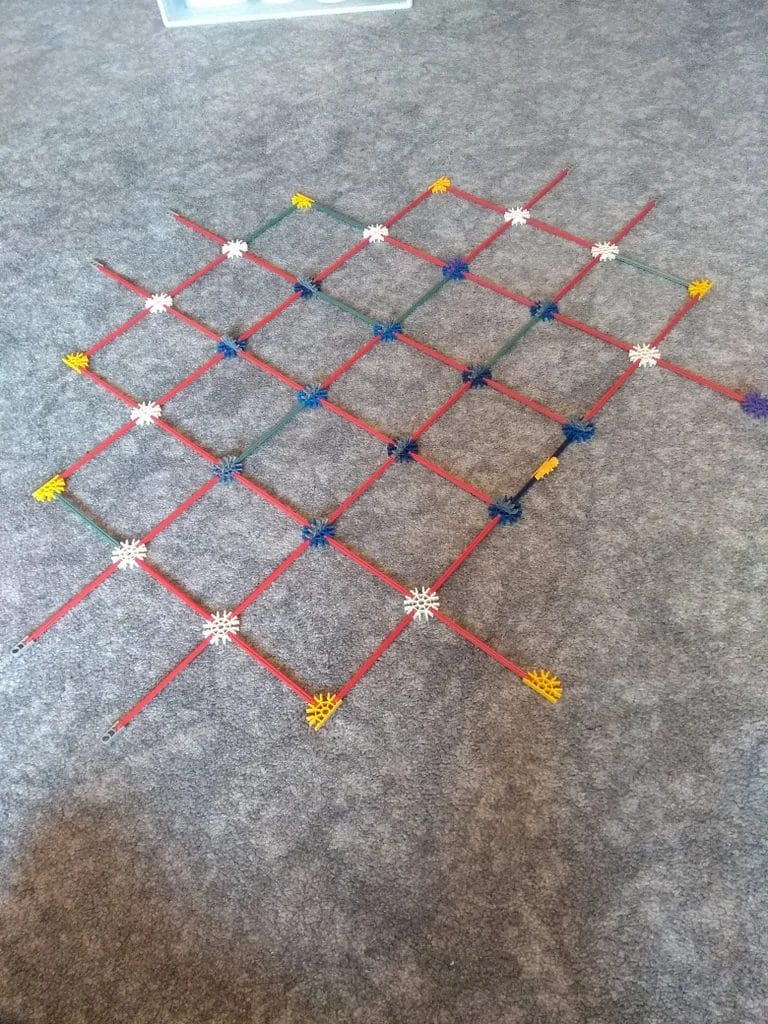
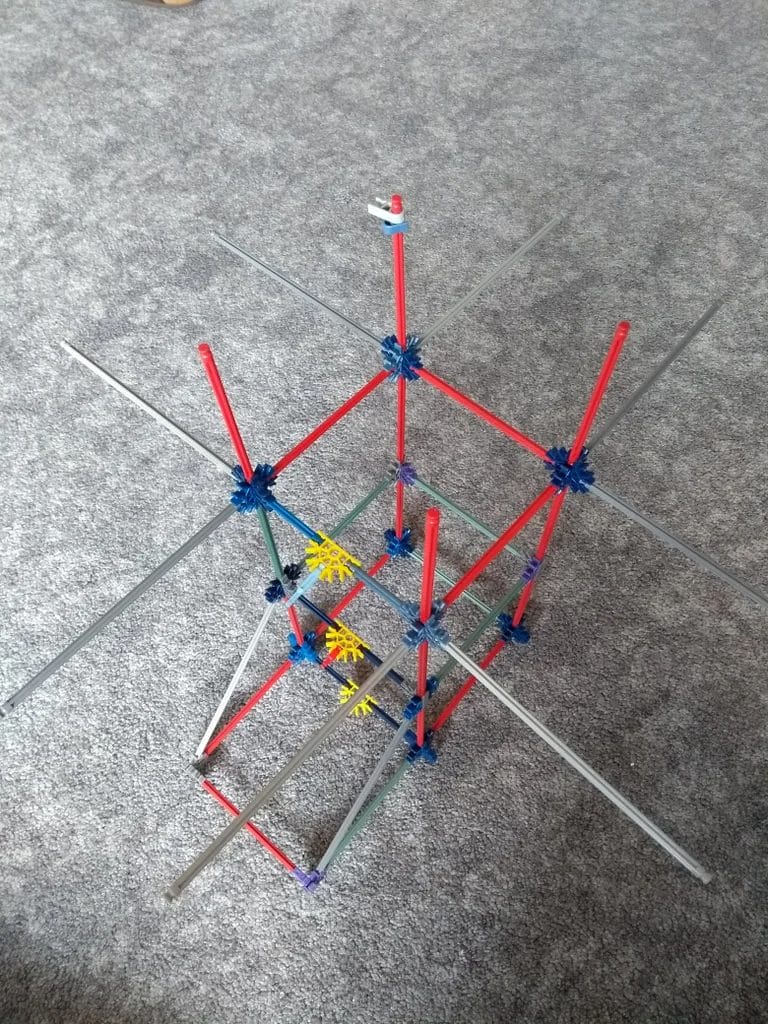
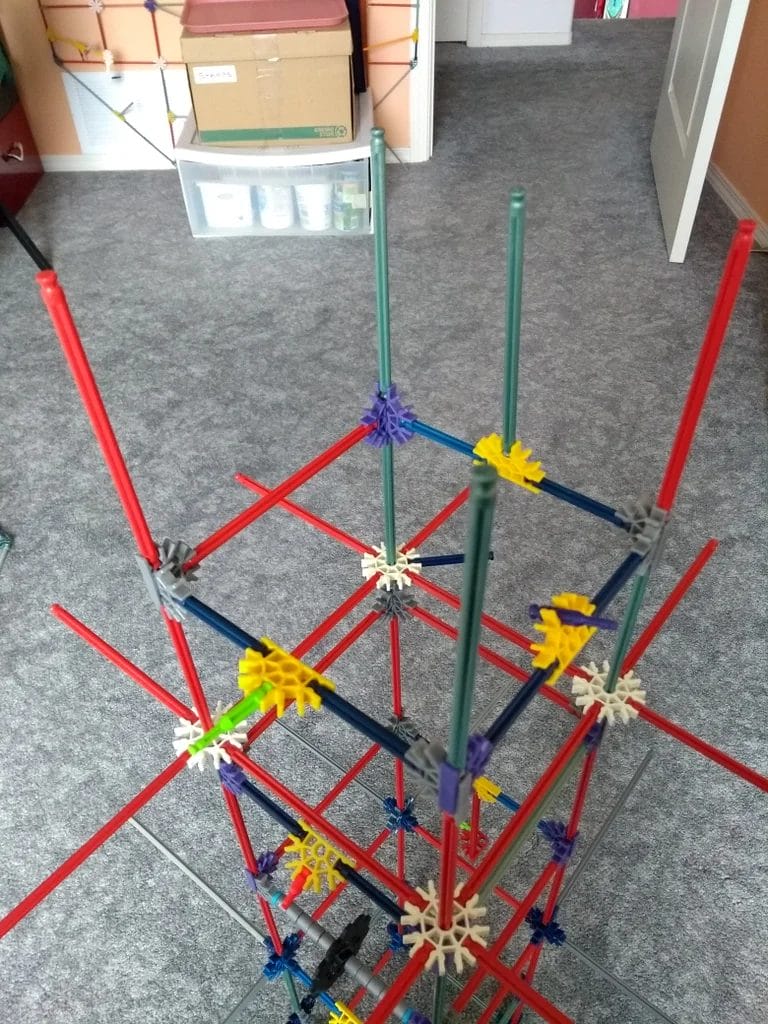
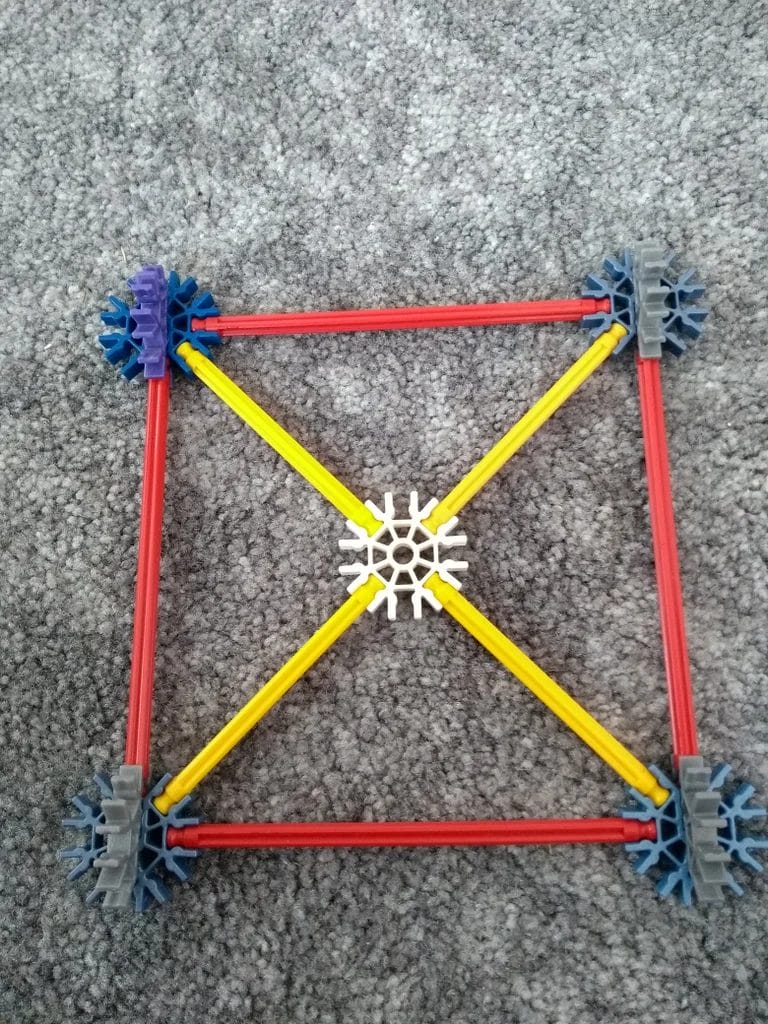
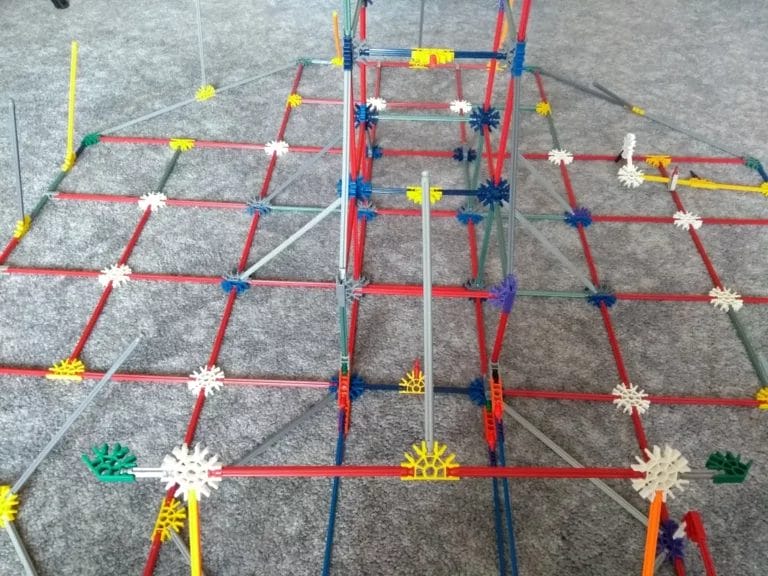
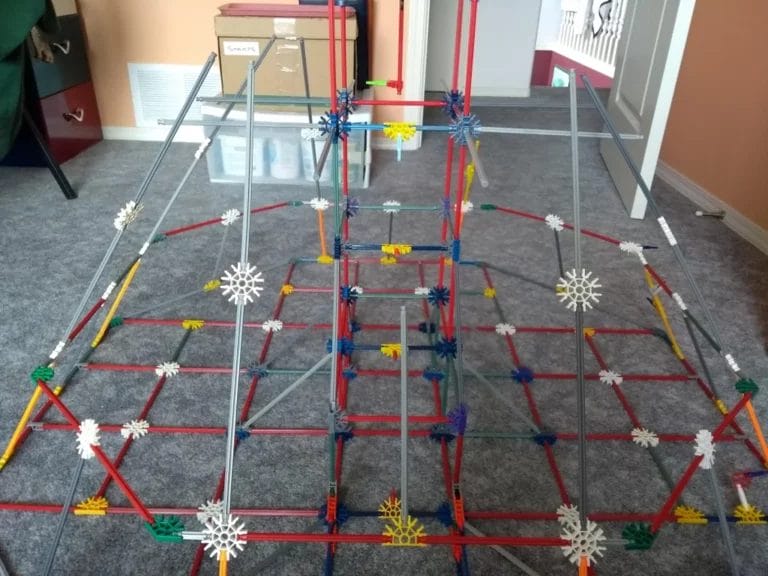
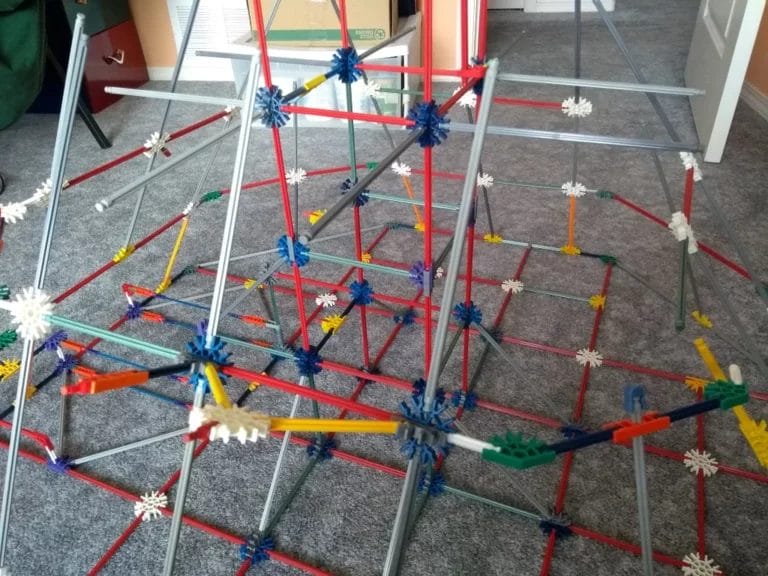
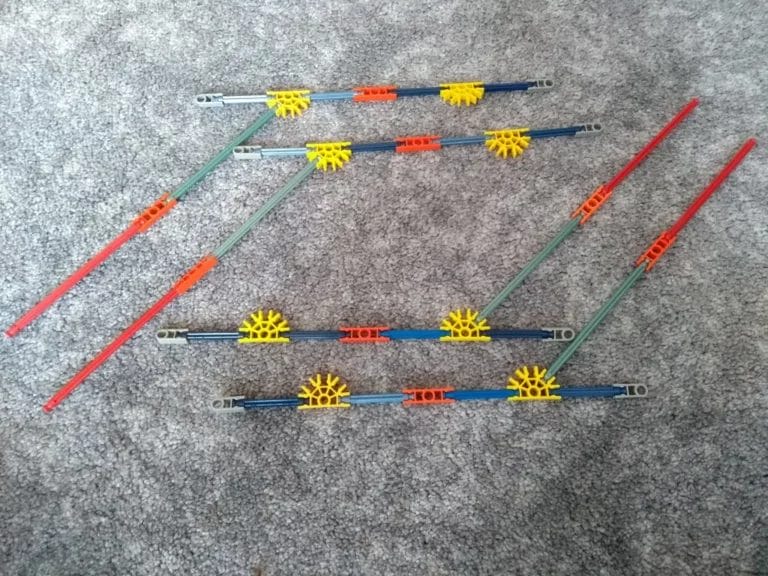
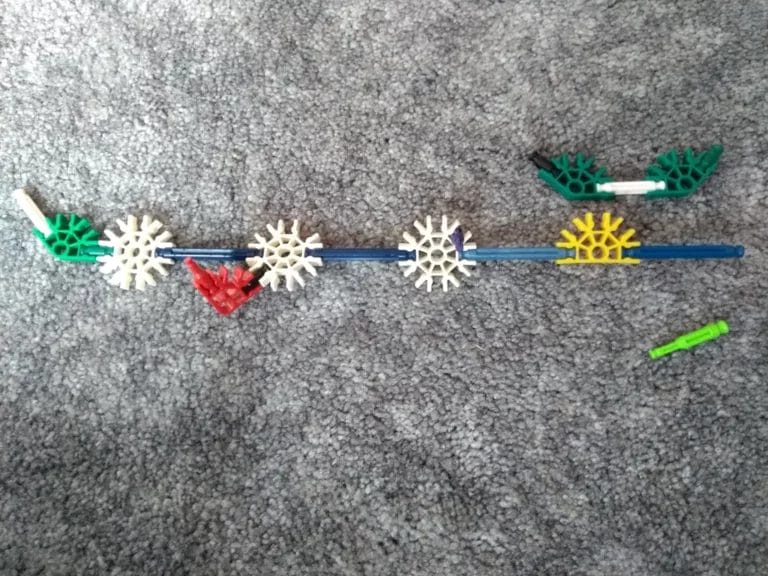
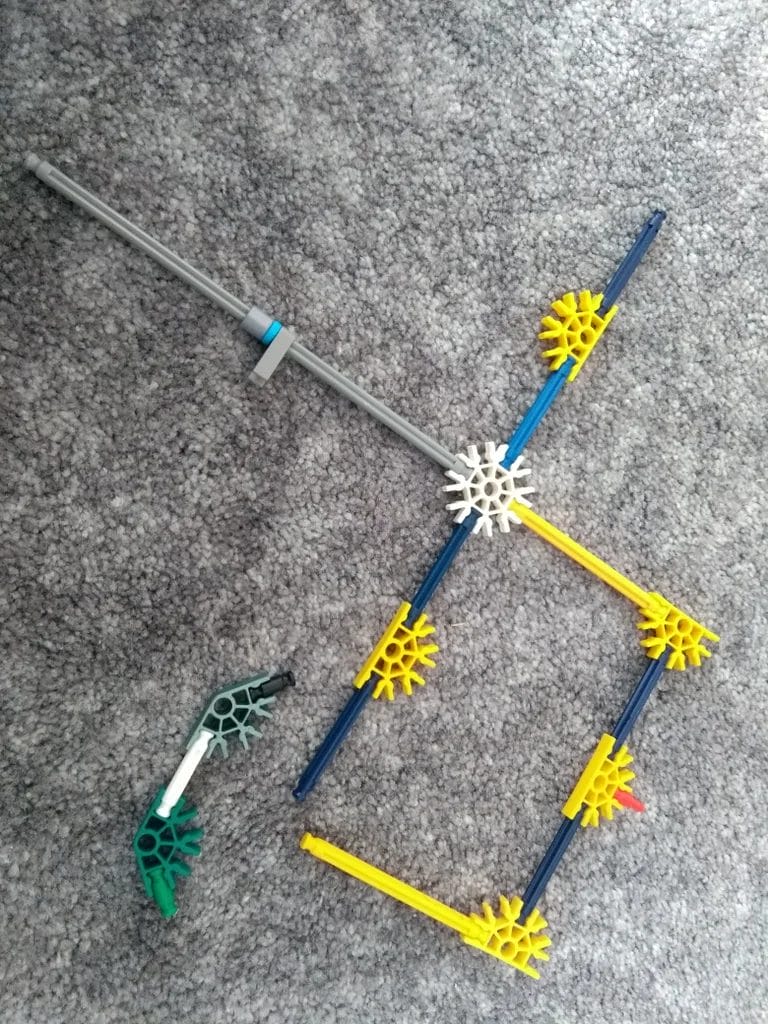
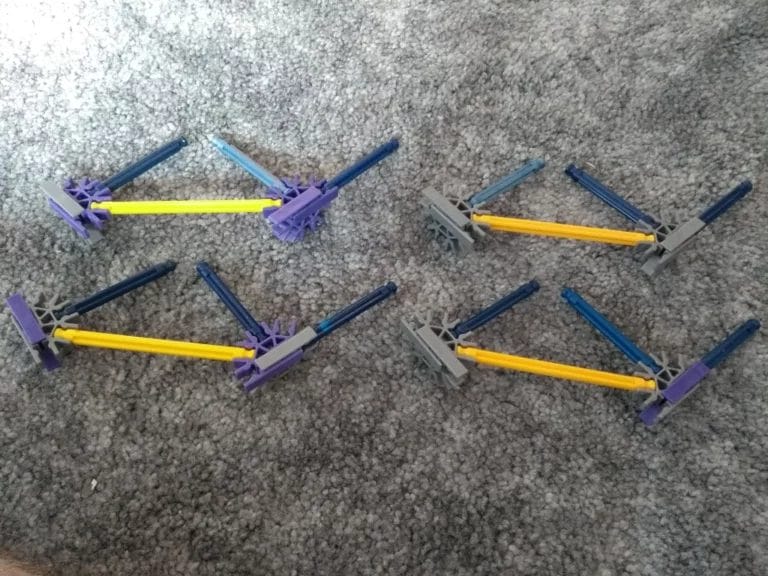
Step 5: Base Ring

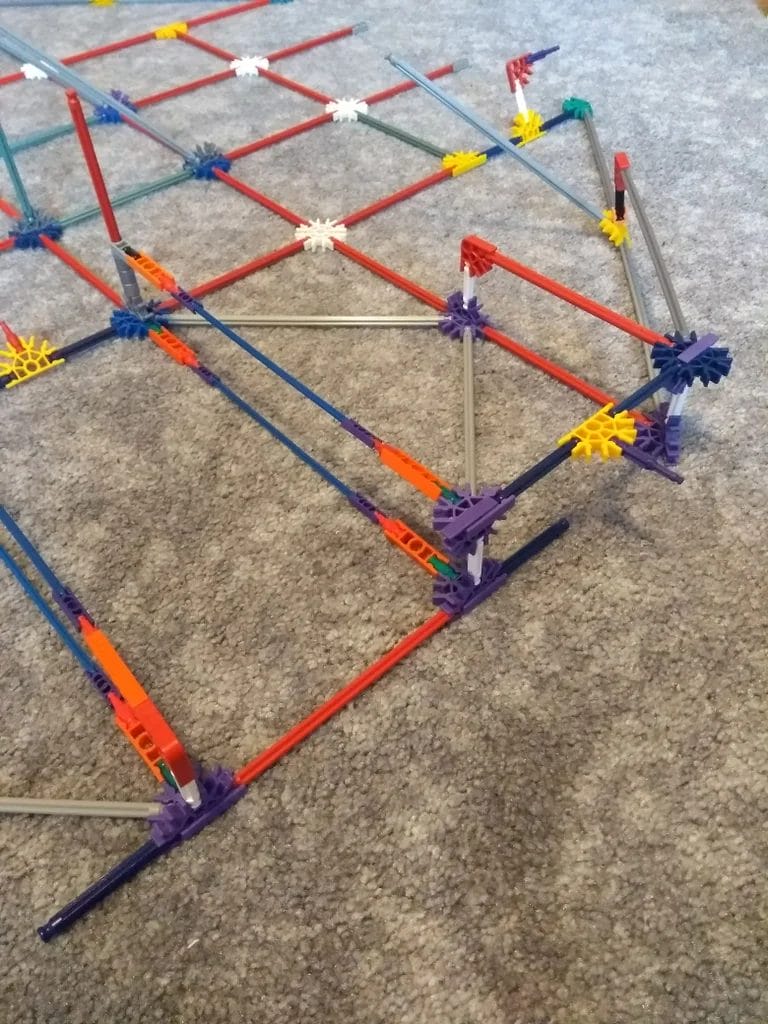
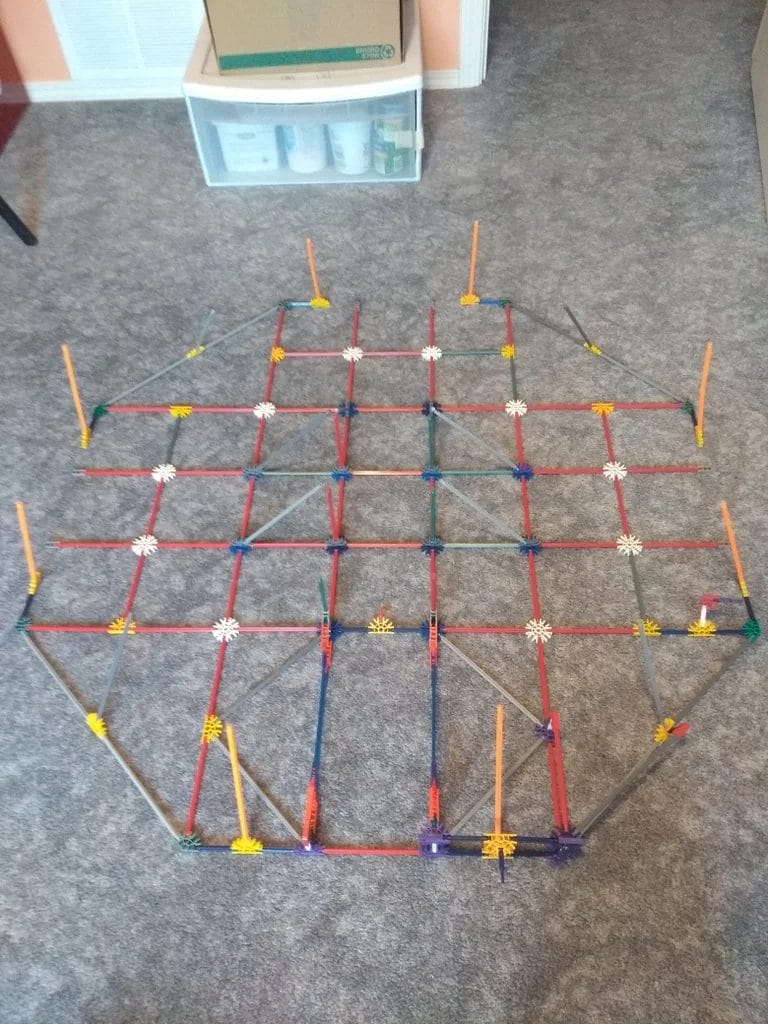
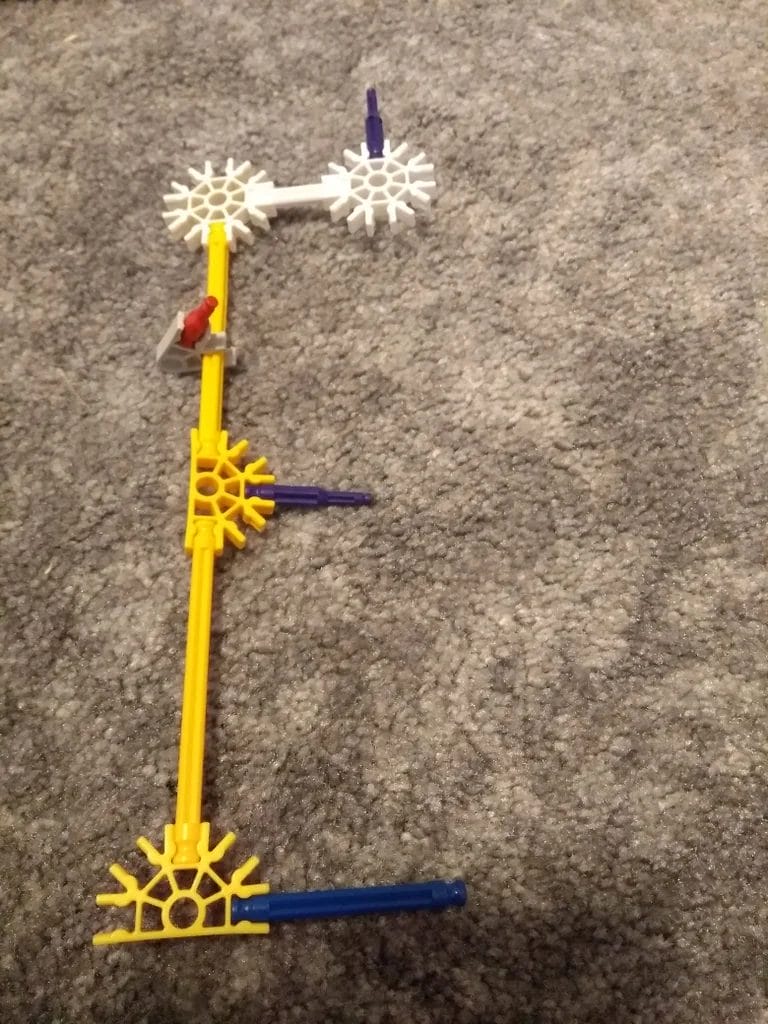
In the following, the images show how to build the base ring. First, build the 4 wide T-shaped parts and add them to the base. Build these 2 odd-shaped parts and add them to the left front of the base with 2 blue rods. Then add onto the base 7 “Part #11″s. Build the 3 T-shaped parts and add them to the base while slipping the red rods through the grey connectors. Build this one more part and connect it to the left of the base.
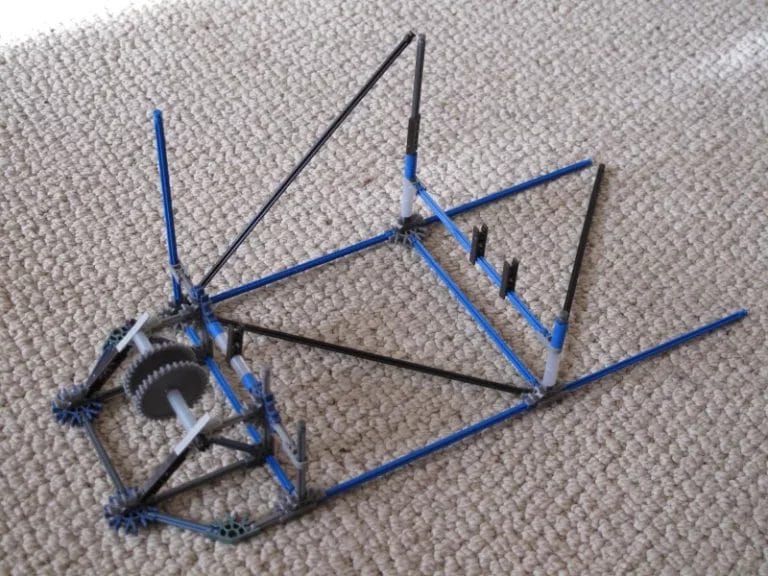
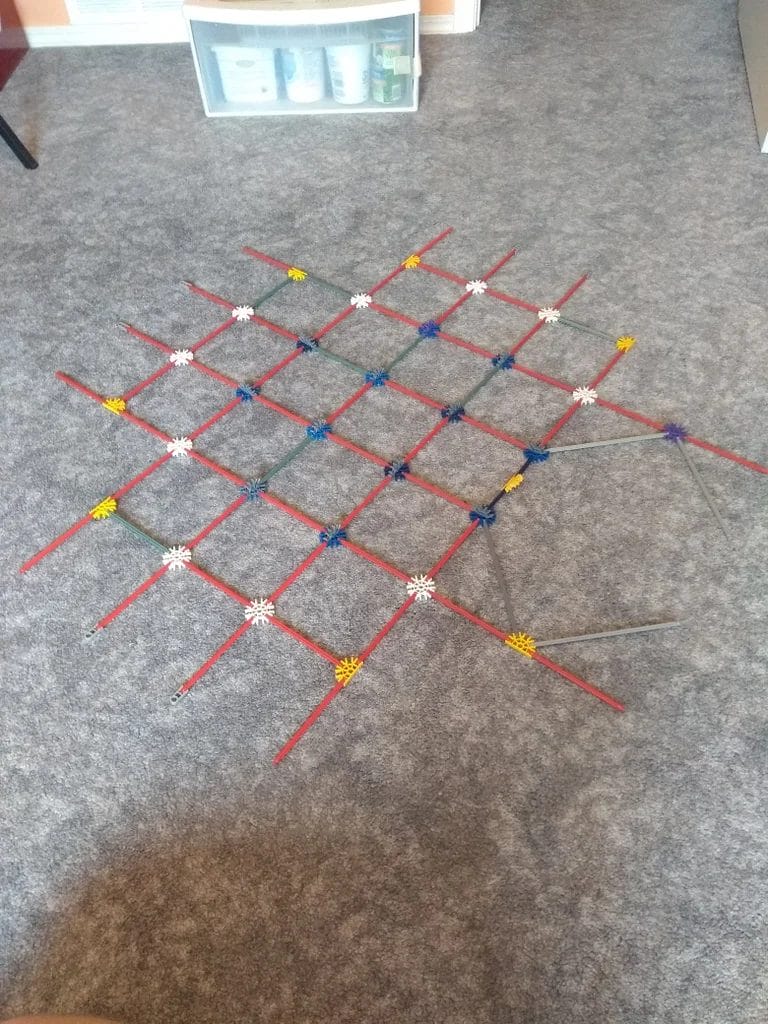
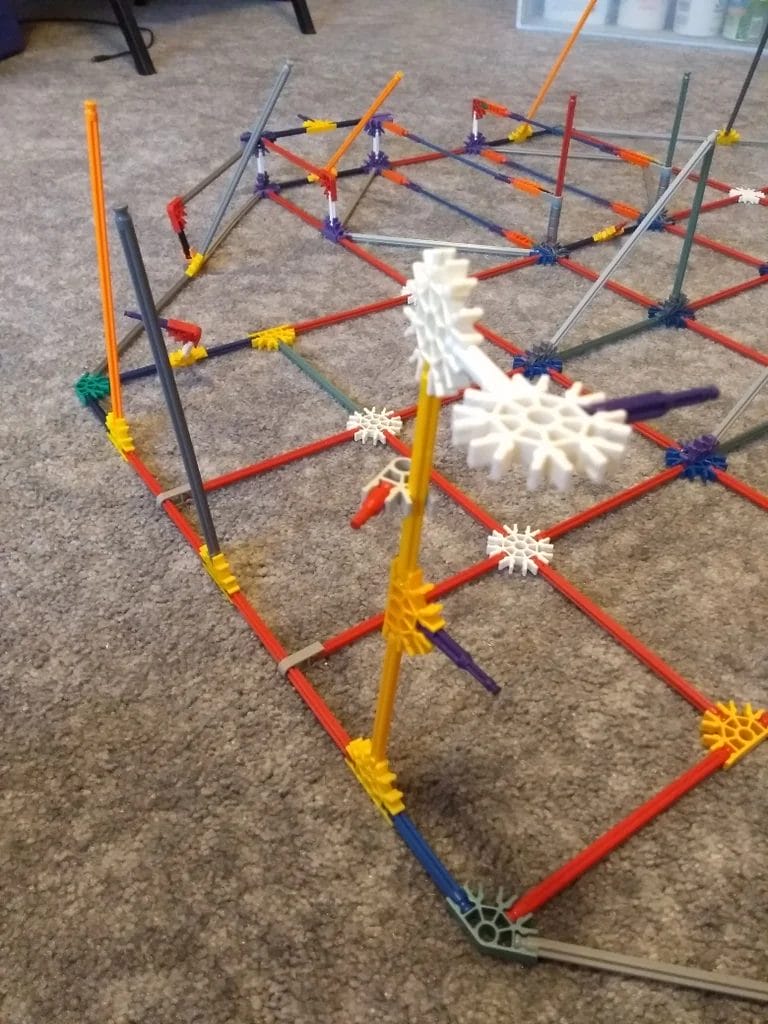
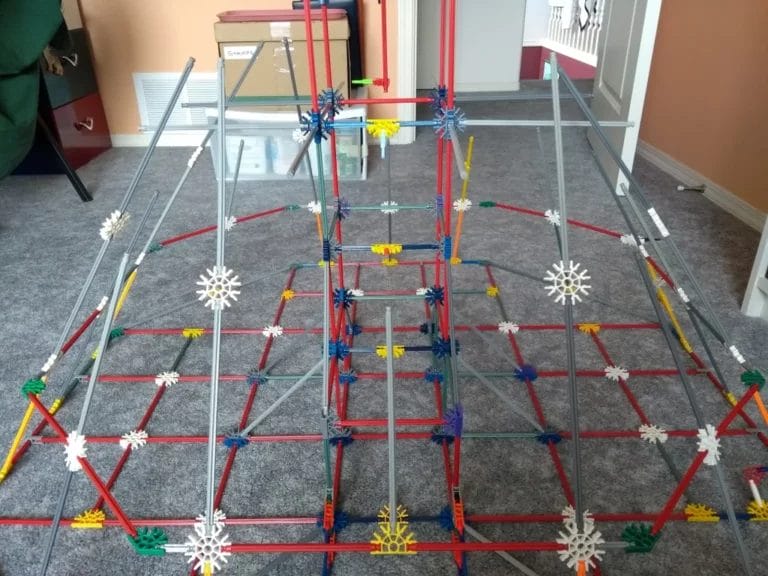
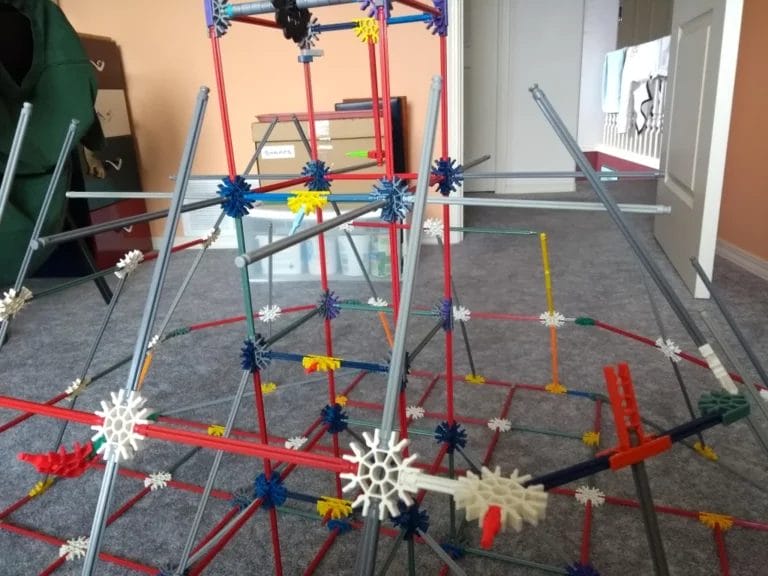
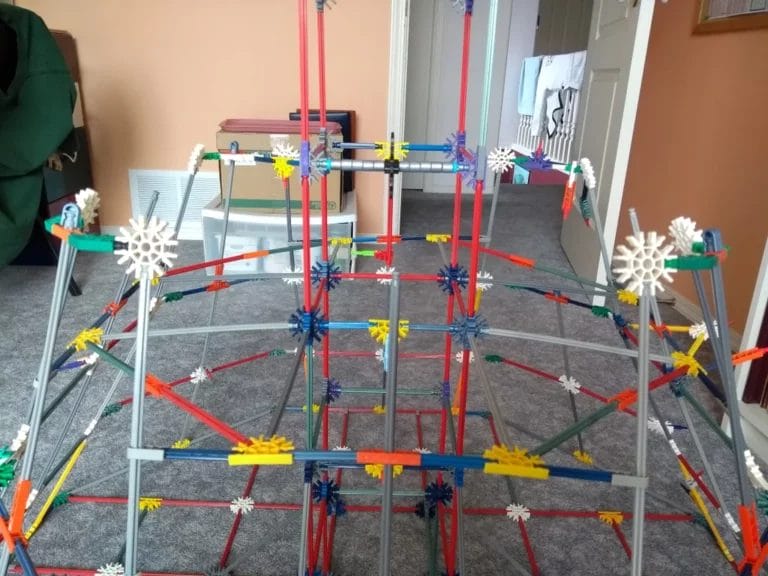
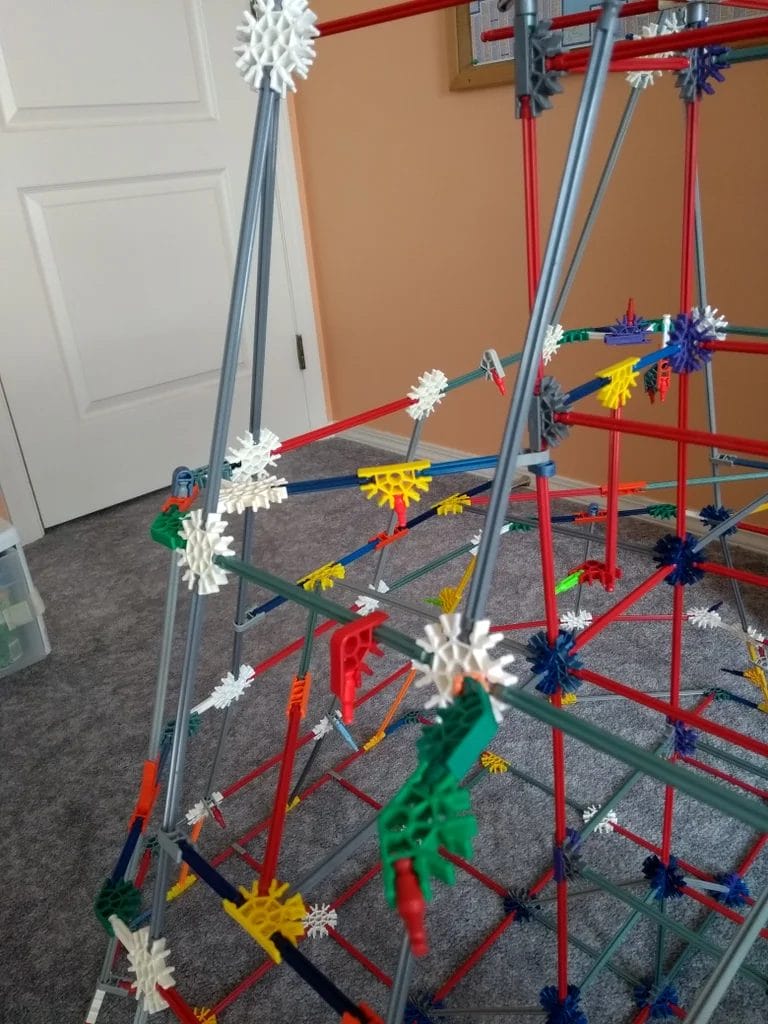
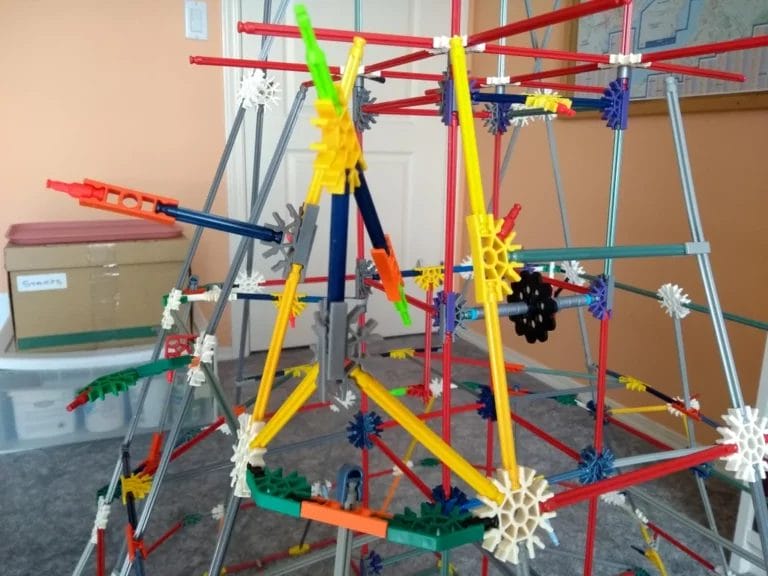
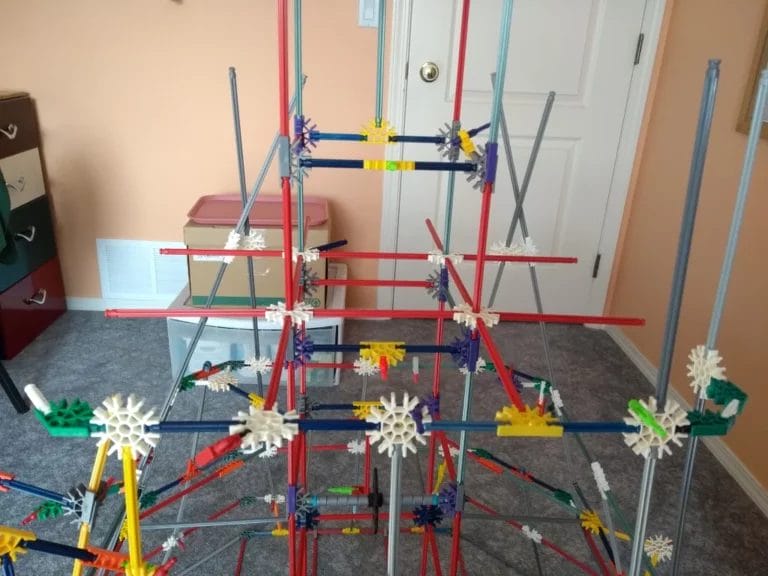
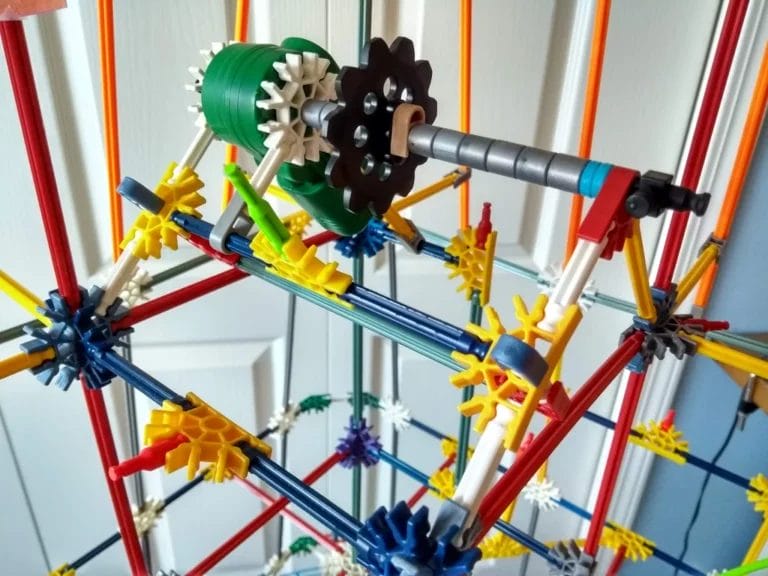
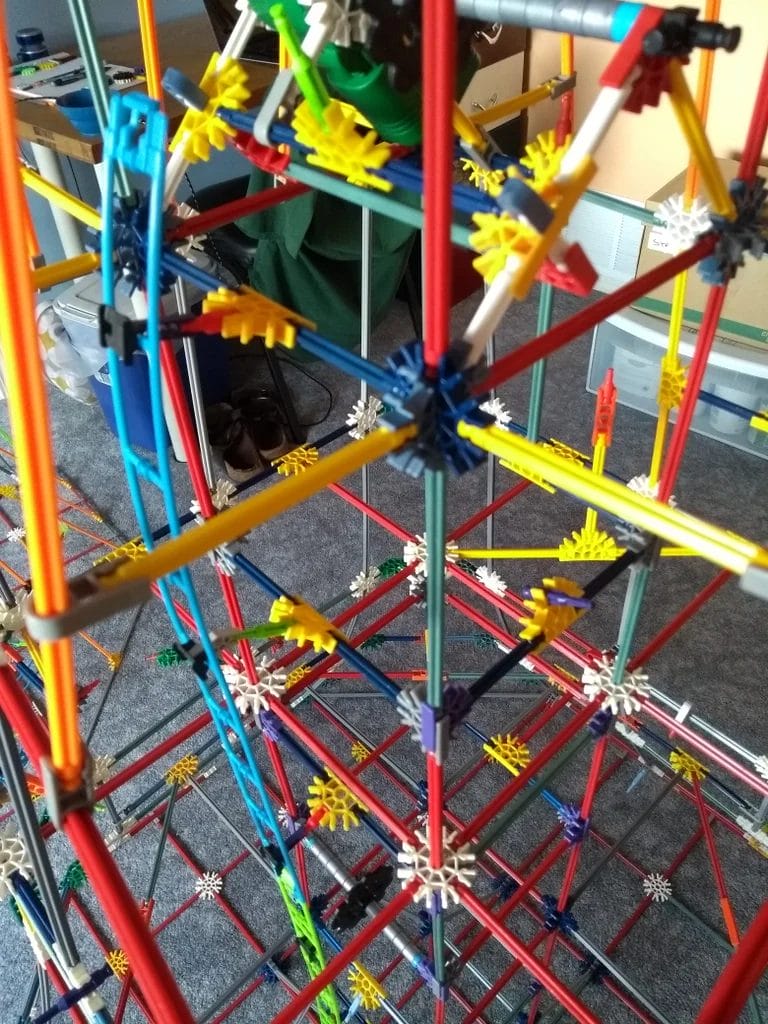
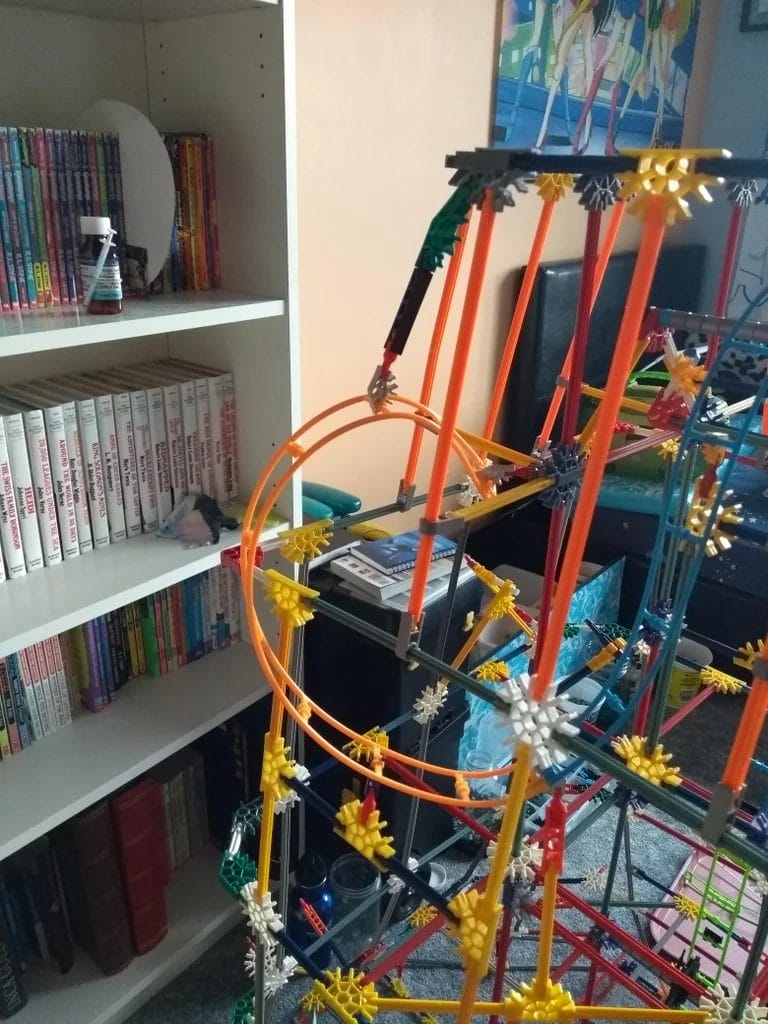
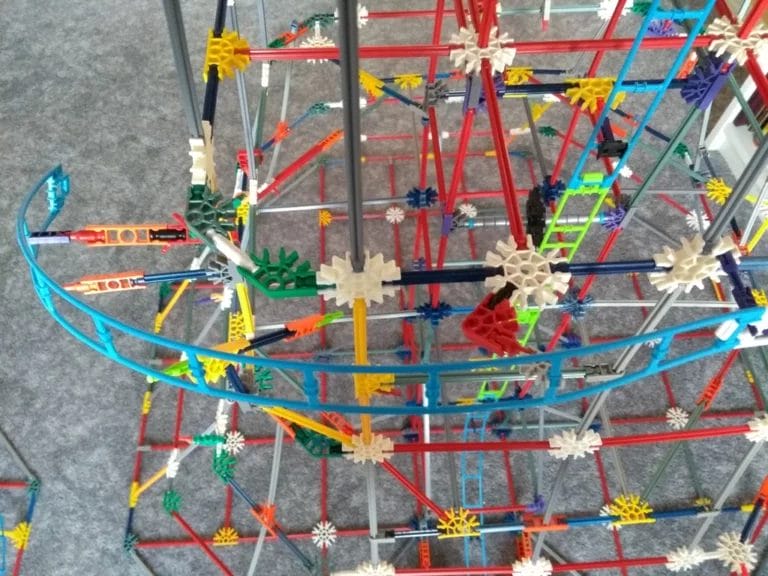
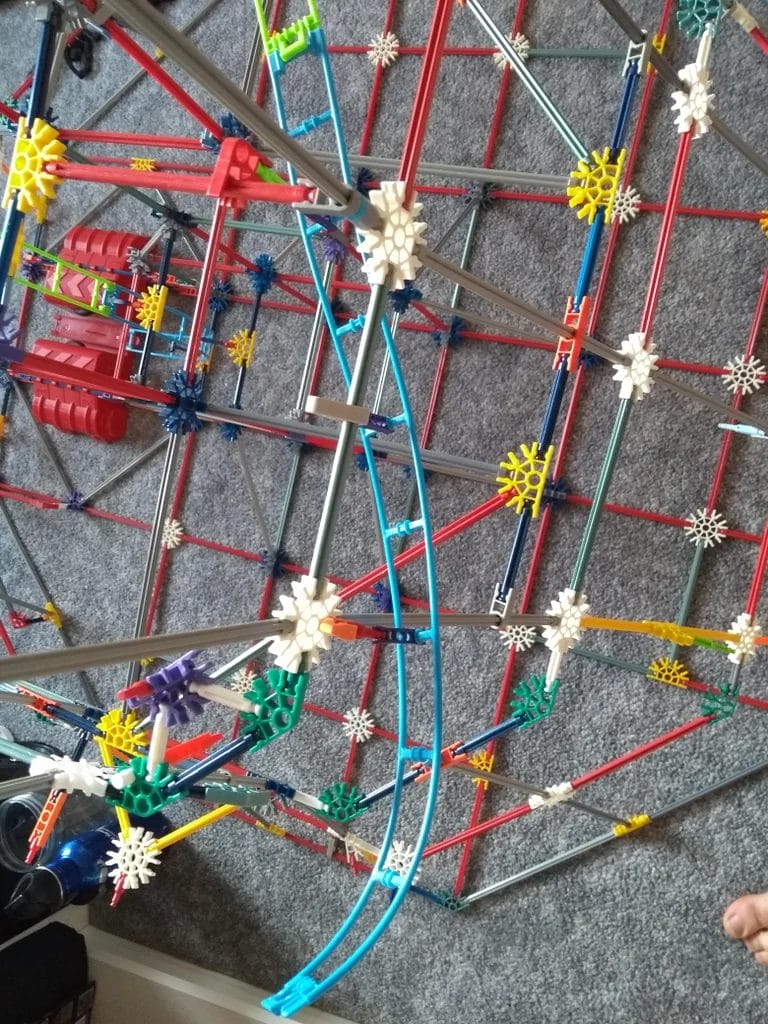
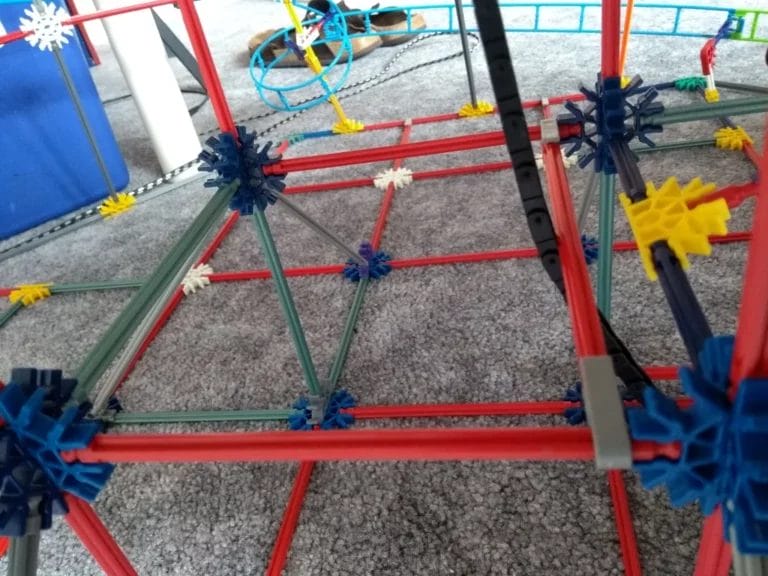
Step 6: The Spine
Consider the left bottom side in each image as the front of the spine. You can see the following in the images:
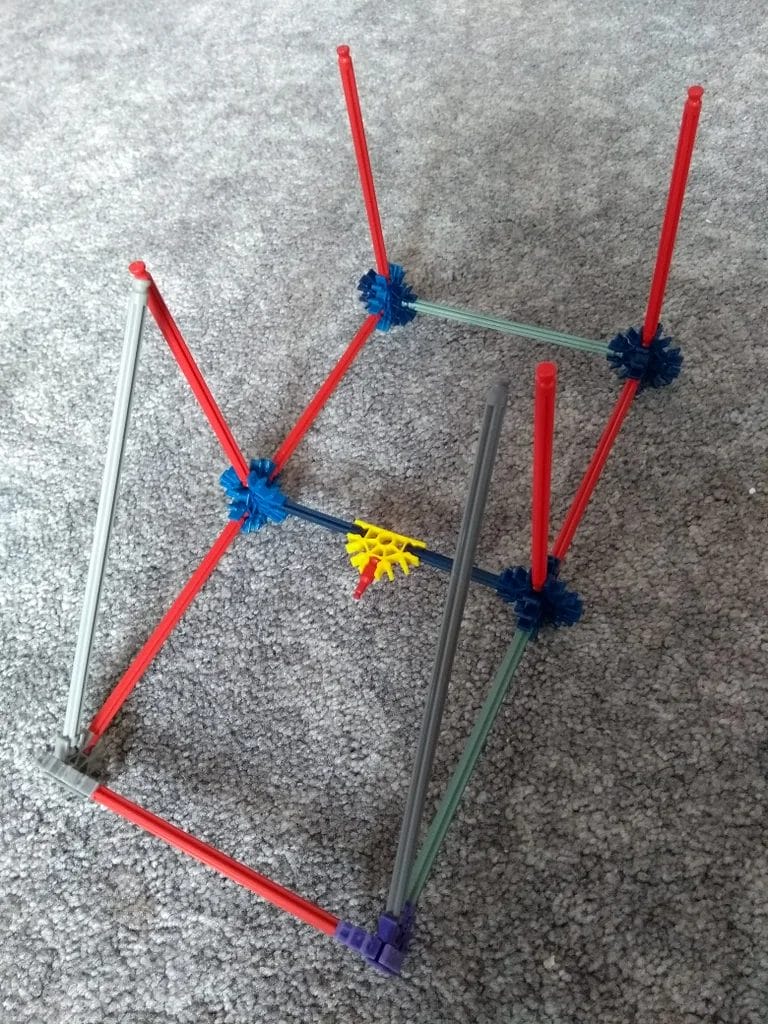

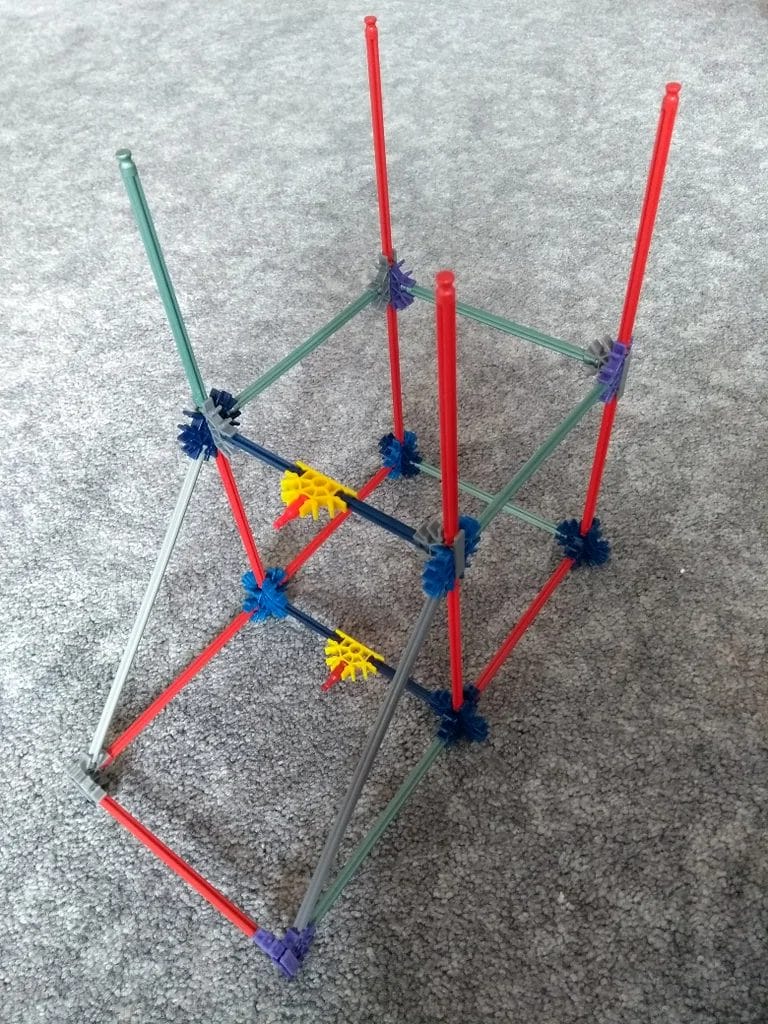
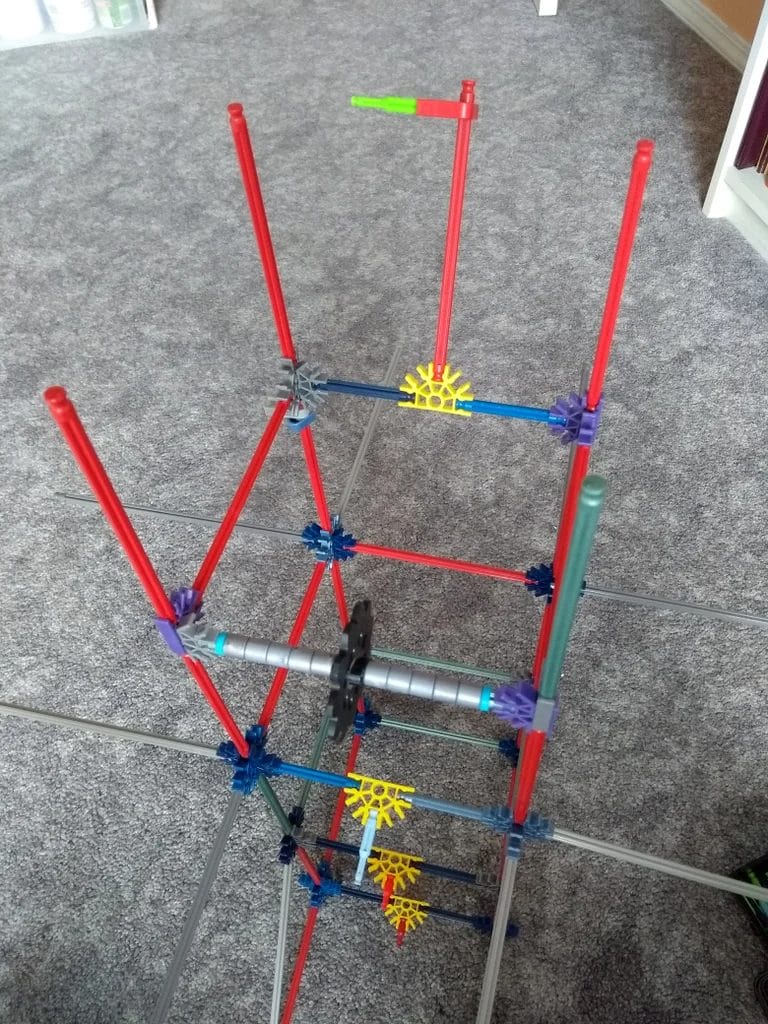
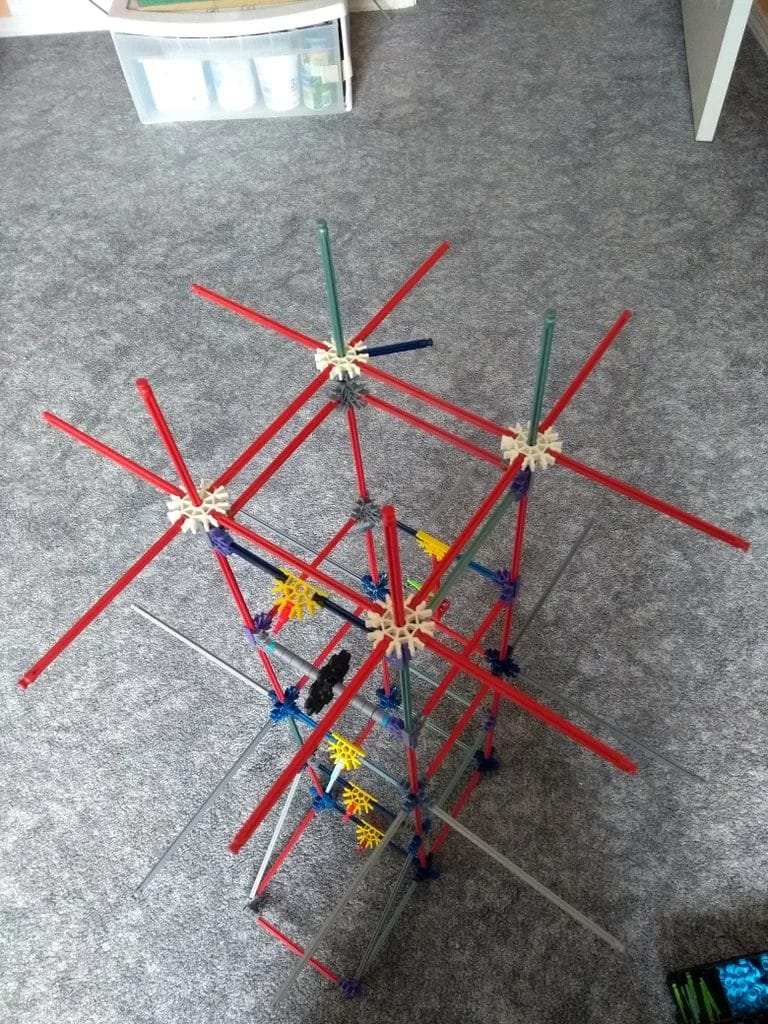
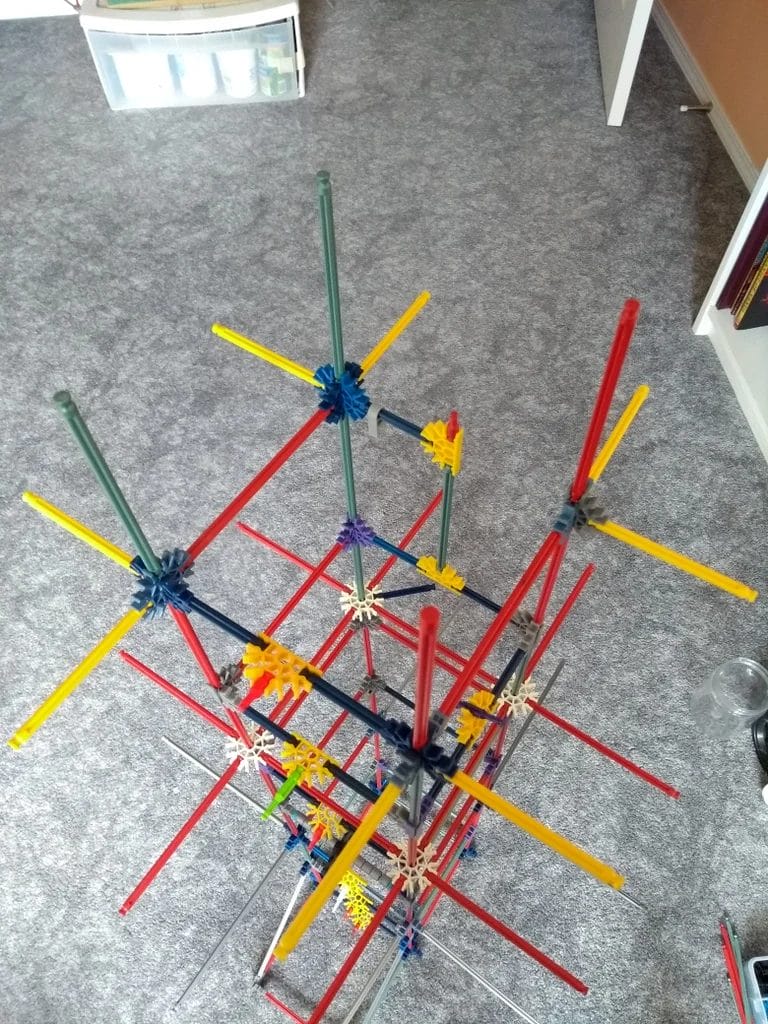
Build the bottom part of the spine. Then, build the second part and attach it on top. Build the third part, noticing the grey connector and blue/sandy connector on the back left tall red rod. Afterwards, connect it on top of the lower part. Then – the fourth part with the black gear and add it on top. Now, grab 4 of the “Part #32” and connect them with 4 red rods and 1 yellow rod as the fifth part. Build the sixth part, slipping a silver spacer on all four tall red rods, and then put the 5th and 6th parts on top. Then – the seventh part and attach it on top. Afterward, build the eighth part and add it on. Then, the top part and put it on top. Finally, attach the spine to the base.
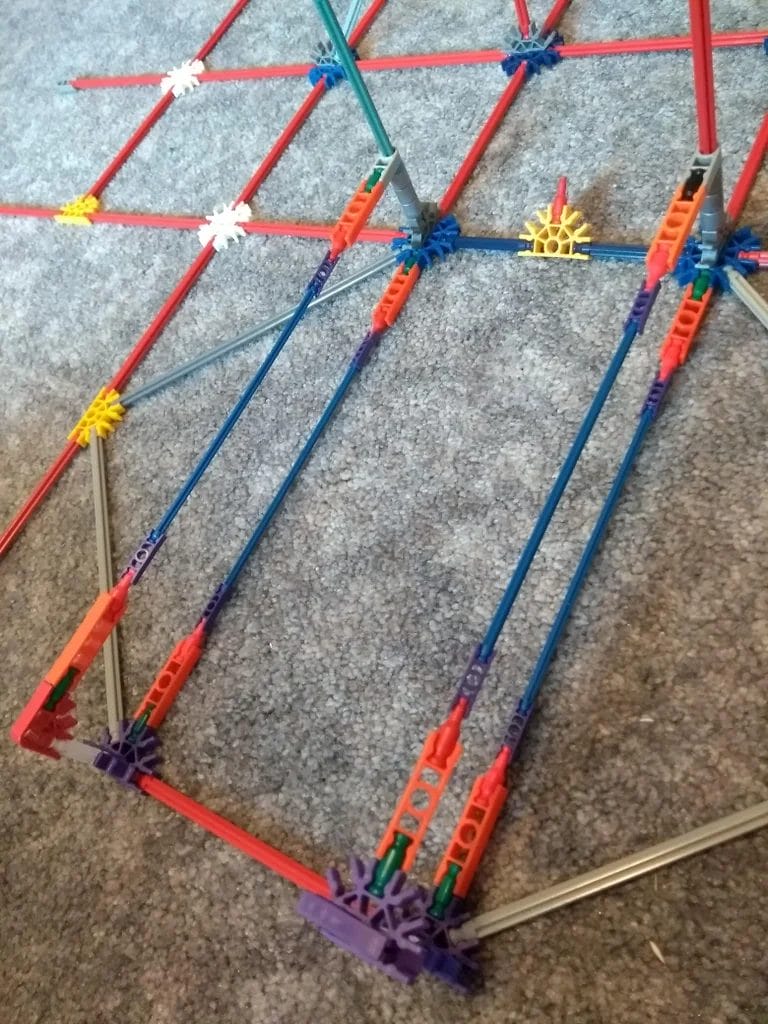
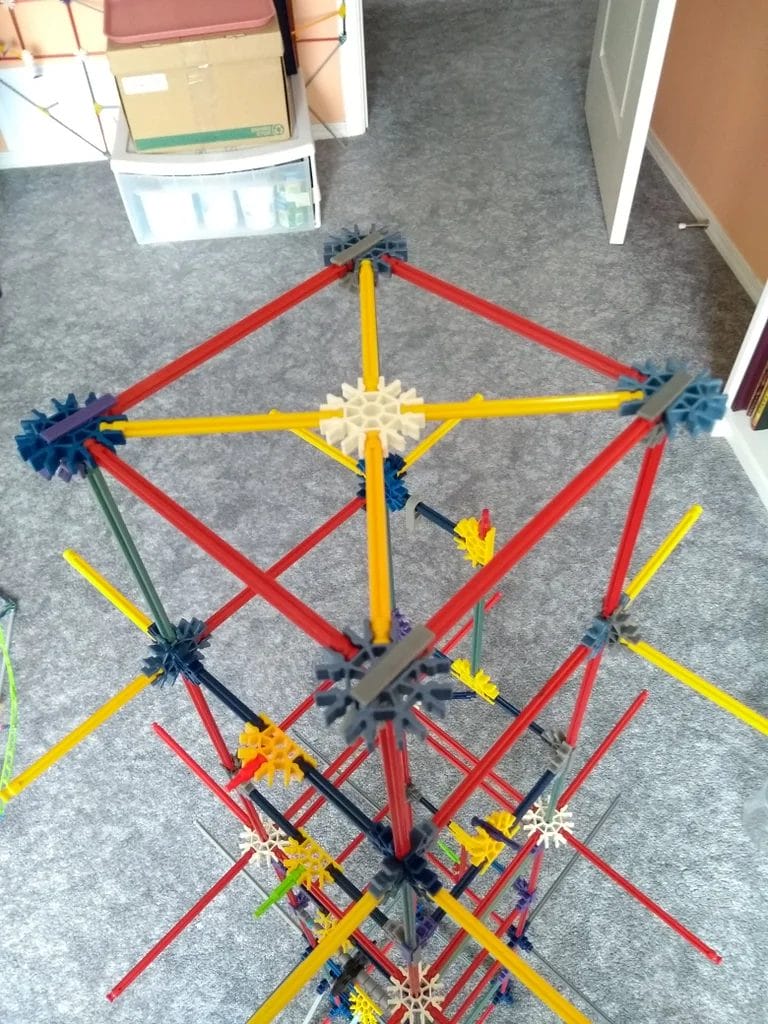
Step 7: Lower Rock Wall

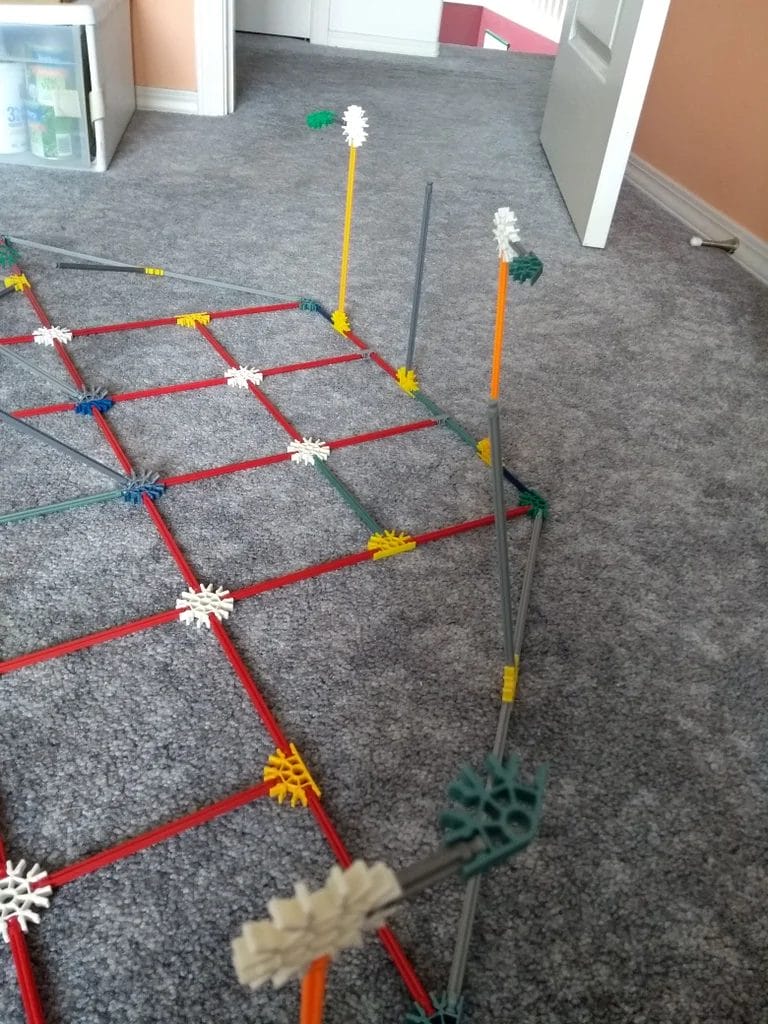
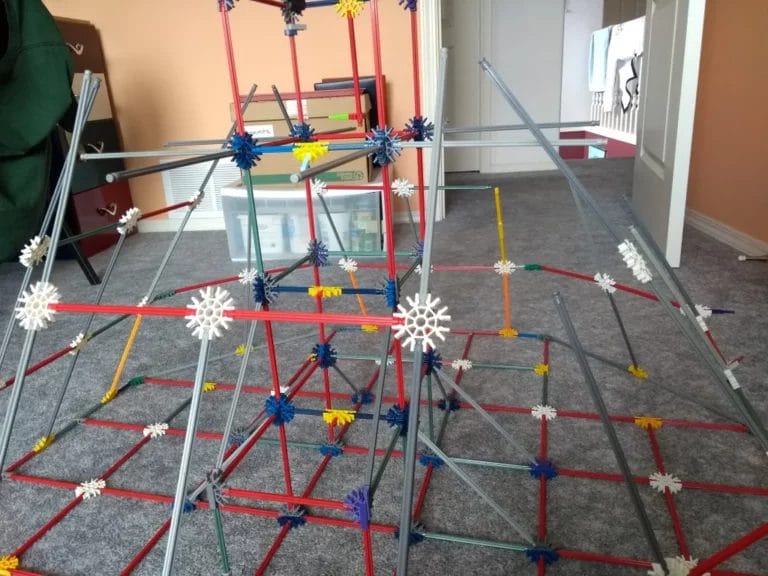


In this section, follow the images and their notes carefully: First, build and prepare the small parts and pieces, and then add them on as shown.
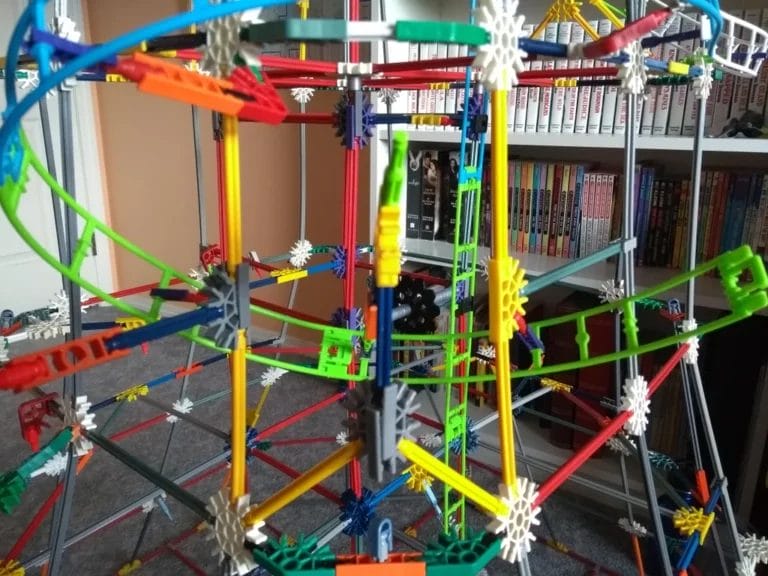
Step 8: Upper Rock Wall
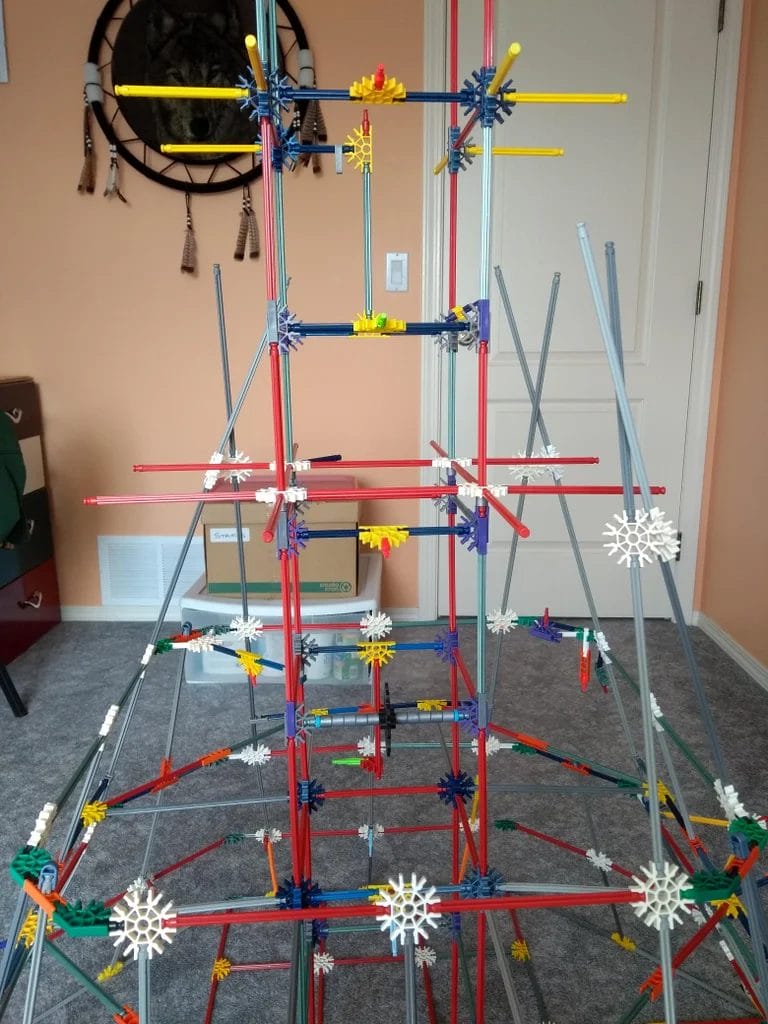

Build and prepare the small parts and pieces, and then add them on as shown. Follow the images and their notes.
Step 9: Volcano Top


Following the images and their notes: Build and prepare the small parts and pieces, and then add them on as shown.
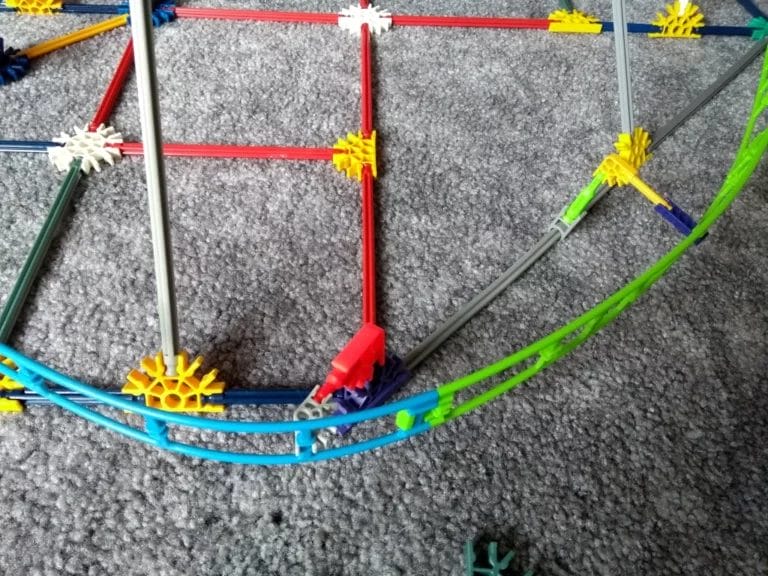
Step 10: Coaster Tracks

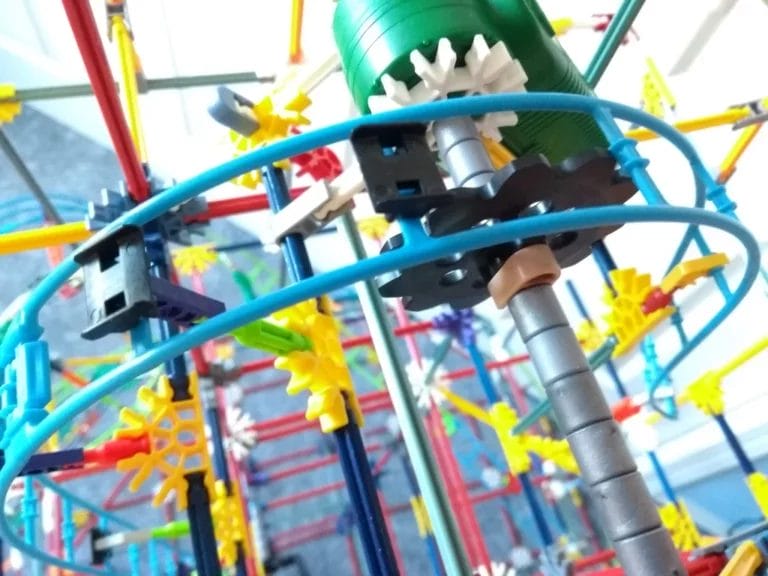
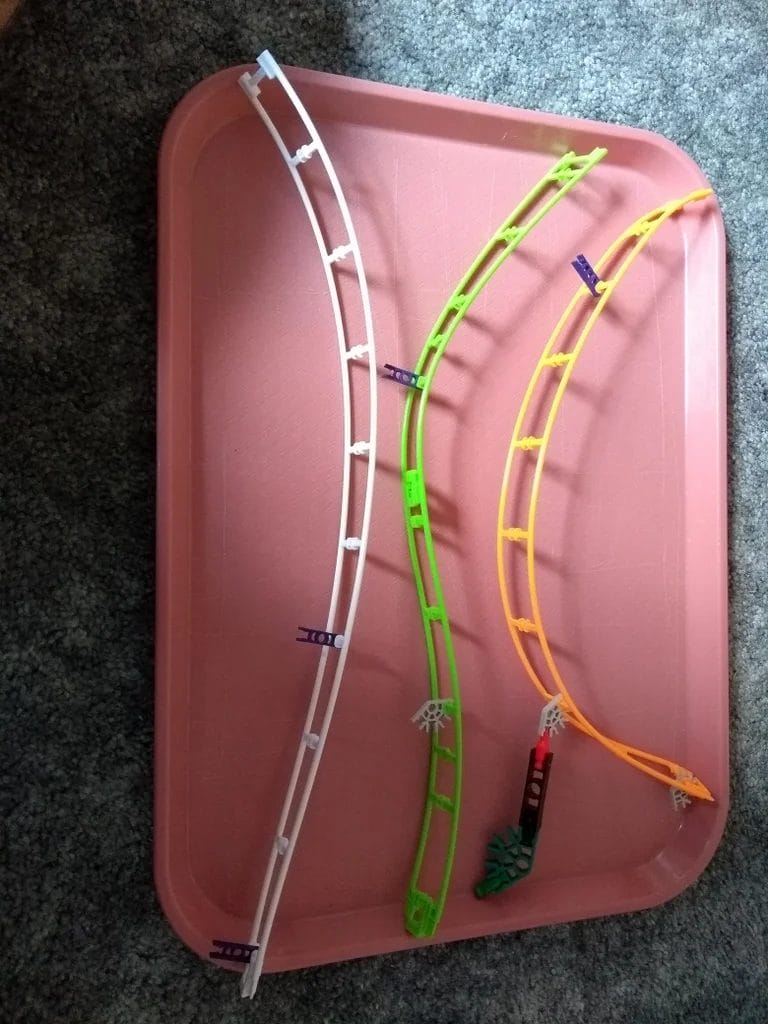
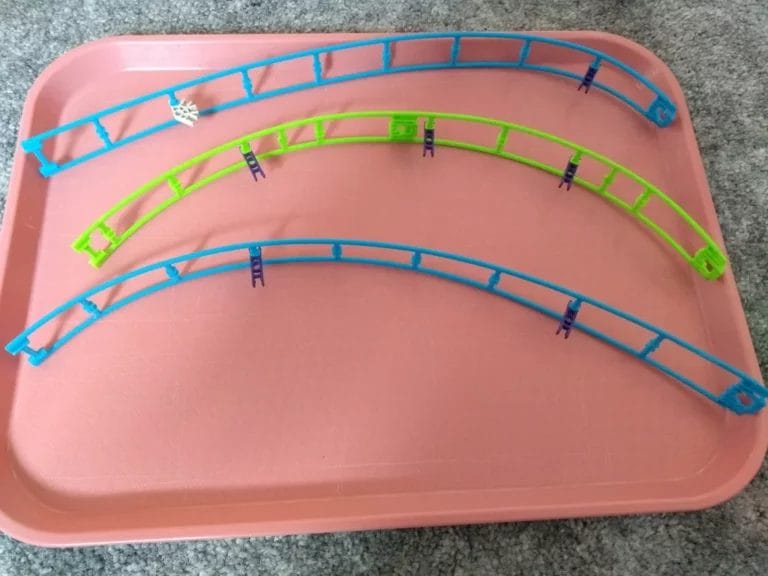
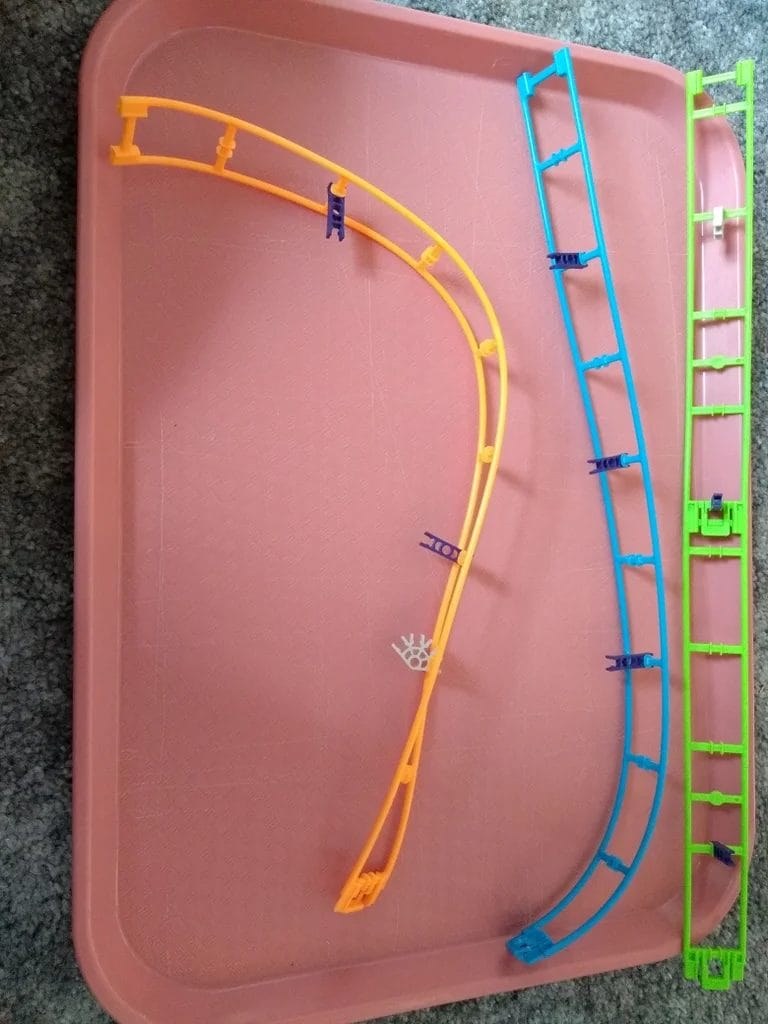


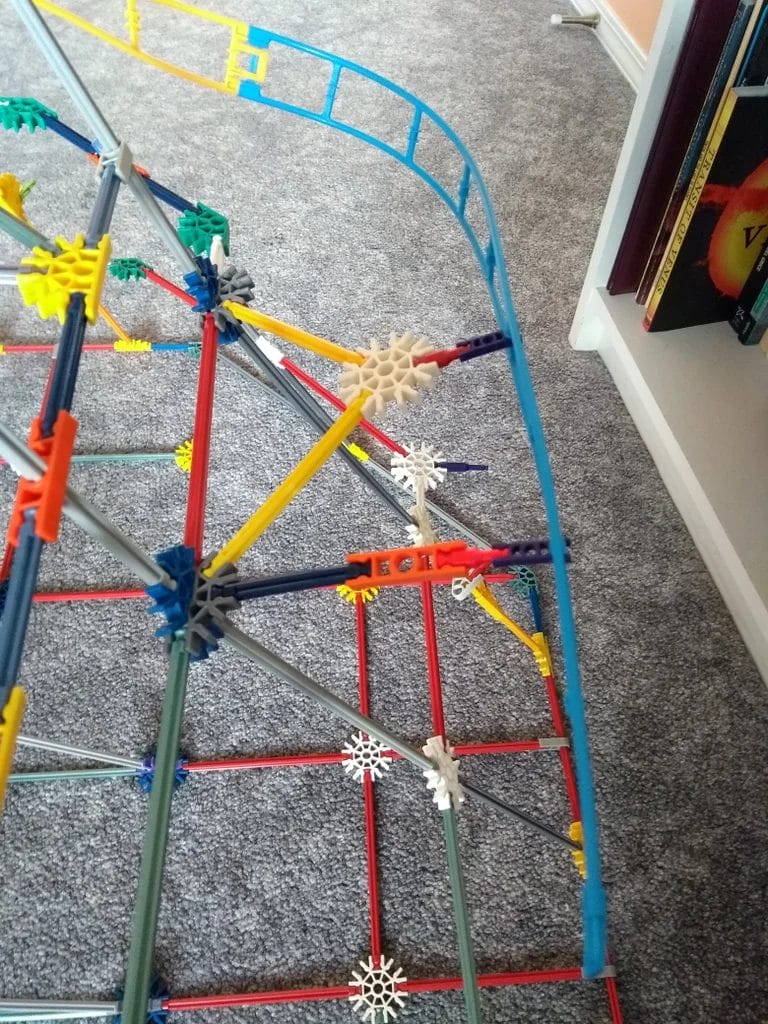


In this step, prepare the 3-4 tracks as shown to build coaster tracks and then start with the top right track every time.
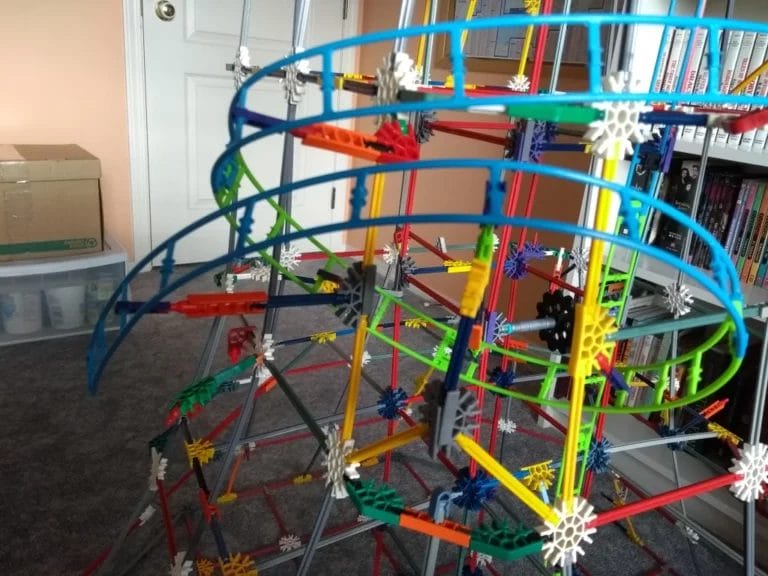
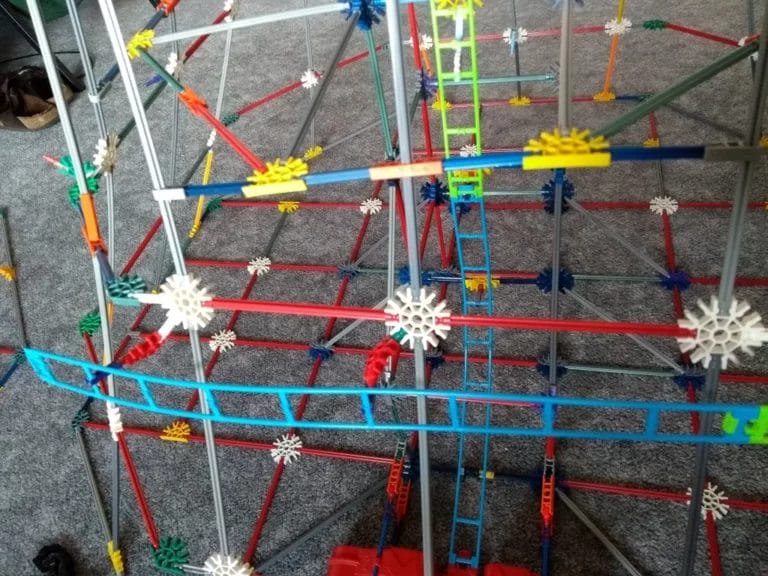
Step 11: Chain & Lava
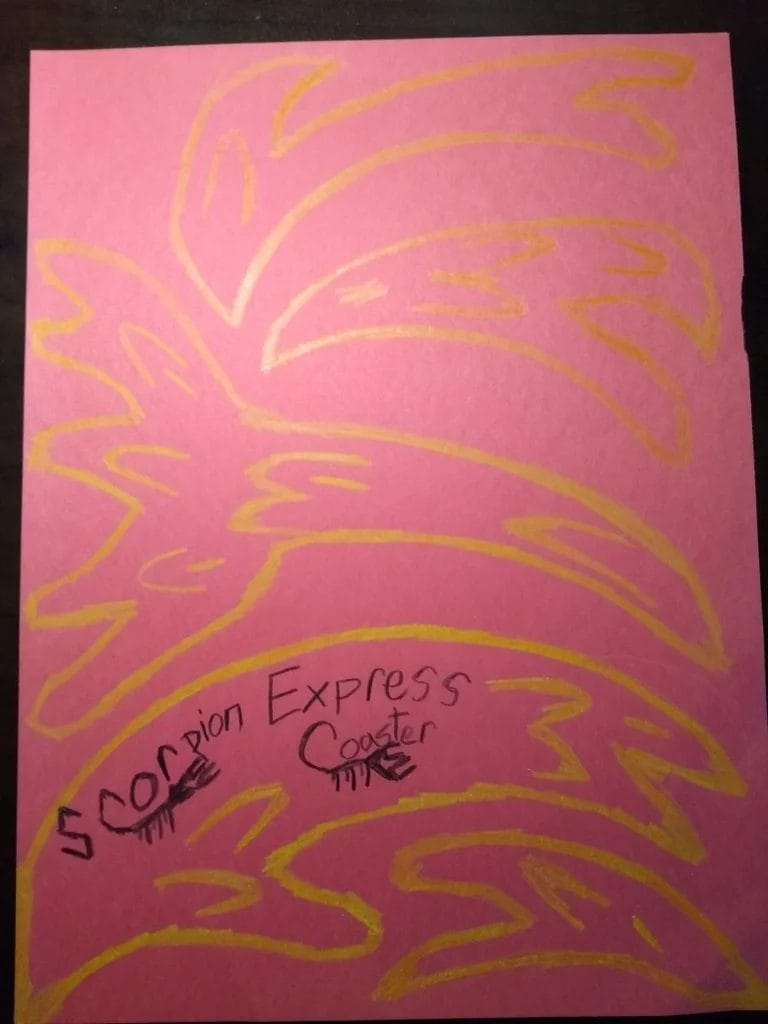
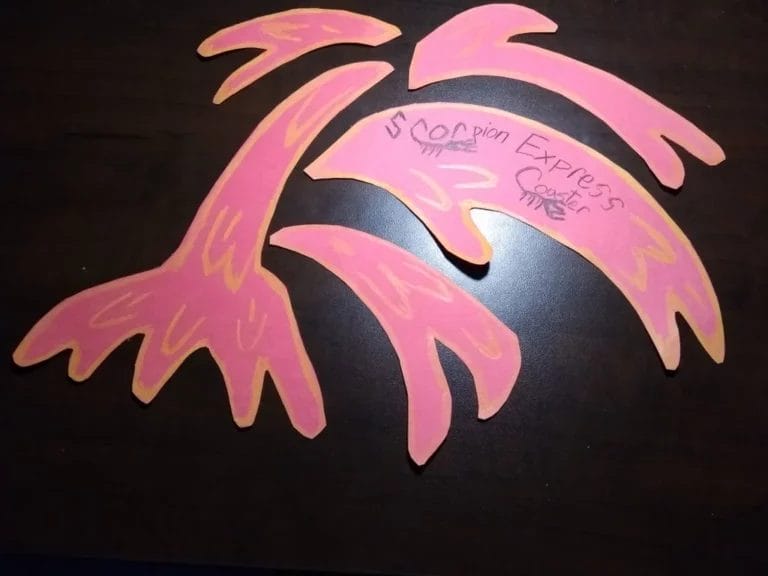
The chain has 93 pieces. Afterward, you can draw and add any title, exploding and leaking lava that you’d like.
Step 12: Final step – Adjust to Chain Lift
As the building process draws to a close, adjust to chain lifts. As shown in the first image, modify how the coaster tracks are connected to the Launch Motor. Change the front bottom base as shown in the second image. Then, move the lower black gear from the middle of the volcano to the bottom, and connect it as shown in the third image. Add a red rod with two grey connectors, and extend the chain to the length of 176 pieces as shown in the fourth image.
FAQs about K’NEX roller coasters
If you are new to assembling roller coasters or want to enhance your skills, you probably have some questions. Here are some common questions and answers.
What age is the K’NEX roller coaster for?
Building roller coasters are generally recommended for children between the ages of seven and twelve. Nevertheless, the models vary in order to meet the developmental needs of children. Some collections are more suited to older children and adults because of their complexity, intricate design, and advanced techniques.
When did K’NEX roller coaster come out?
The first toy roller coaster made by K’nex is the K’nex Original Roller Coaster, which first came out in 1994. The set comes with 2,400 pieces and has a hand-crank to make the lift hill chain operable.
What is the largest K’NEX roller coaster in the world?
Although there were a bunch of big roller coasters throughout the history of K’NEX, today K’NEX Thrill Rides – Amazin’ 8 Coaster is the largest currently available! With 448 pieces and parts, the motorized roller coaster stands over 2.6 feet tall!
Are there any available K’NEX roller coaster building sets I can buy?
Find K’NEX great deals are available on Amazon and Walmart. Order and deliver your favorite roller coaster right to your doorstep! This is a great alternative to DYIs and offers an easy out-of-the-box solution. K’NEX roller coaster building sets contain rides, different features, and innovative designs. From simple to more complex models, sets attract builders of all ages and skill and skill levels. They come as ideal gifts that every toy-building enthusiast absolutely loves.
Here are the building set listings currently available:
- K’NEX Amazin’ 8 Roller Coaster
- K’NEX Web Weave
- K’NEX Typhoon Frenzy Roller Coaster
- K’NEX Thrill Rides – Bionic Blast Roller Coaster
- K’NEX Dragon’s Revenge Thrill Coaster
- K’NEX STEM Exploration Roller Coaster
- K’NEX 27152 Thrill Rides, T-Rex Fury Roller Coaster Building Set
- K’NEX 18515 Mecha Strike Roller Coaster Building Set
- K’NEX Looping Light-Up Roller Coaster
- K’NEX Thrill Rides – 3-in-1 Classic Amusement Park Building Set, 744 pieces
You can view them on Amazon.
Conclusion
Building a roller coaster covers a lot of hours of fun and boosts creativity. It’s also a great opportunity to develop your engineering and problem-solving skills. In the meantime, remember that building a K’NEX roller coaster can be a complex and time-consuming project. So be patient and take your time, as it’s worth it in the end… No matter your skill level, whether you’re a beginner or a theme park enthusiast, there is a roller coaster for you. You’ll be able to find the perfect one based on your preferences and building level.
Get ready for endless adventures, unleash your creativity, and start building with K’NEX.